
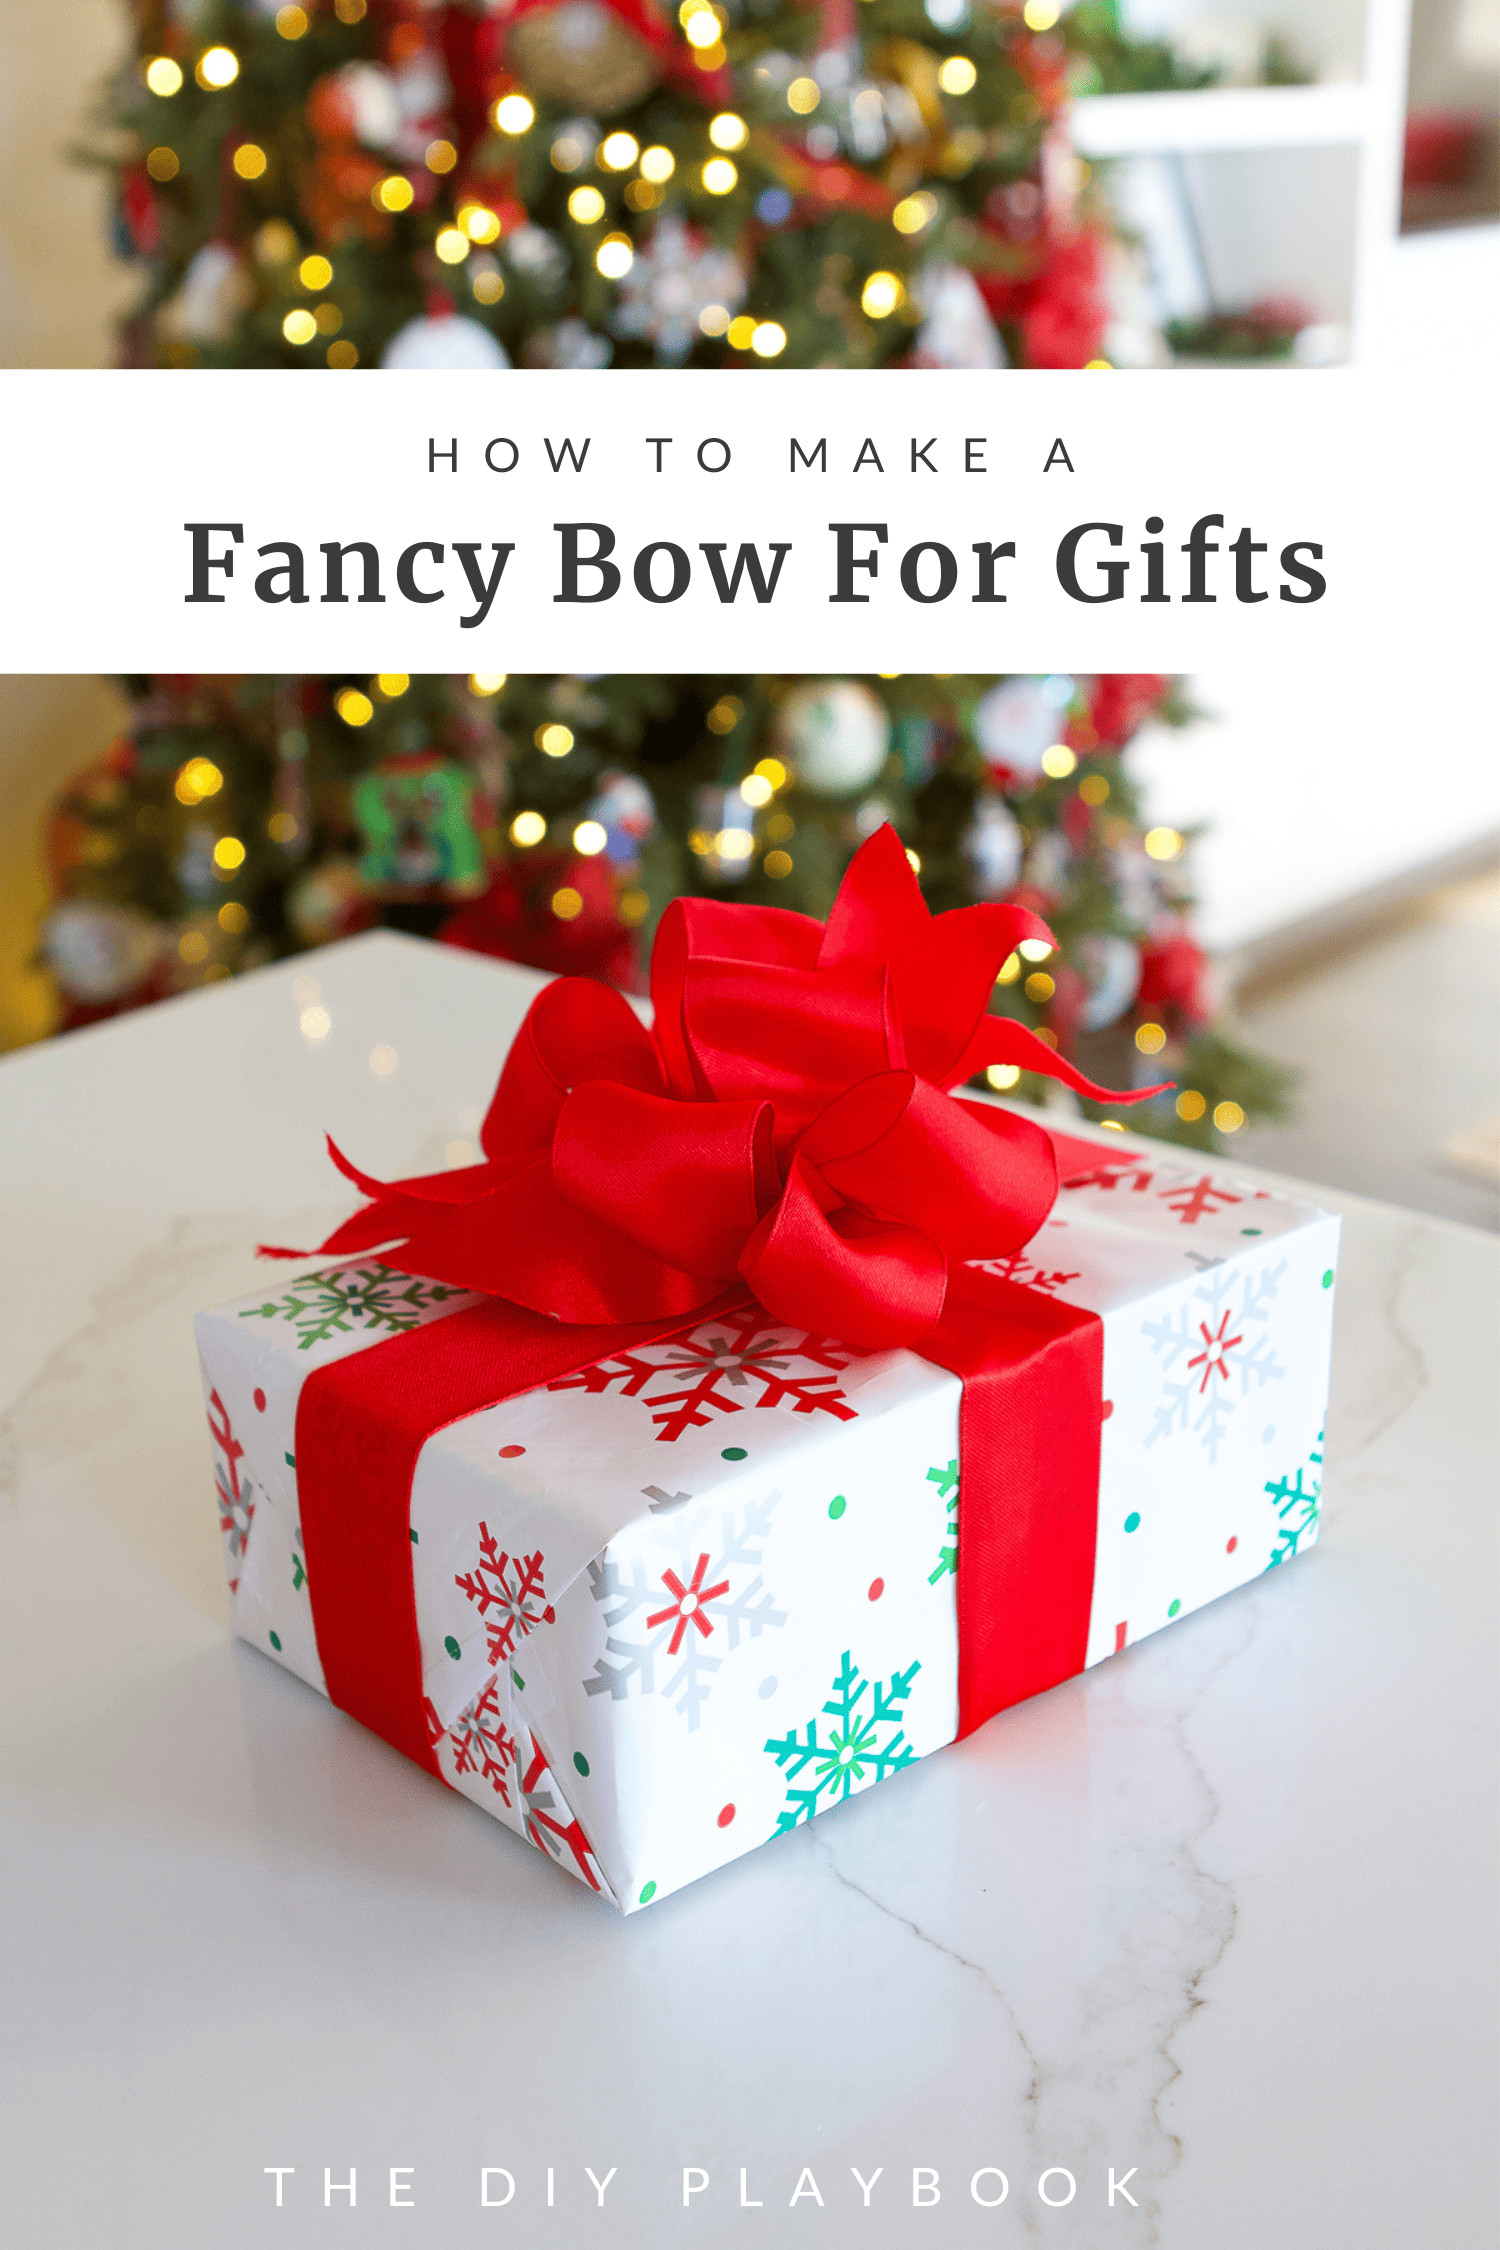
Gift wrapping is an art, especially during the holiday season. While simply tossing a gift into a bag is convenient, there’s a special charm in beautifully wrapped presents adorned with elegant bows. A thoughtfully wrapped gift, complete with a gorgeous bow, elevates the entire gifting experience, making it feel more personal and refined. If you’ve ever admired professionally wrapped gifts with envy, thinking that perfect bow-tying is beyond your reach, think again. With a few simple techniques, you can master the art of creating stunning gift bows right at home.
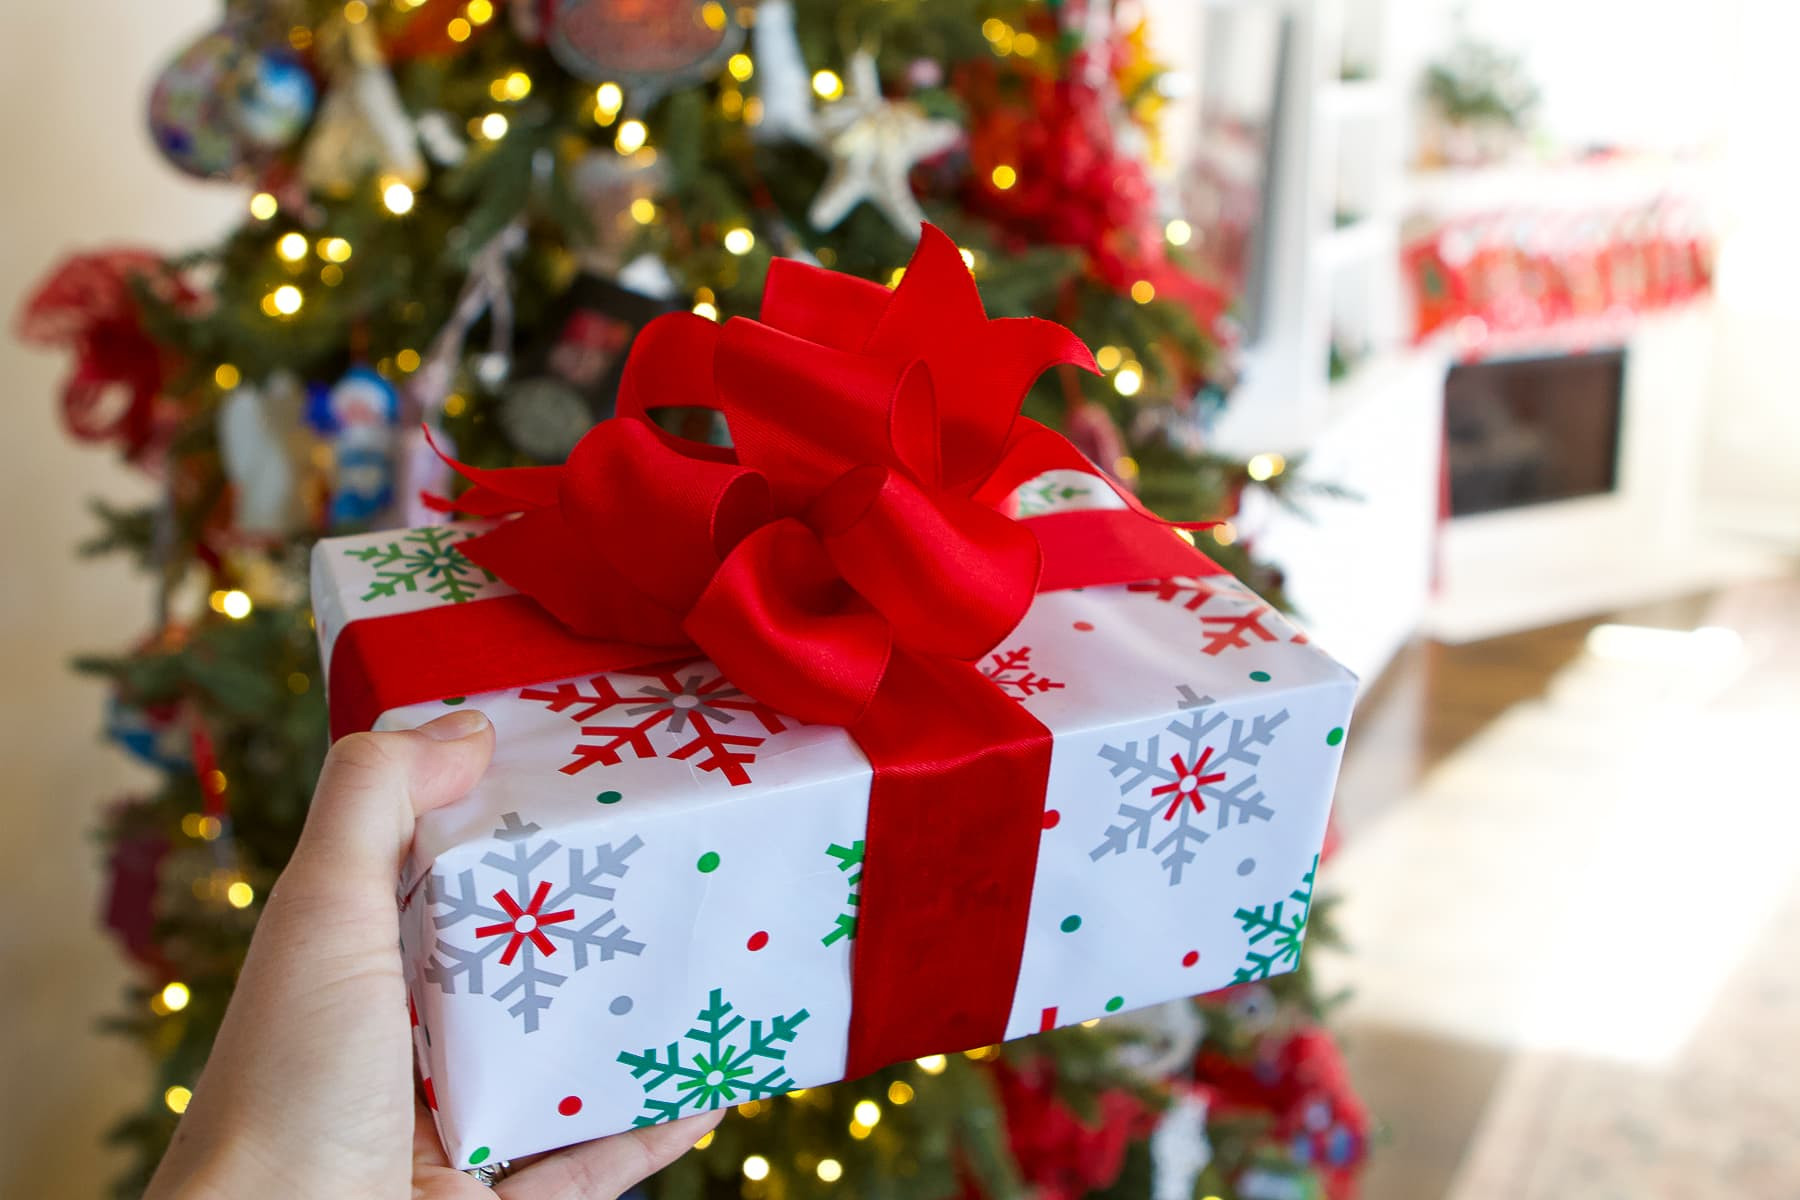
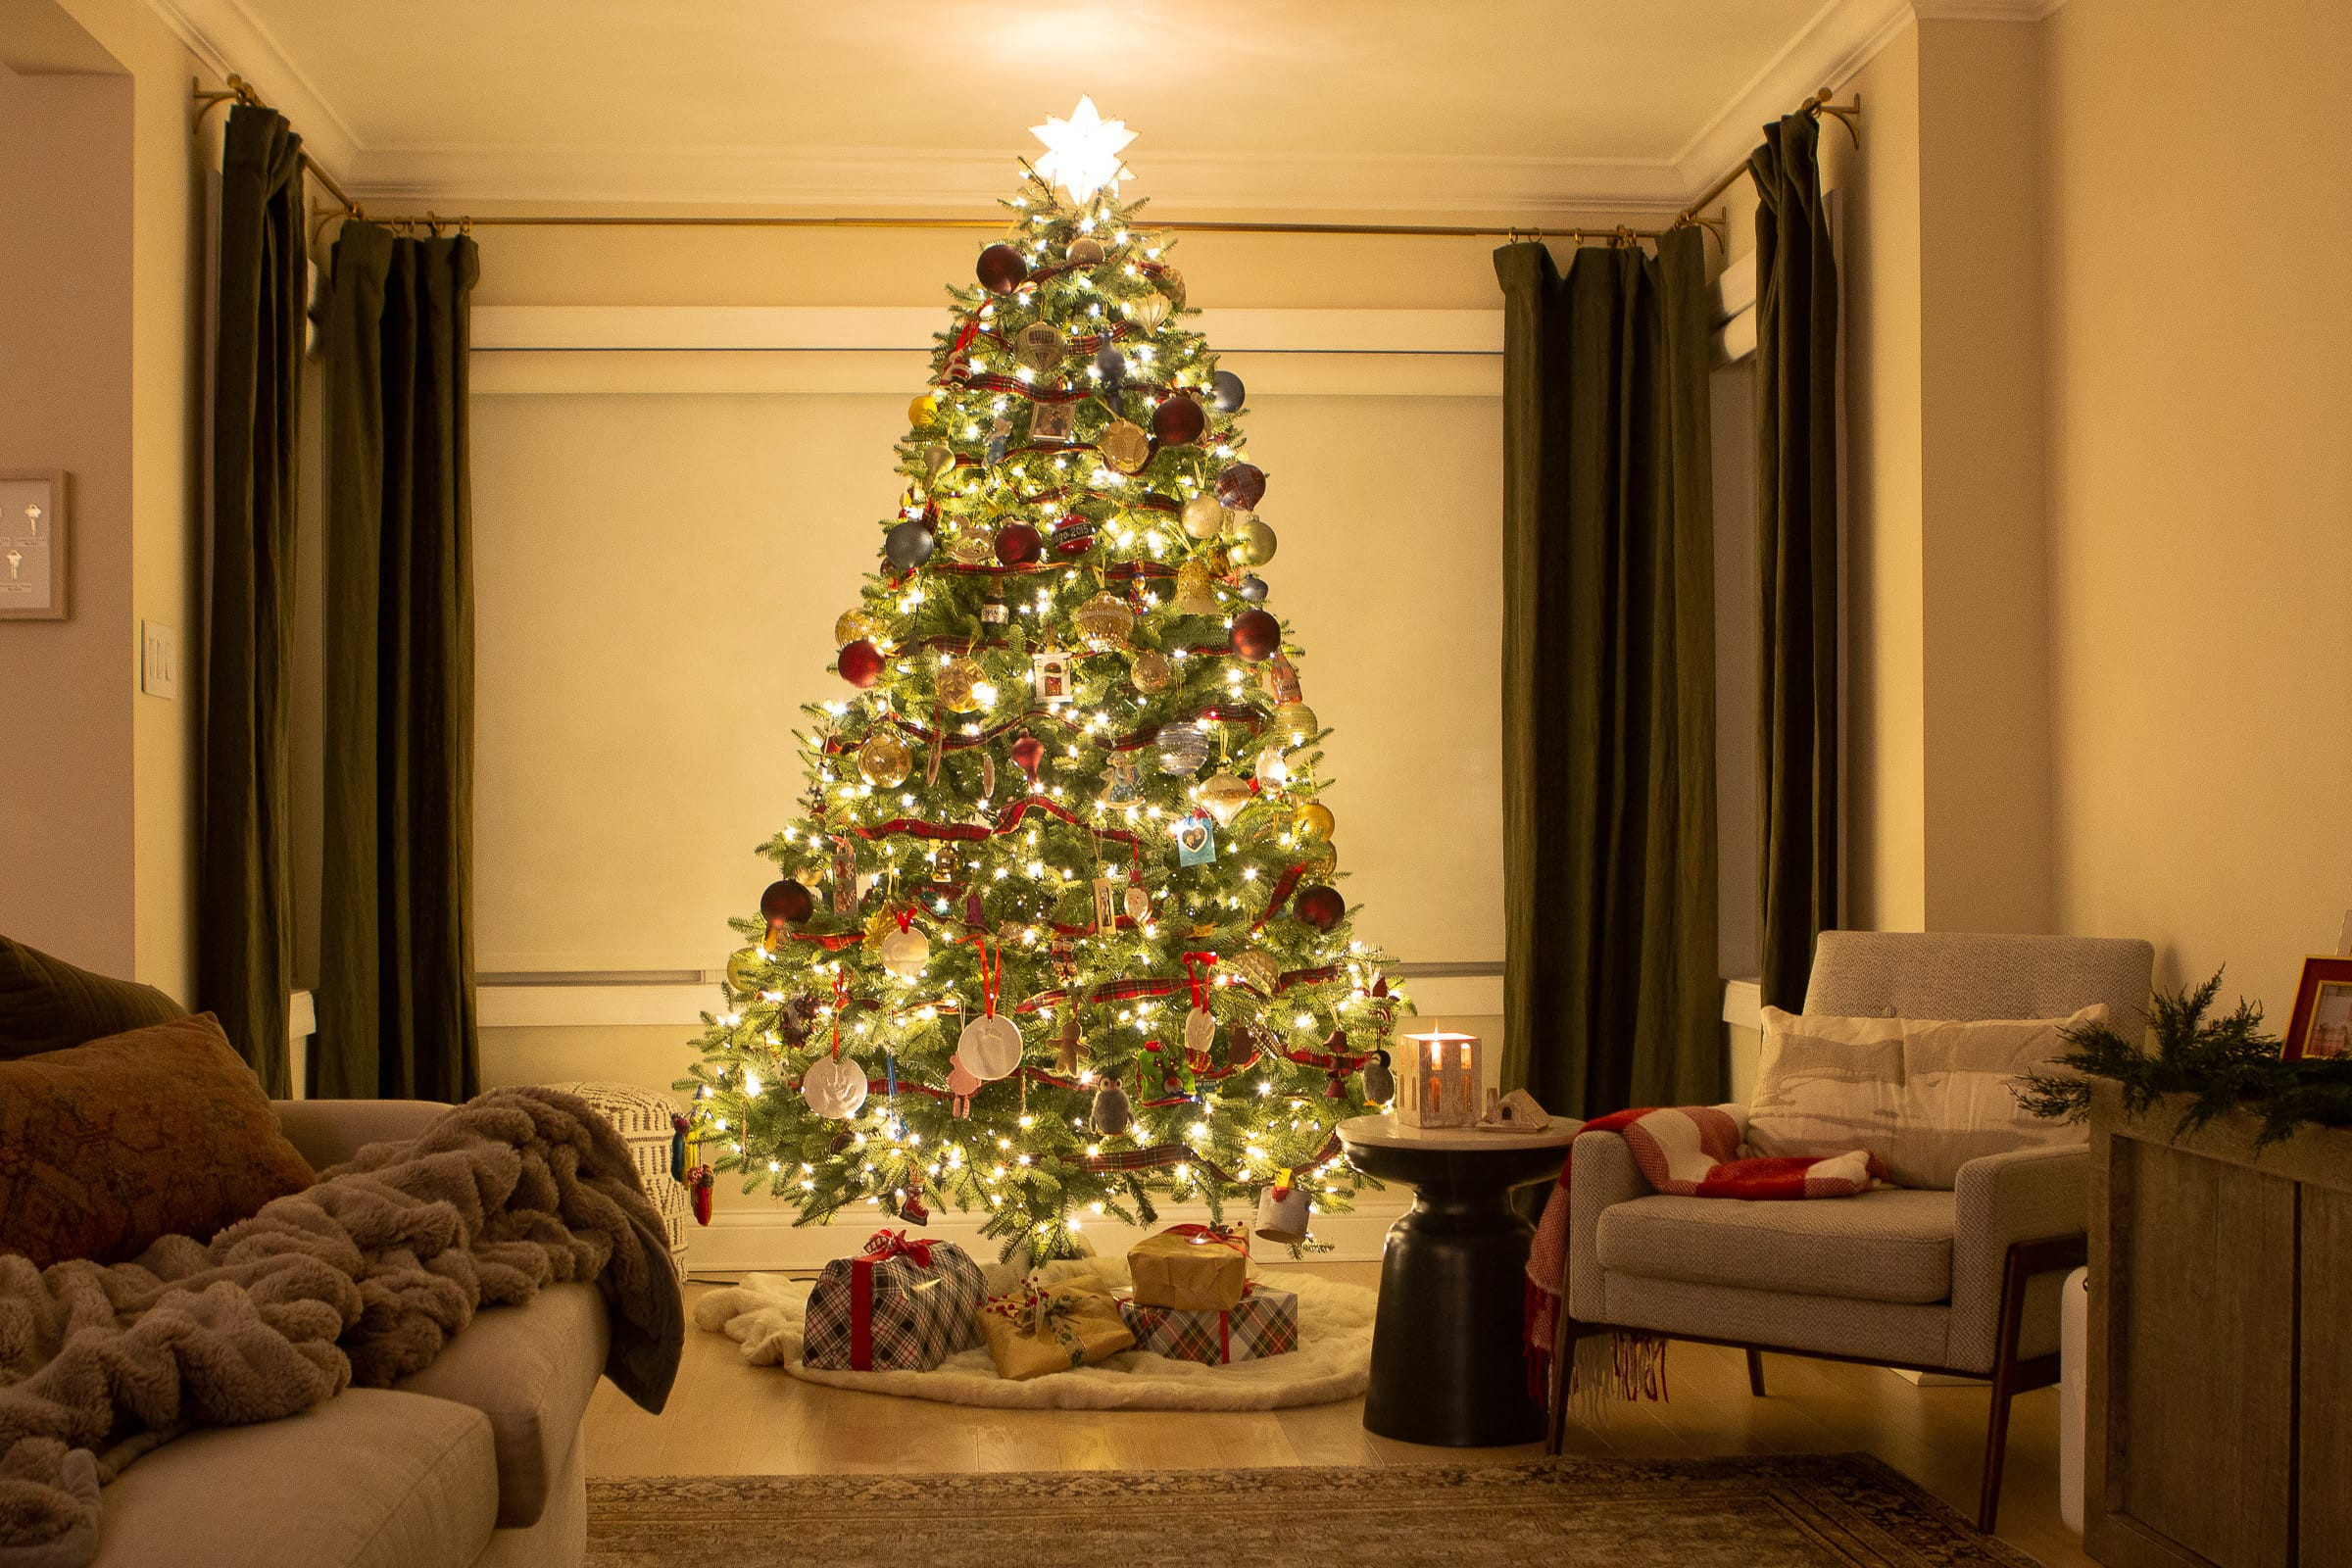 Elegant Christmas tree with beautifully wrapped gifts underneath
Imagine your Christmas tree surrounded by gifts that look like they came straight from a boutique. The wrapping and ribbons can seamlessly blend with your holiday decor, enhancing the festive atmosphere. Instead of a cluster of generic gift bags, picture meticulously wrapped presents, each topped with a handcrafted bow. This level of detail truly showcases your care and effort, making the gifts under your tree an integral part of your holiday aesthetic.
 Close-up shot of hands demonstrating how to make a gift bow with wired ribbon
For inspiration, consider gifts wrapped by someone with a flair for presentation. Expert gift wrappers meticulously select their paper, ribbons, and tags. The secret to their impressive gifts often lies in the “fancy bow technique” they employ. These aren’t just ordinary bows; they are expertly crafted adornments that transform a simple gift into something extraordinary. These bows are so exquisite, recipients often save and reuse them, a testament to their beauty and the skill involved in their creation.
Expert Bow-Tying Techniques Revealed
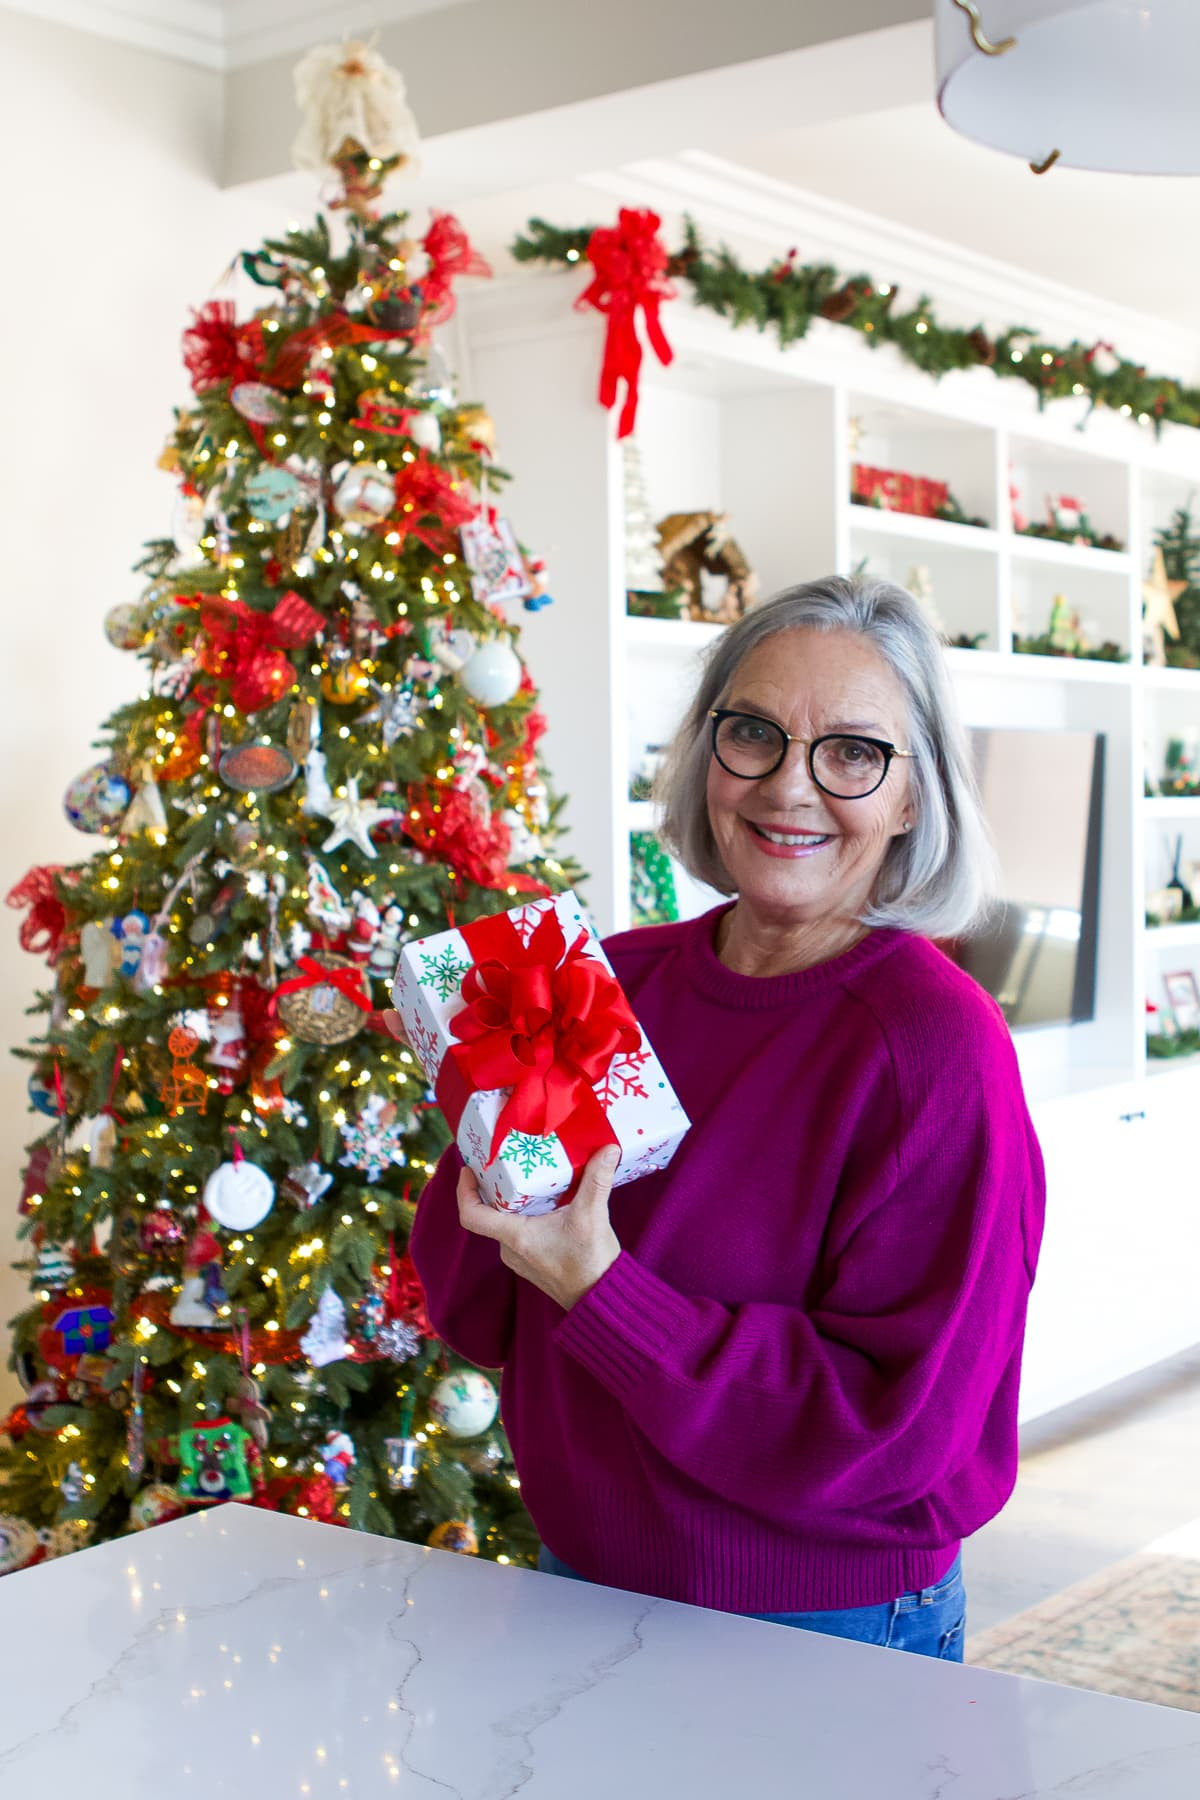
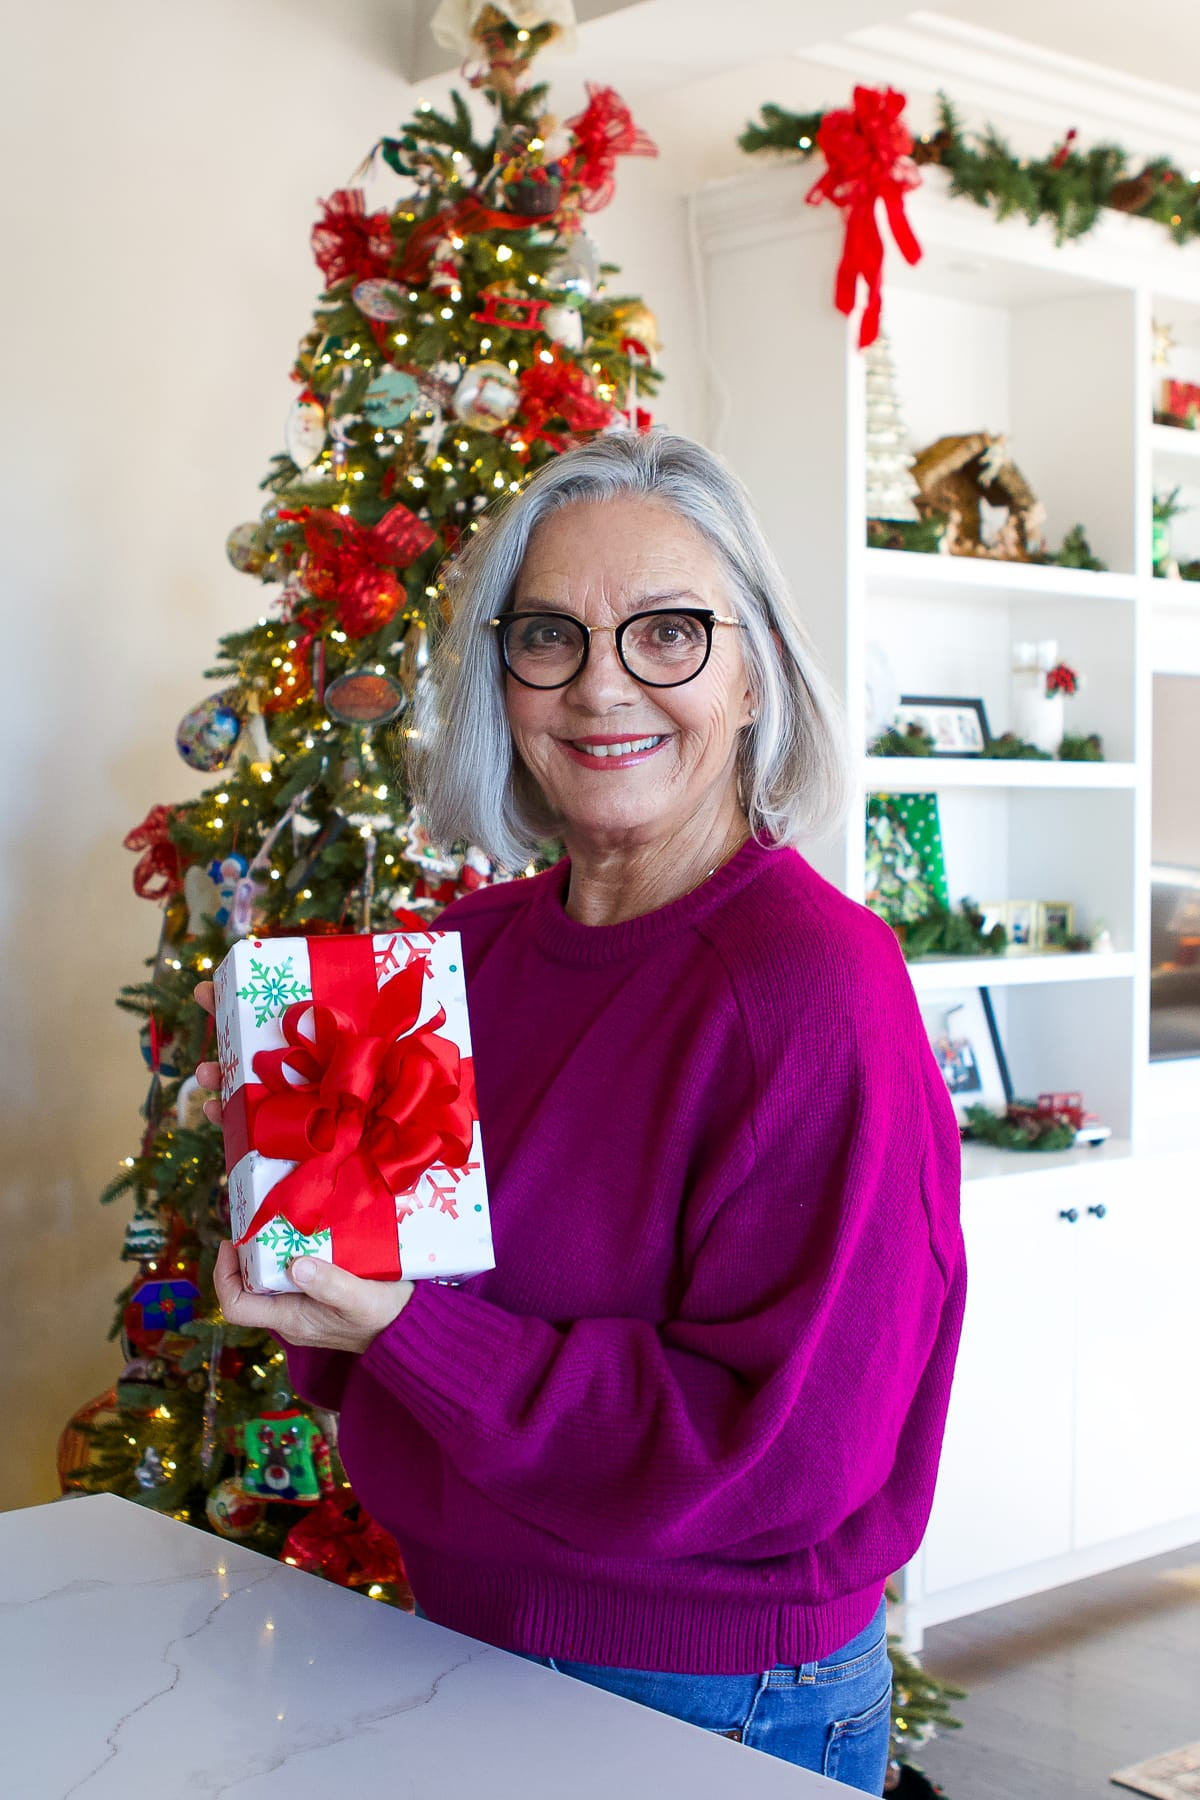
To demystify the process of tying a perfect gift bow, we’ve enlisted the help of Jan, a true bow-making aficionado. Jan previously shared her expertise on gift wrapping techniques, and now she’s back to guide us through the art of bow-tying. Her ribbon bows are renowned for their exceptional quality, often saved and re-used by recipients as a hallmark of her thoughtful gifts.
 Expert hands demonstrating the initial steps of tying a gift bow
Jan’s bow-making journey began by observing a talented friend, Denise, a florist who effortlessly created stunning bows for flower arrangements and gifts. Captivated by Denise’s skill, Jan diligently practiced the techniques she observed. Through persistent effort, Jan honed her skills, eventually mastering the art of bow-making. While acknowledging Denise as the ultimate bow-making master, Jan has developed her own impressive techniques to create beautiful bows that add a special touch to any gift.
Jan’s Journey to Mastering the Gift Bow
 Hands carefully shaping ribbon loops while learning to tie a gift bow
Jan’s interest in bow-making sparked from watching her friend Denise, a florist who could conjure up magnificent bows seemingly out of thin air. Denise’s bows were an integral part of her floral arrangements and gift presentations, adding a touch of elegance and sophistication. Mesmerized by Denise’s expertise, Jan became an observant student, carefully watching and learning the nuances of bow creation.
Without formal lessons, Jan learned through observation and practice. Every opportunity to work with ribbon became a chance to refine her technique. Over time, Jan’s bows transformed from simple ties to elaborate creations. She credits Denise as her inspiration and mentor, recognizing her friend’s mastery in the craft. This journey of learning and practice underscores that anyone can master the art of bow-making with dedication and the right guidance.
 A beautifully tied gift bow enhancing the presentation of a wrapped present
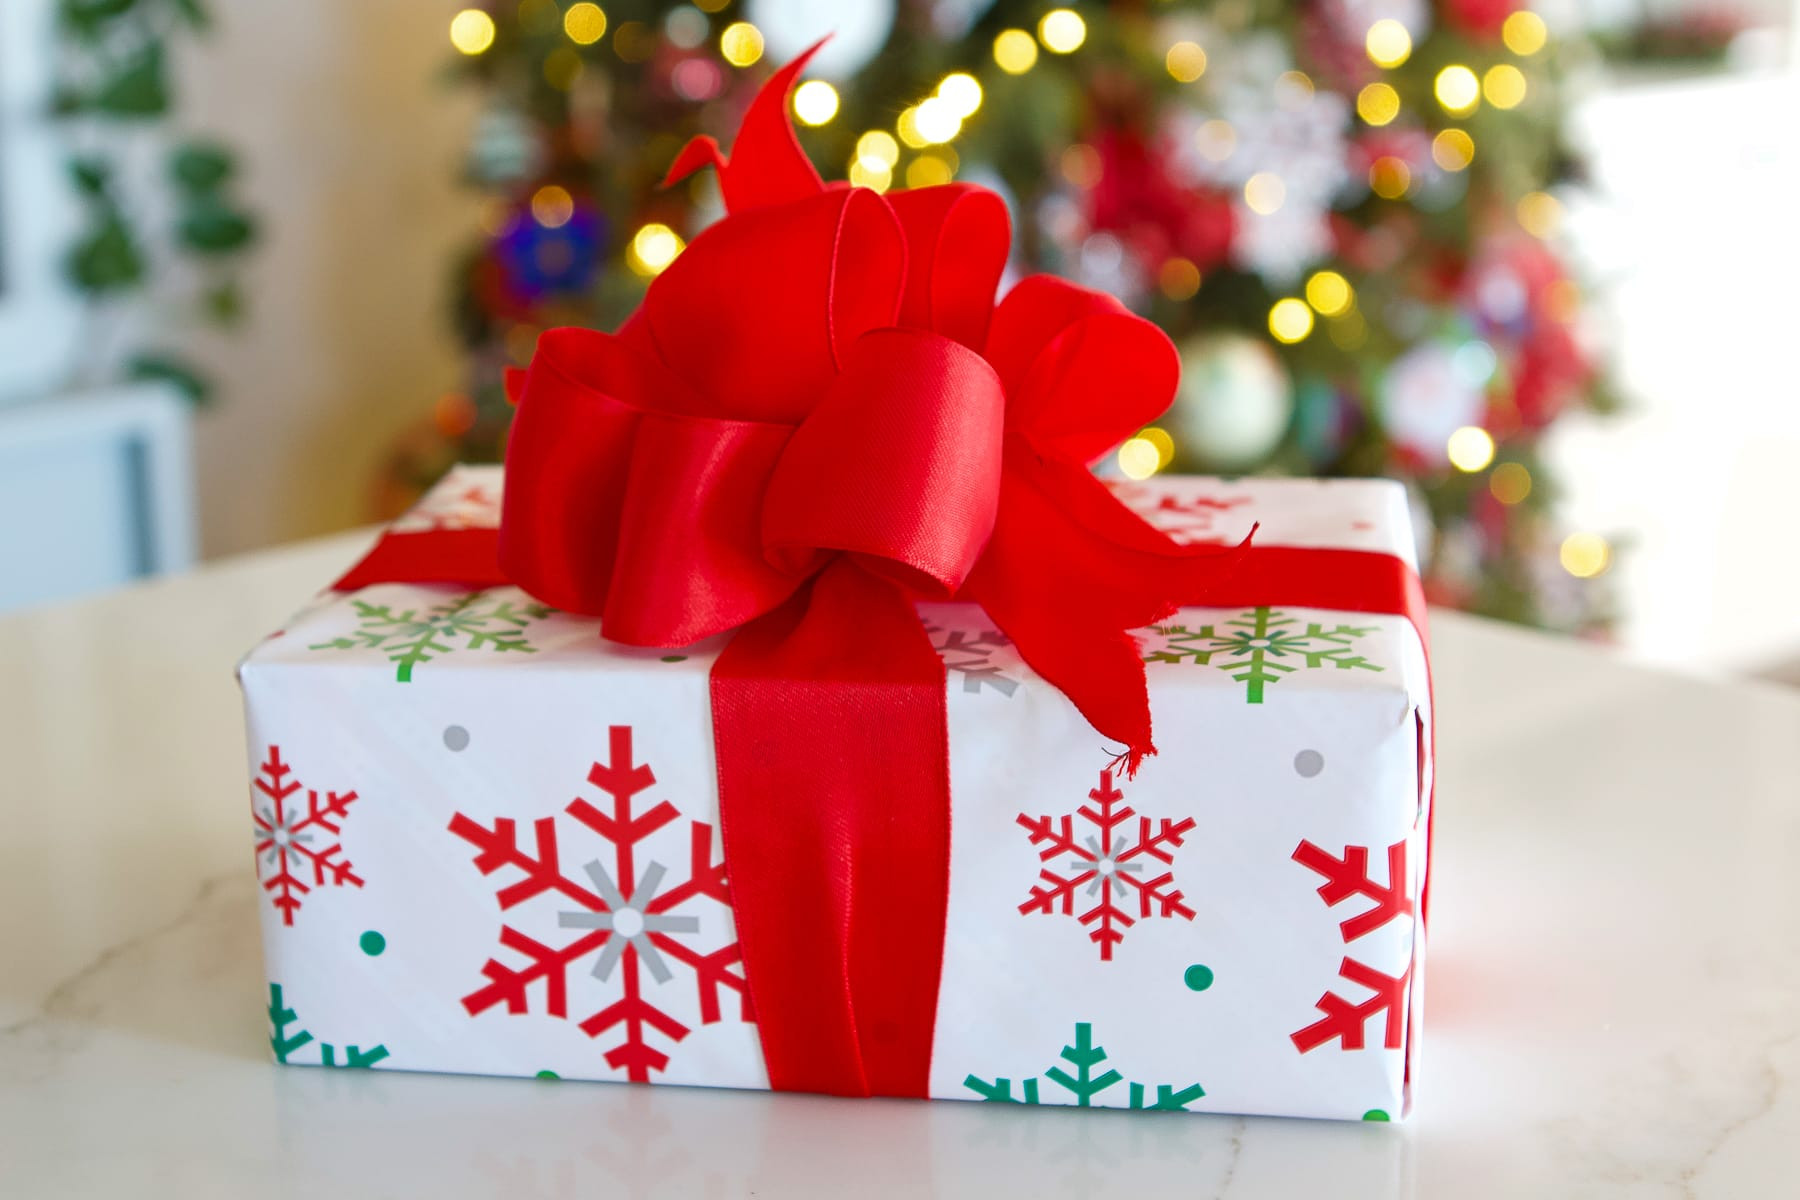
The allure of handmade bows lies in their ability to transform ordinary gifts into something extraordinary. A beautifully tied bow elevates the presentation, making the gift more appealing and exciting even before it’s opened. Even a simple gift inside gains an air of sophistication when wrapped with care and adorned with a handcrafted bow. This attention to detail shows the recipient that the gift is not just an obligation but a thoughtful gesture. The bow becomes the perfect finishing touch, a symbol of care and celebration.
Cost-Effective Elegance: DIY Gift Bows
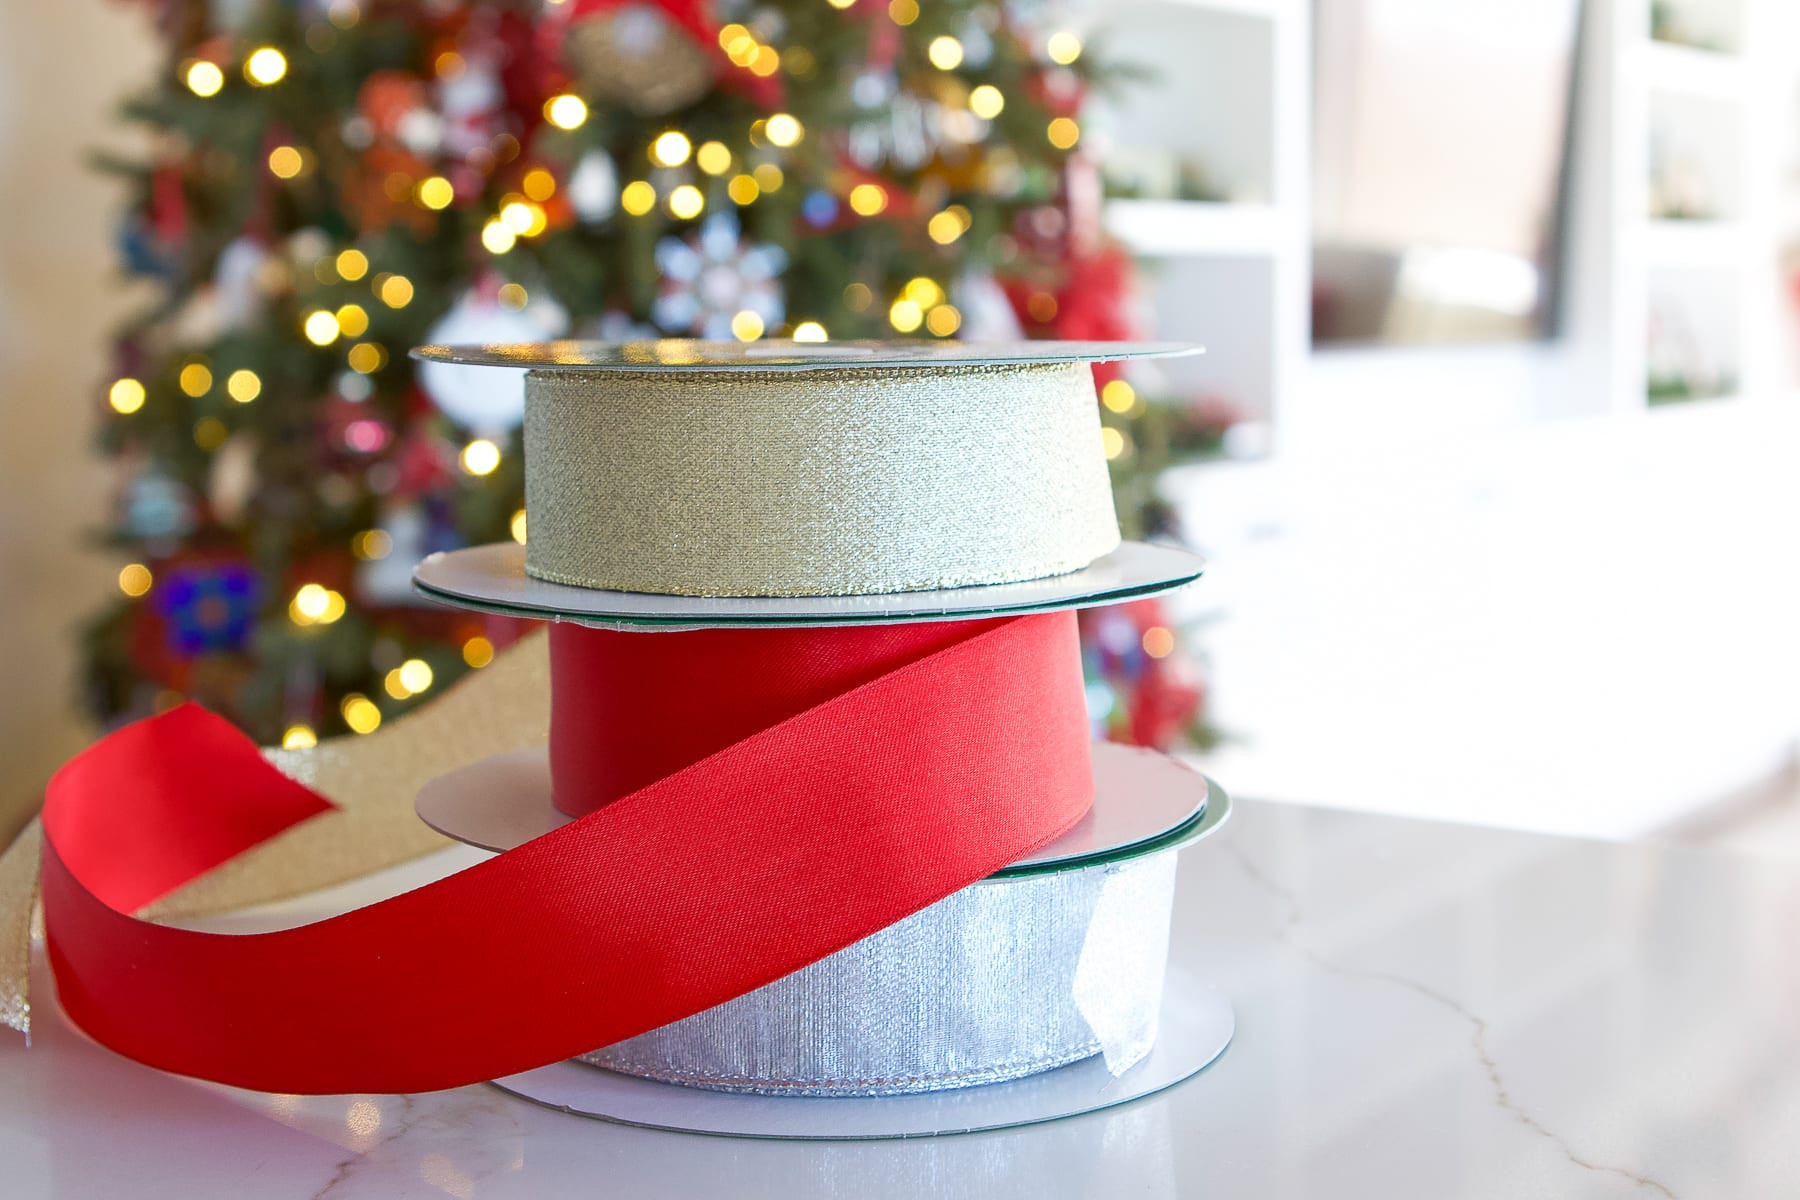 Large spools of wired ribbon from Costco, a budget-friendly option for bow-making
Surprisingly, creating your own gift bows is not only more personal but also more economical than buying pre-made bows. Pre-made bows, while convenient, can be quite costly, especially if you have many gifts to wrap. Making your own bows from ribbon spools offers a significant cost saving, allowing you to achieve a more luxurious look for less.
For budget-conscious bow-makers, purchasing large spools of ribbon, especially wired ribbon, from stores like Costco is a smart move. These stores often offer a wide variety of ribbons in different widths and colors throughout the year. A large spool, containing 50 yards or 150 feet of high-quality ribbon, can yield a substantial number of bows. Investing in these larger spools means you get more ribbon for your money, making your bow-making endeavors both beautiful and budget-friendly. By making your own bows, you not only add a personal touch to your gifts but also control the cost and customize the look to perfectly match your wrapping style.
Gathering Your Bow-Making Supplies
For beginners, wired ribbon is highly recommended. The wire edges make it significantly easier to shape and manipulate, holding its form beautifully. This type of ribbon is forgiving and helps create professional-looking bows even for those new to bow-making. The wired edge allows for easy “fluffing” and shaping, which is crucial for achieving that perfect, voluminous bow.
When selecting ribbon, consider the width and material. Ribbons that are 1.5 to 2.5 inches thick are ideal for gift bows, providing enough body to create substantial loops. Satin ribbon is a popular choice for its luxurious sheen and smooth texture, adding an elegant touch to your bows. However, various ribbon types can work, depending on the desired aesthetic – from velvet for a rich, classic look to grosgrain for a more textured, matte finish. Experimenting with different ribbons can add variety and personality to your gift wrapping.
Step-by-Step Tutorial: Tying the Perfect Gift Bow
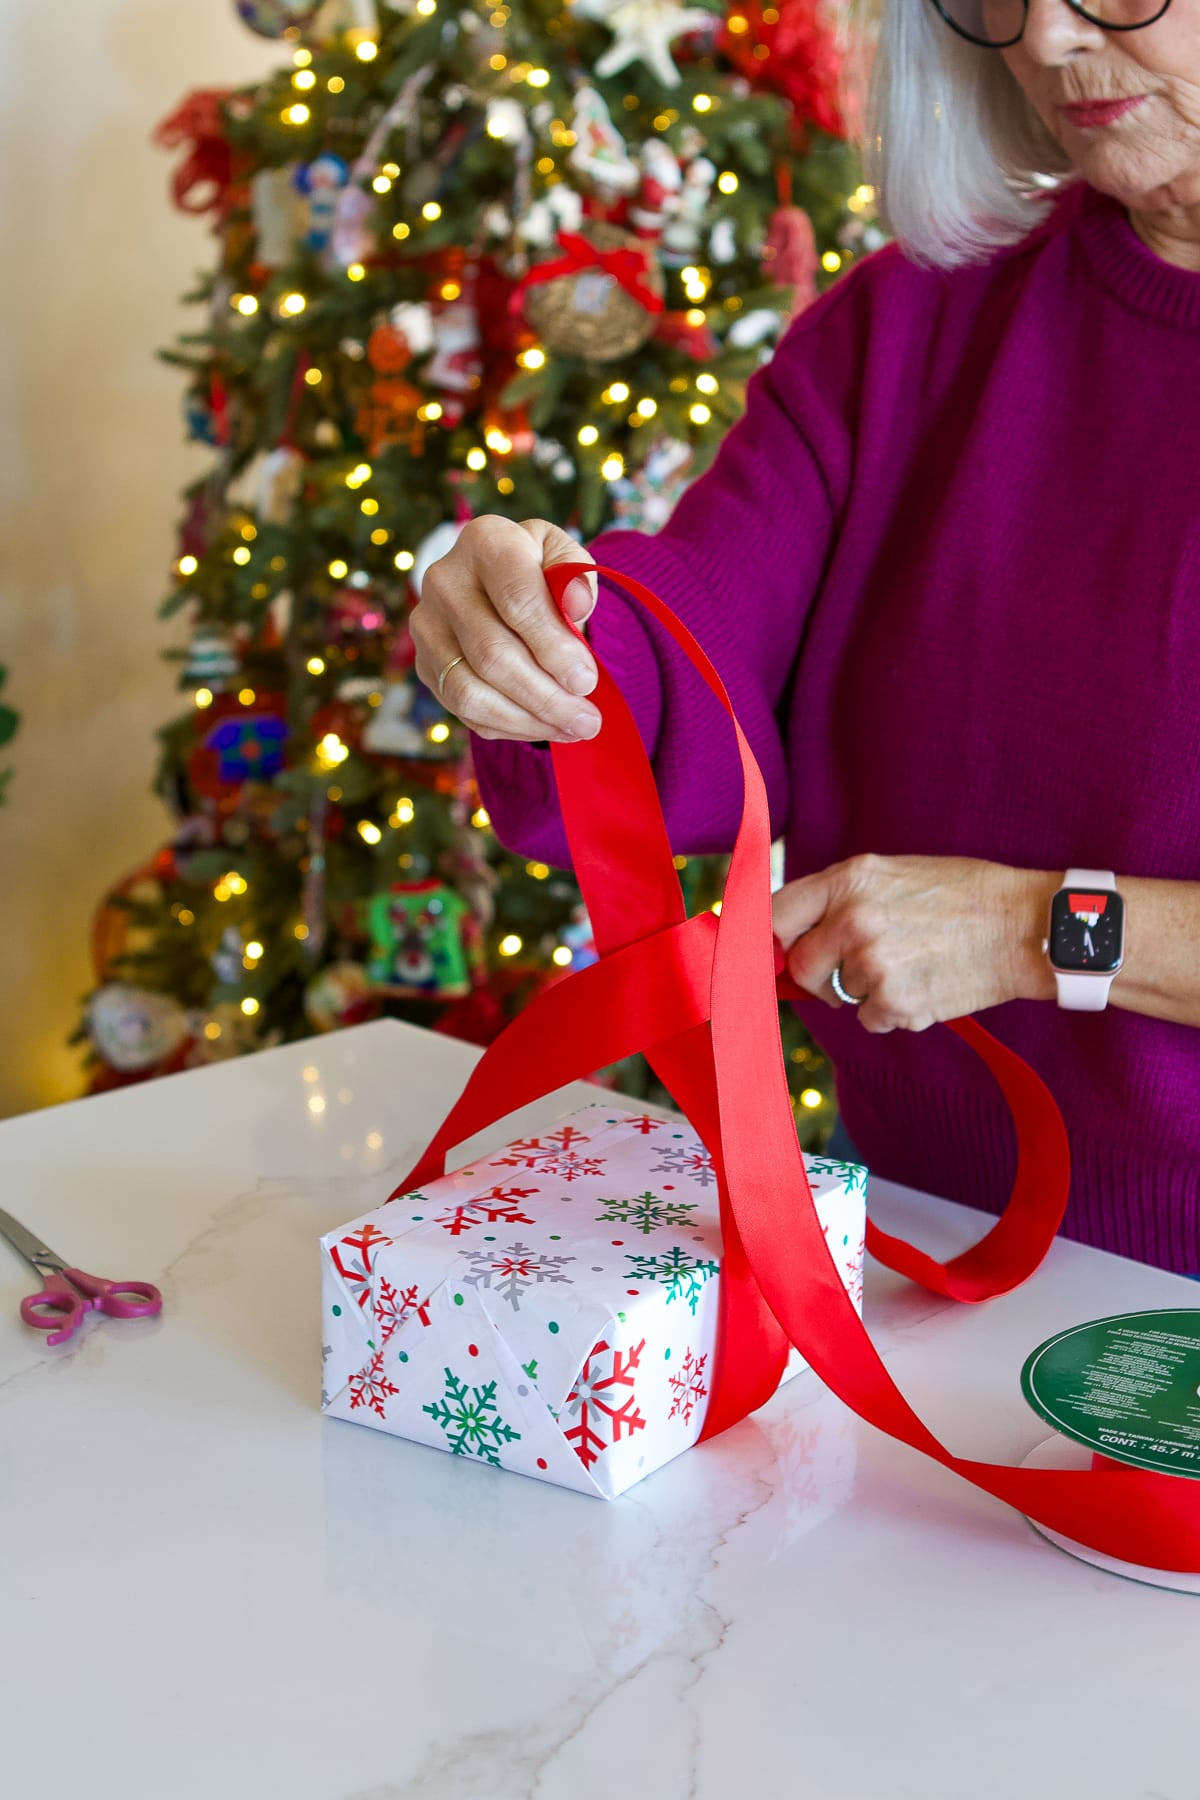 Step 1: Wrapping ribbon around the gift box to measure for the base
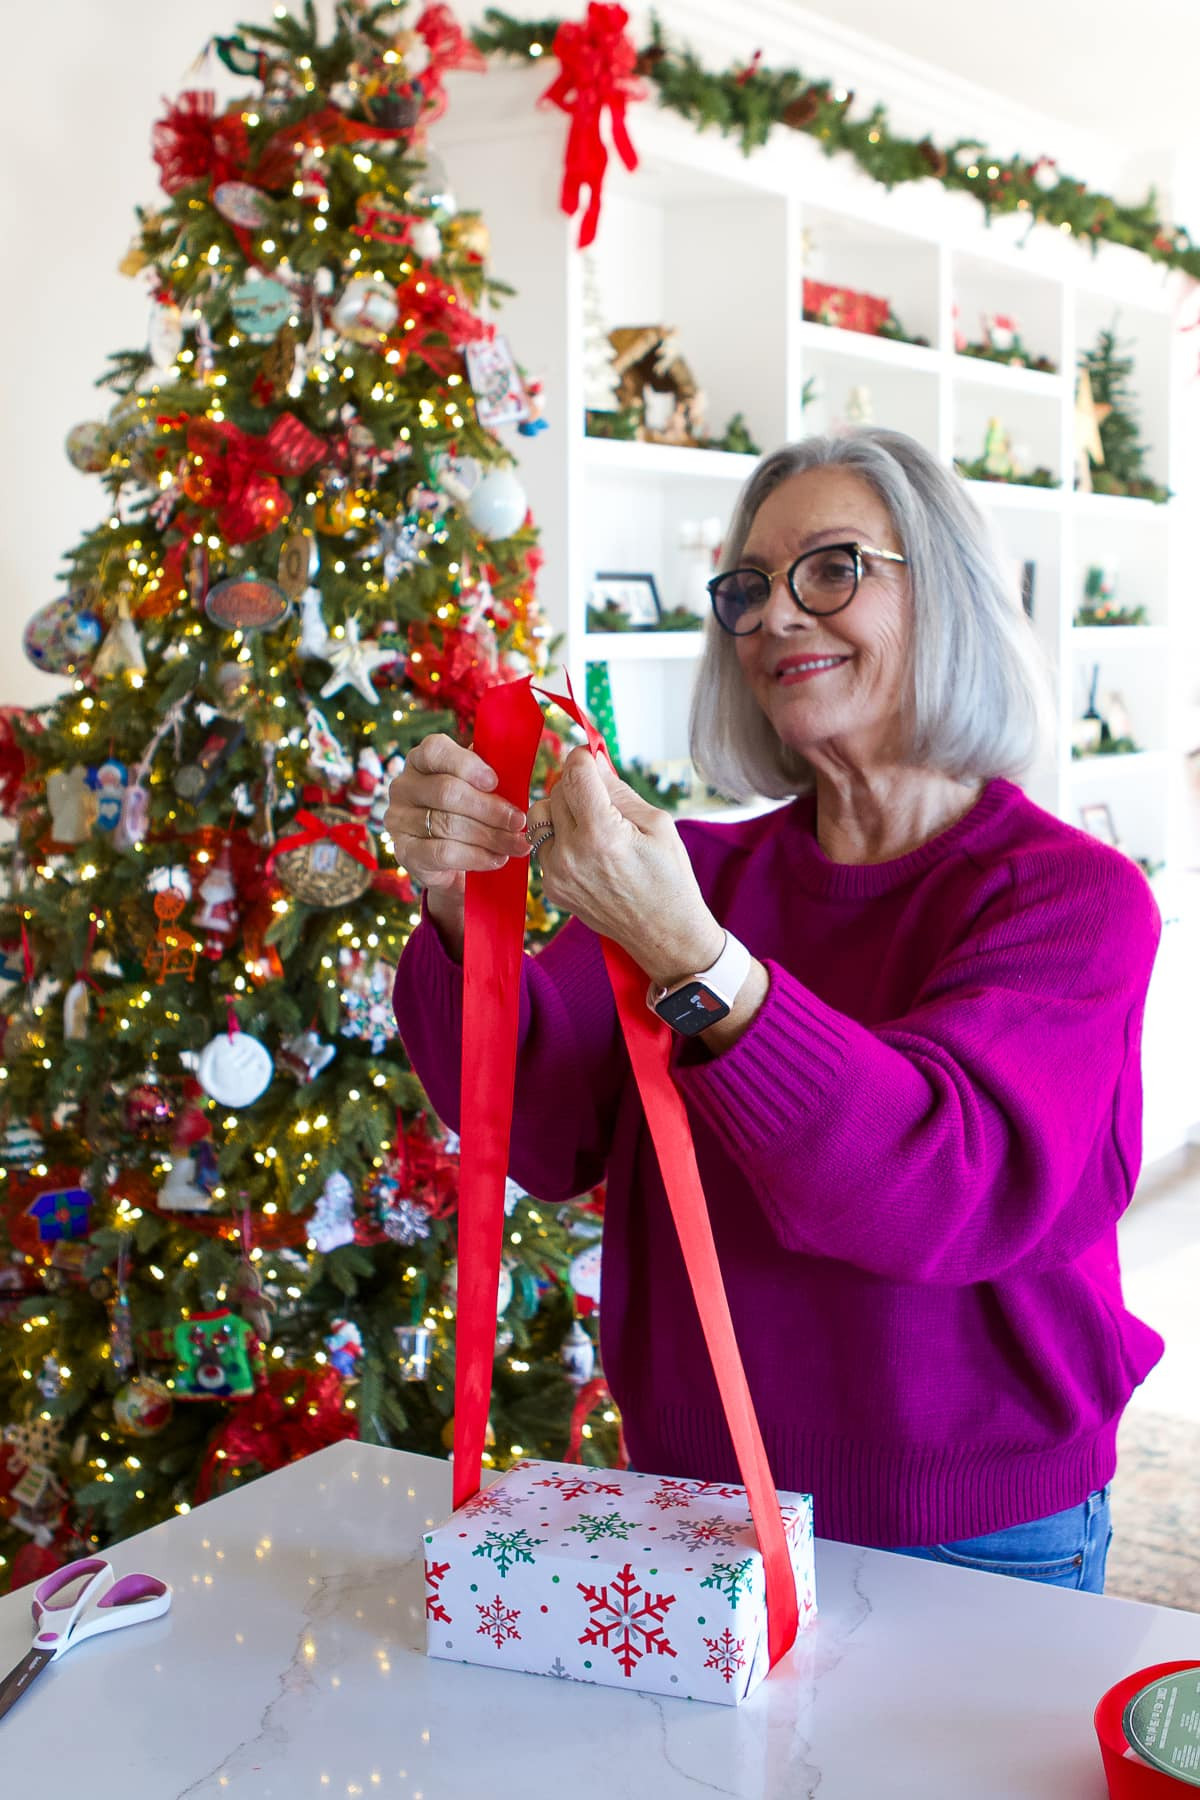
Step 1: Measure and Cut the Ribbon for the Base
Begin by wrapping your gift. Once your present is wrapped in your chosen paper, it’s time to prepare the ribbon for the bow. Unwind a generous length of ribbon from the spool. Wrap it around the package both horizontally and vertically, as if you were tying it with string. This step helps you determine how much ribbon you’ll need for the base that goes around the gift box.
To ensure you have enough ribbon, pull it from the back to the front and then from side to side of the package. This criss-cross wrapping will form the foundation for your decorative bow. For a standard shirt box, approximately 7 feet of ribbon might be needed for this base wrap. However, for different sized packages, adjust the length accordingly. Eyeballing the length is perfectly acceptable, but measuring initially can provide a good estimate and prevent running short.
 Step 2: Criss-crossing and knotting the ribbon to create the base wrap
Once you’ve determined the required length, cut the ribbon from the spool. A simple yet effective technique for cutting ribbon is to fold it in half lengthwise and cut at a 45-degree angle. This creates a clean, angled end that looks more polished and prevents fraying compared to a straight cut. Set the spool aside and prepare to tie the base knot.
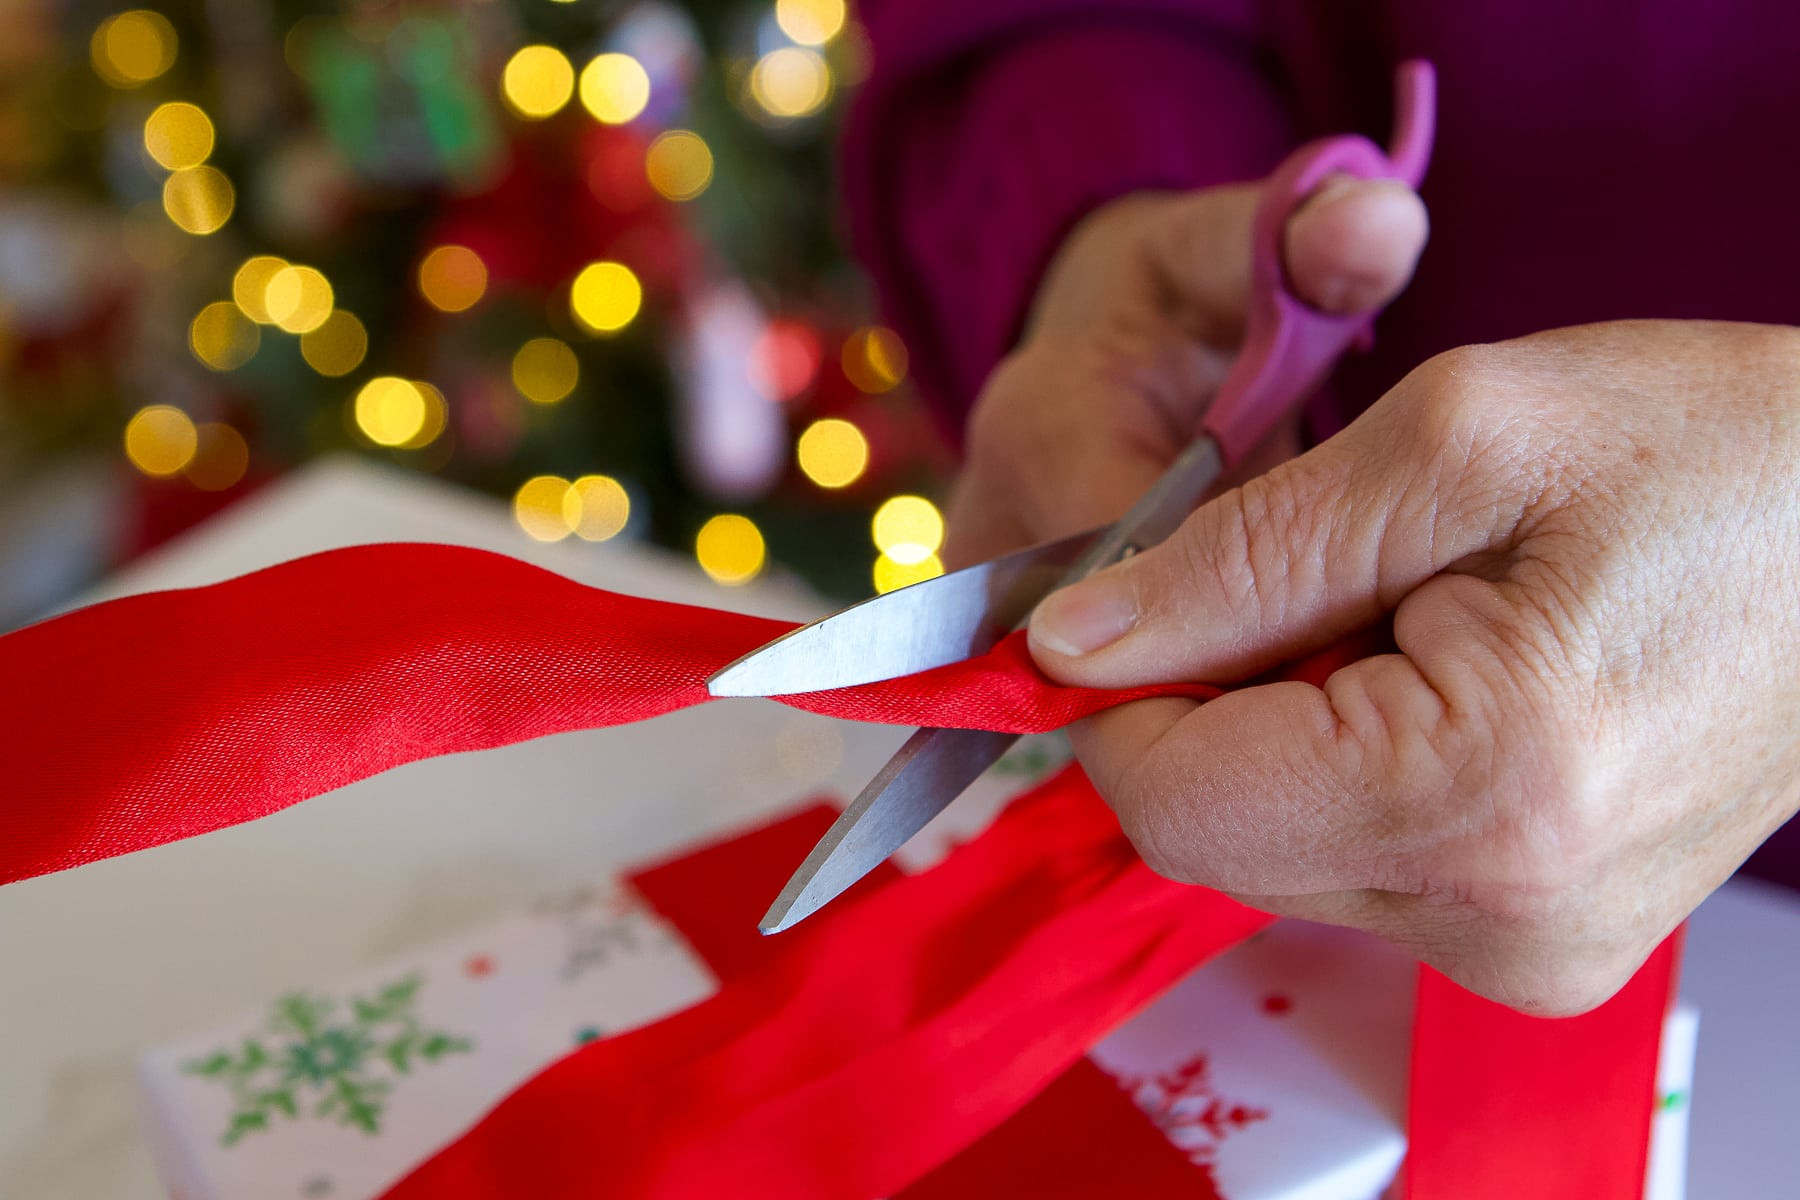 Step 3: Cutting the ribbon at an angle for a cleaner finish
Step 2: Tying the Base Knot
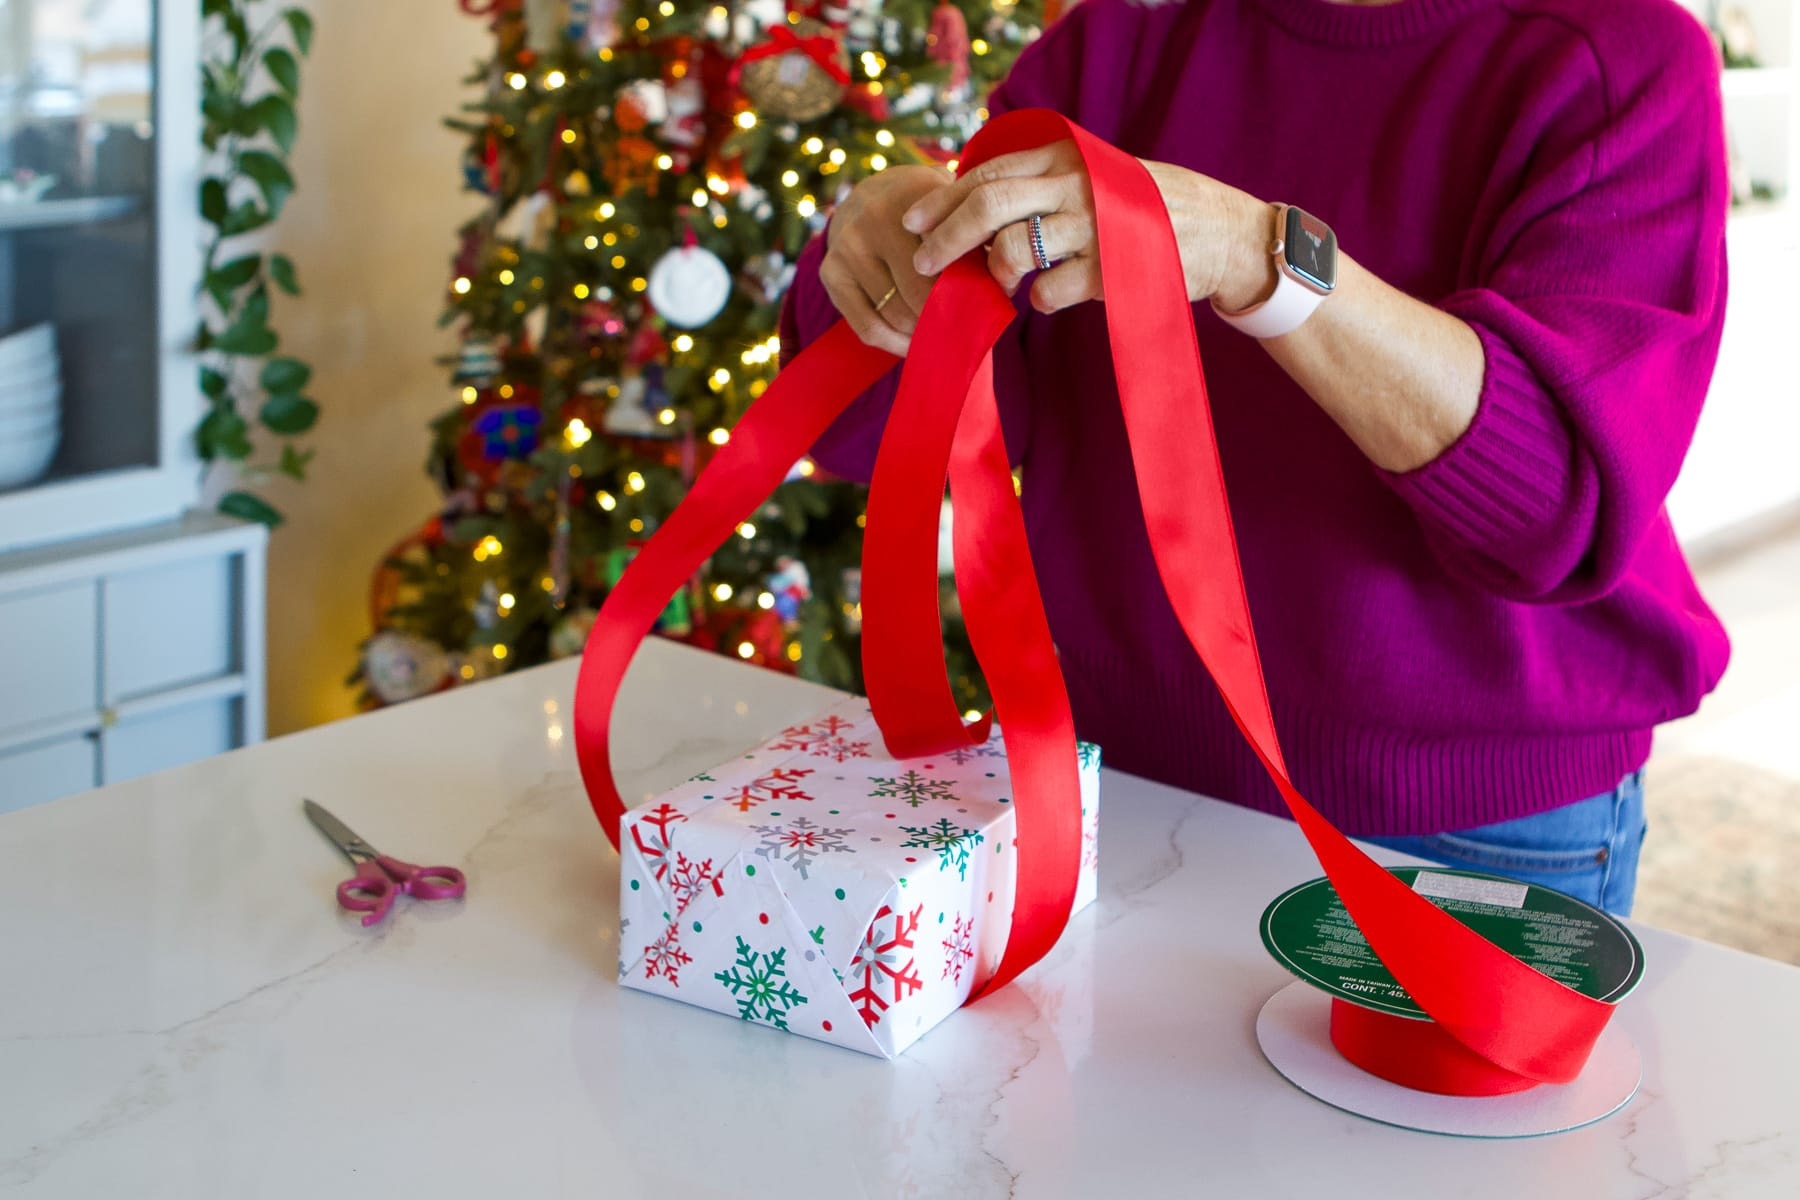
 Step 4: Flipping the package to tie the initial knot for the bow base
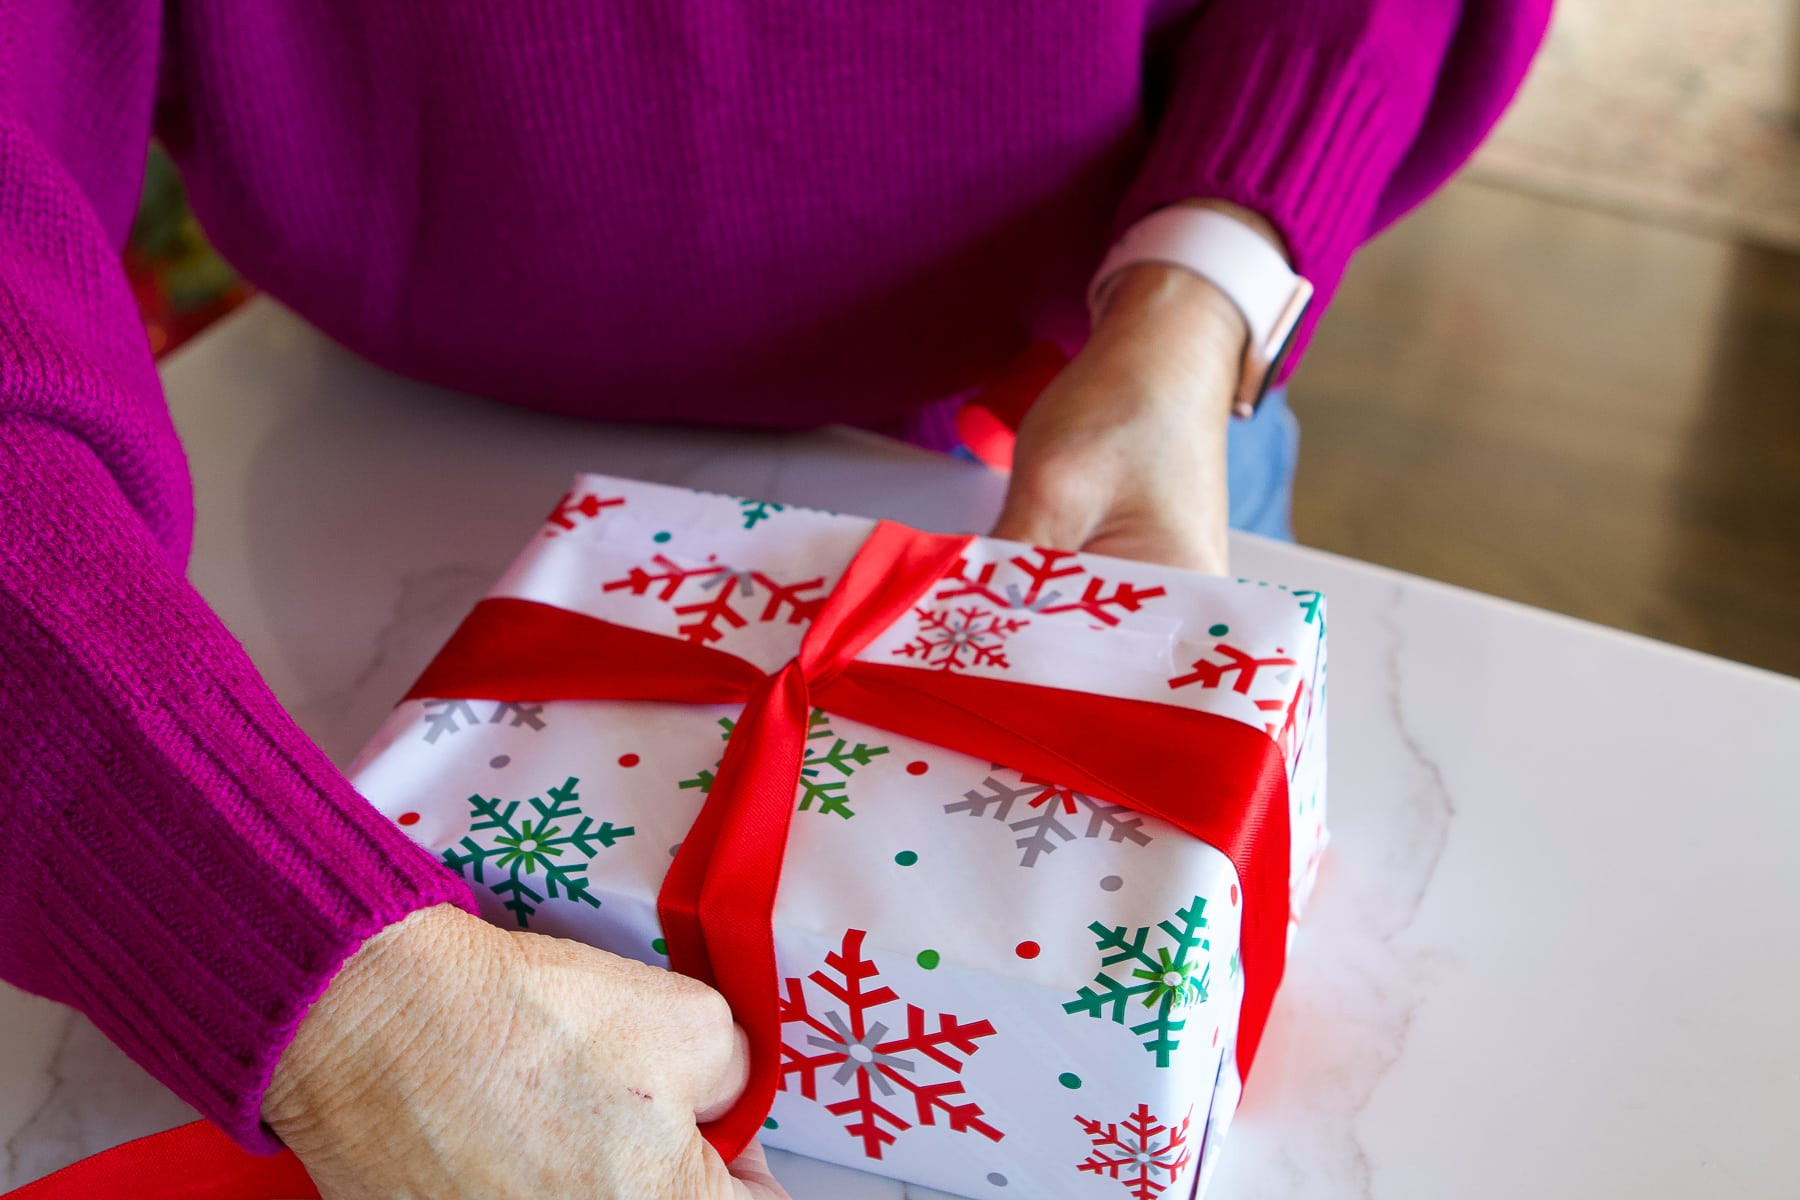
Flip the wrapped package upside down, so the top is facing downwards. Slide the cut strand of ribbon underneath the package. Ensure that both ends of the ribbon are roughly equal in length to maintain symmetry in your wrapping. Bring the two ends of the ribbon upwards and towards each other, crossing them over in the center of the package.
Flip the package back over so that the top is now facing upwards. Bring the ribbon ends together and tie them in a simple knot at the center top of the box. Leave the ends of the ribbon relatively long; these will become part of the decorative element of the bow. This knot forms the secure base onto which you will build your fancy bow.
 Step 5: Tying the first knot of the base ribbon on top of the gift box
With the base of the package wrapped and secured, you are now ready to create the large, decorative bow that will sit on top. This is where the magic happens, transforming a simply wrapped gift into a beautifully adorned present.
Step 3: Creating the Bow Loops
 Step 6: Starting to create loops for the bow, pinching the ribbon in the center
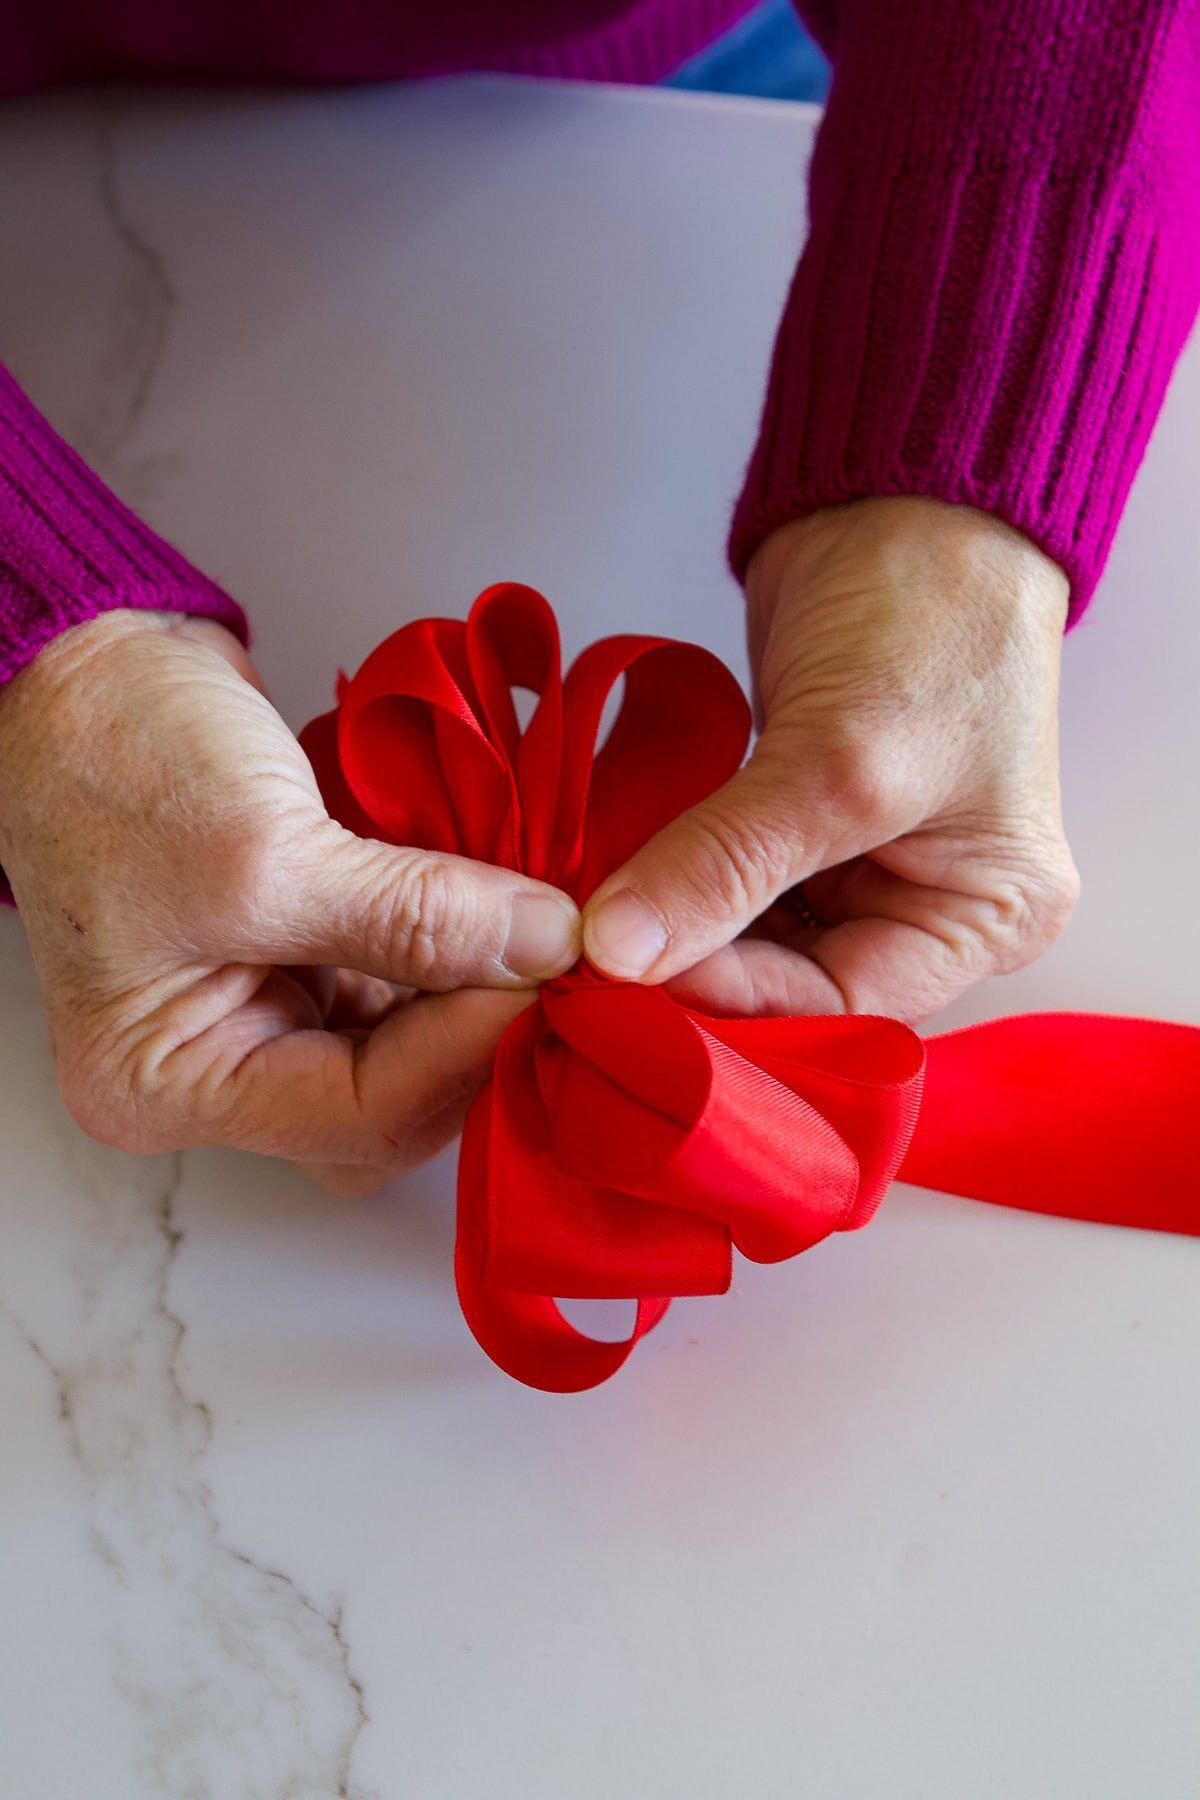
Unwind more ribbon from the spool – you’ll need a good amount for creating the loops. Start by making a loop on one side of the center knot. The size of this first loop will determine the size of your overall bow, so adjust it according to the size of your gift and your desired bow volume. A loop that is a few inches long is a good starting point for a medium-sized gift.
Pinch the ribbon together at the center point where you made the first loop. Now, create a loop of approximately the same size on the opposite side, mirroring the first loop. Continue making loops, alternating sides and keeping them as uniform in size as possible. Pinch the center firmly each time you create a new loop to keep the bow compact and well-formed.
 Step 7: Adding multiple loops on each side to create a full and poufy bow
For a full, “poufy” bow, aim for about four loops on each side, totaling eight loops. However, you can adjust the number of loops depending on how voluminous you want your bow to be. Once you are satisfied with the number of loops and the overall size of your bow, cut the ribbon from the spool, leaving enough to work with if needed, or cutting it cleanly if you are confident with the size.
Step 4: Attaching the Bow to the Base
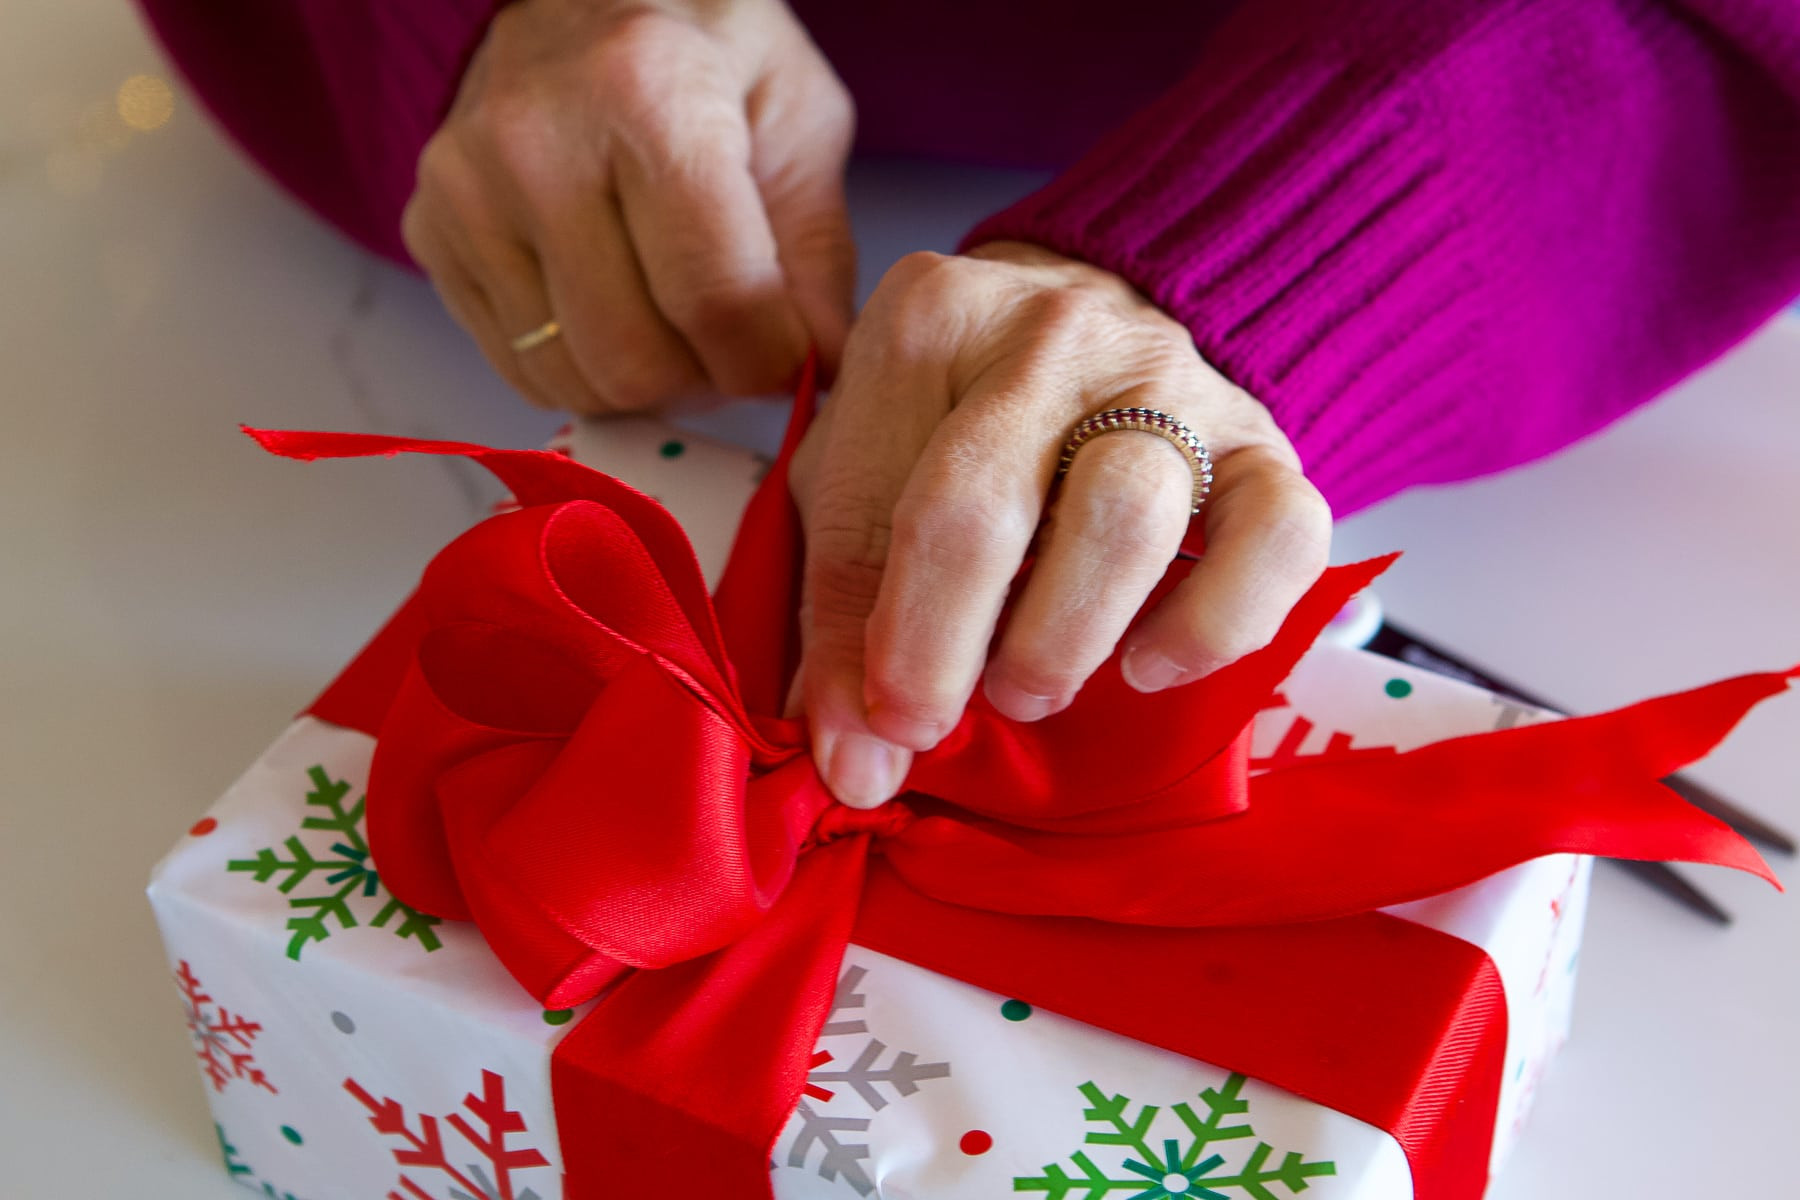 Step 8: Securing the looped bow to the base ribbon by tying a knot
Carefully place the looped bow you’ve created on top of the gift box, centering it over the base knot you tied earlier. Take the long ends of the base ribbon that are still loose and bring them up and around the center of the looped bow. Tie these ends into a firm knot right in the middle of the looped bow, securing it to the package.
After tying the knot, you can trim the excess ribbon from the base ends. Cut them at an angle, just as you did initially, to give them a neat and finished appearance. Ensure they are not too long to keep the focus on the main bow.
A Helpful Tip: Tying the base ribbon around the looped bow while keeping the loops pinched in the center can be a bit tricky, especially when you’re just starting out. If you find it challenging to manage with just two hands, don’t hesitate to ask for help. A helper can tie the knot while you hold the loops firmly in place. With a little practice, you’ll soon be able to manage this step single-handedly.
Step 5: Fluffing and Finishing Touches
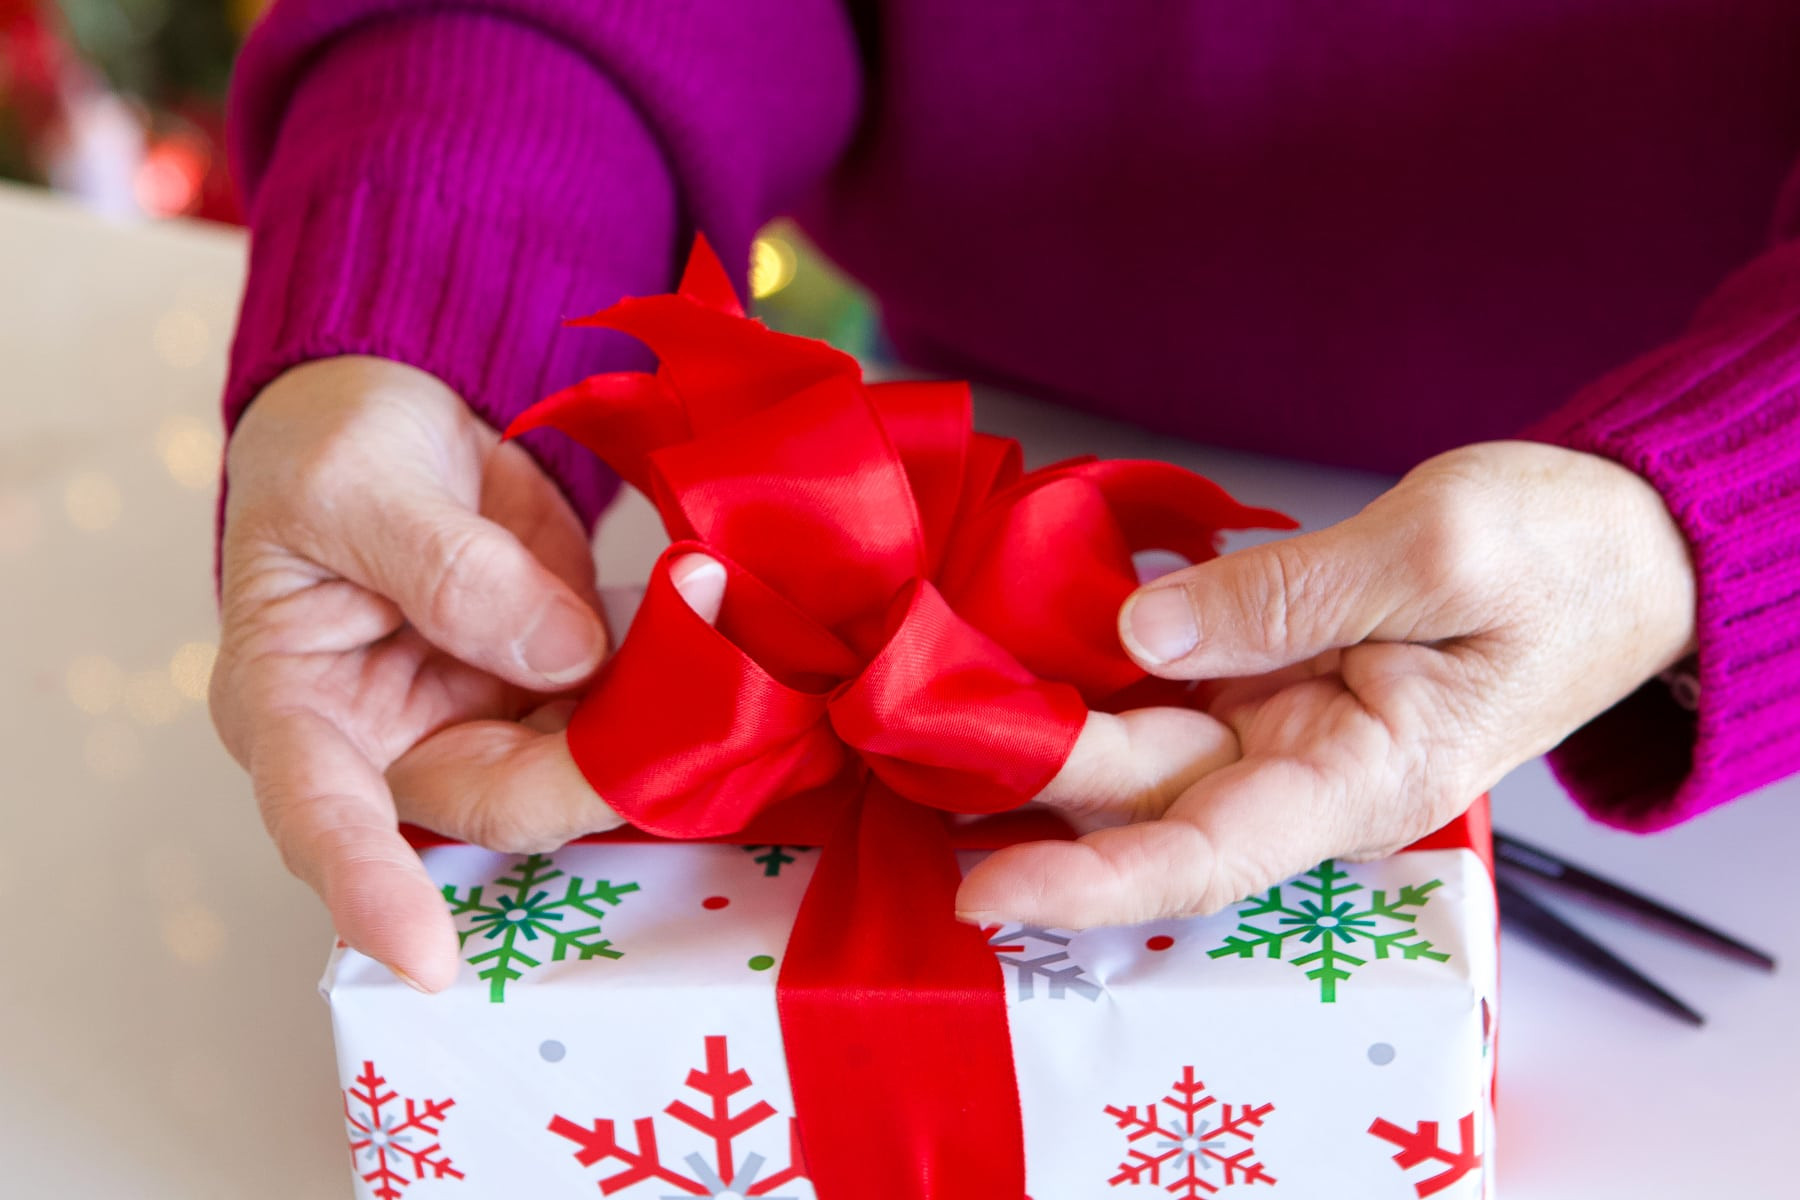 Step 9: Fluffing the bow loops to create volume and a finished look
Now for the most rewarding part – fluffing! This step brings your bow to life, transforming it from a set of loops into a gorgeous, voluminous adornment. Gently grab each individual loop and pull it outwards, away from the center of the bow. Start with the bottom loops and pull them to opposite sides.
Continue this process, layer by layer. Take the loop that is positioned on top of the bottom loop and pull it to the opposite side from the one you just fluffed. Keep going, alternating sides for each loop, until all loops are pulled out and away from the center. The more you “fluff,” the more voluminous and attractive your bow will become. Adjust and tweak the loops until you achieve the desired “fluffy,” “poufy,” and overall gorgeous look. This final fluffing stage is where your bow truly takes shape and becomes a professional-looking finishing touch to your beautifully wrapped gift.
Ribbon Cost Per Gift
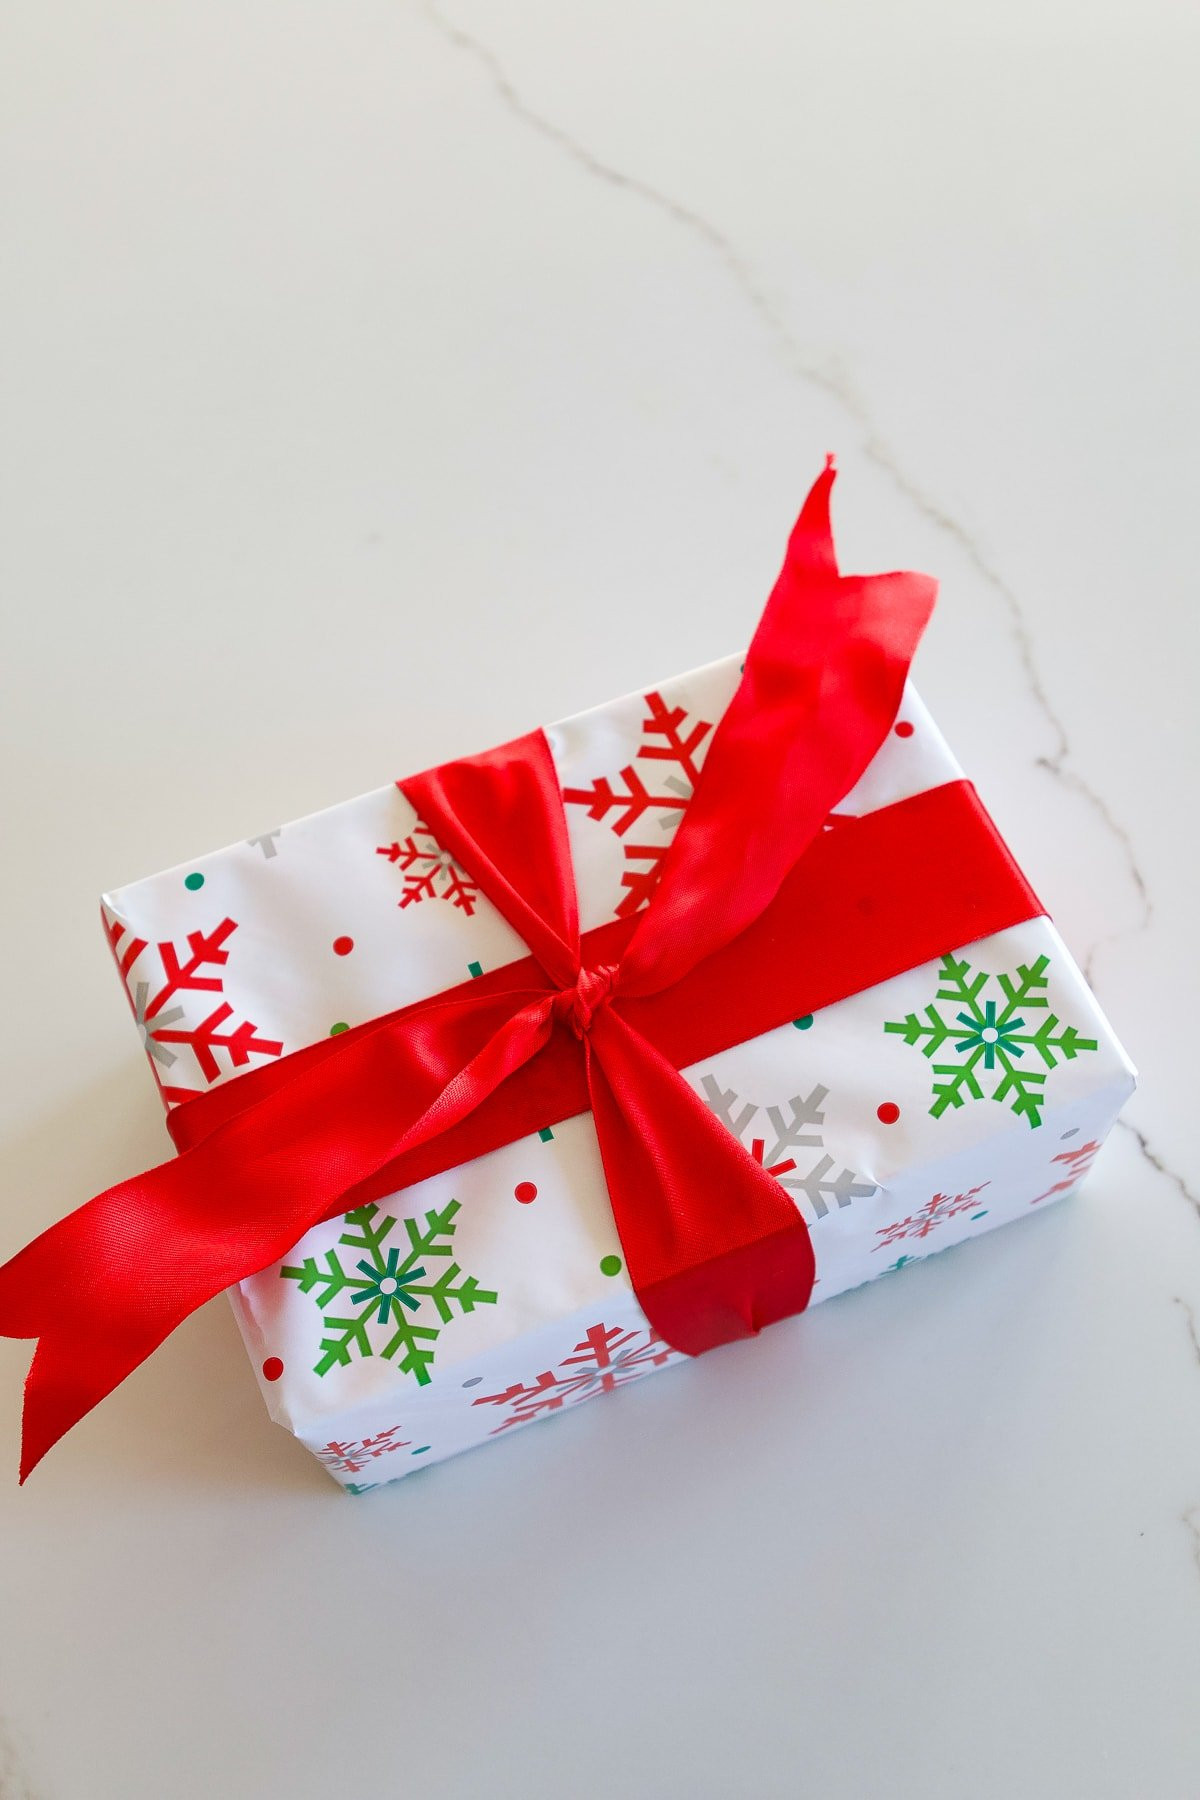
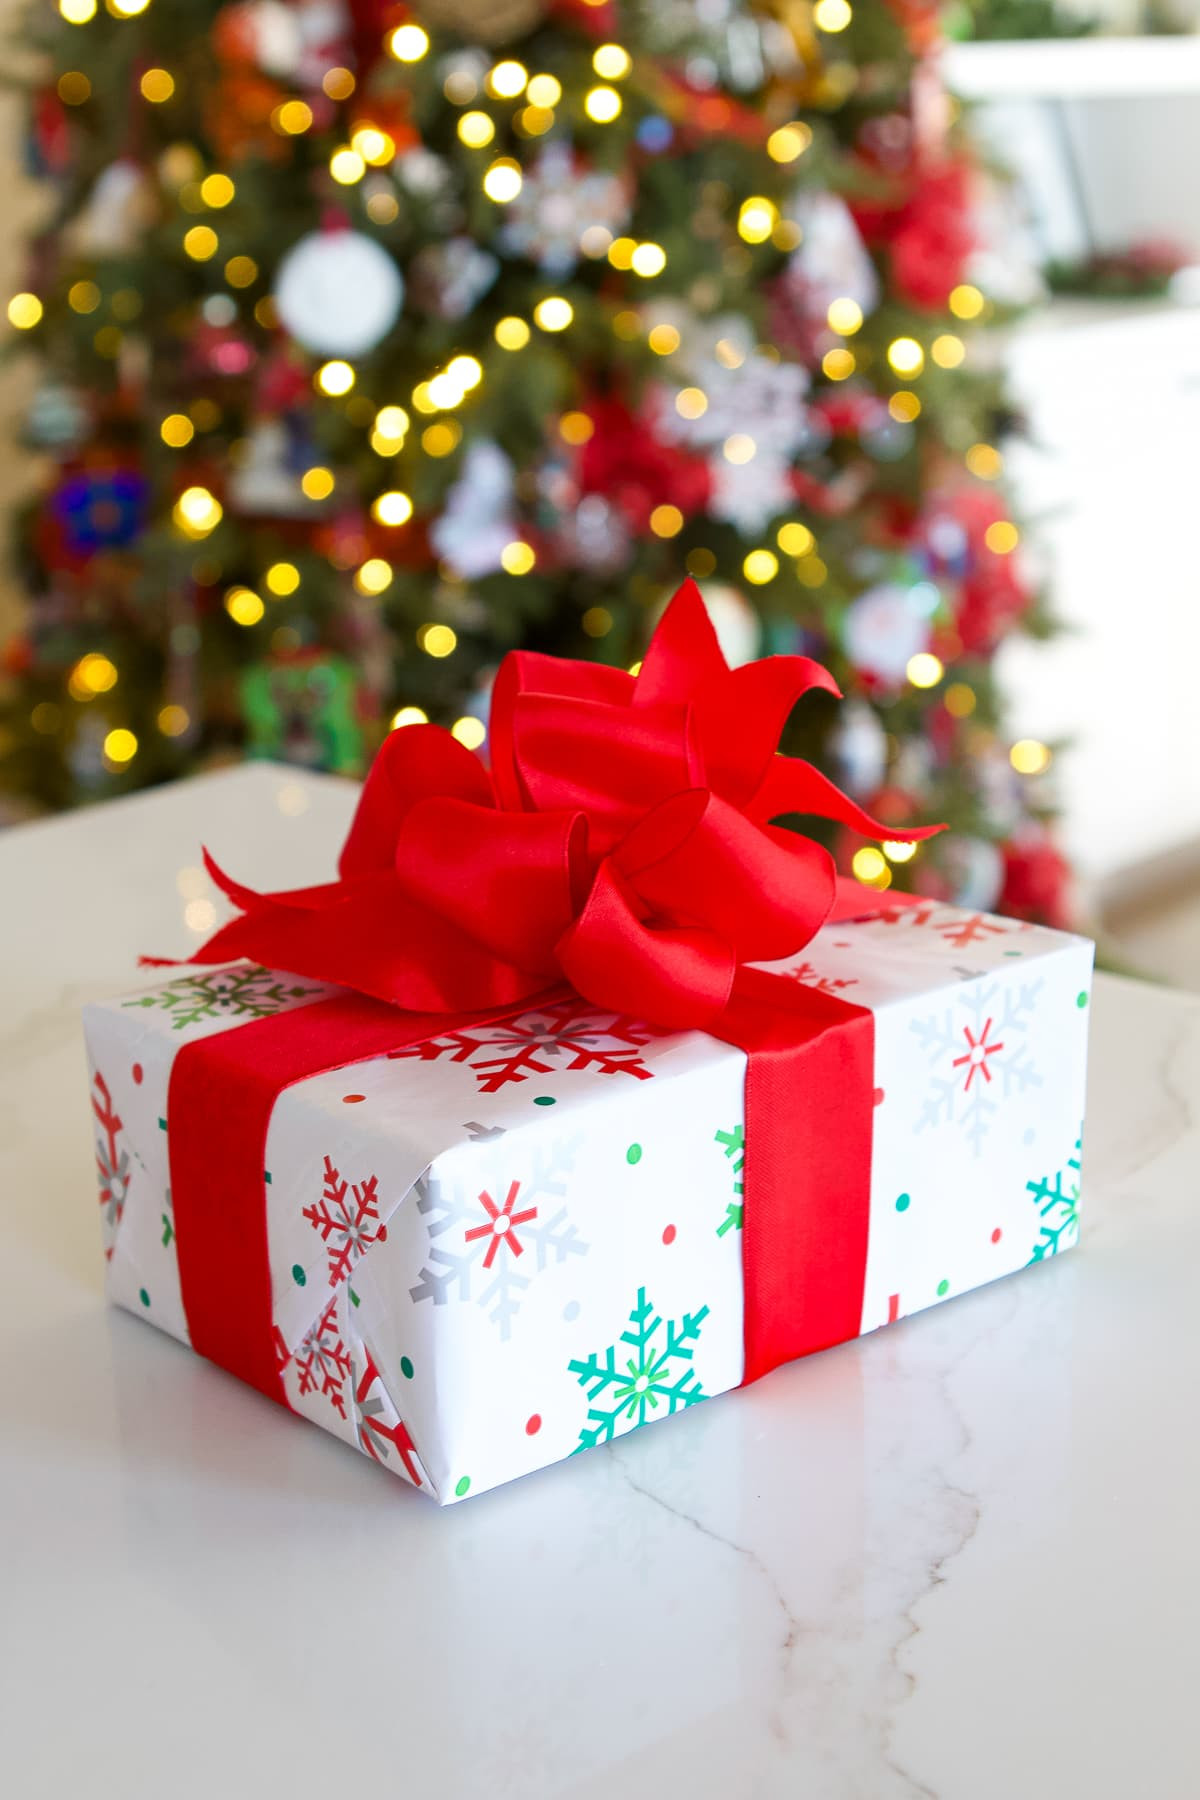 Example of a perfectly wrapped Christmas present with a handmade bow
To give you an idea of the cost-effectiveness, consider the amount of ribbon used for a medium-sized gift box. Approximately 14 feet of ribbon in total is used for both the base wrap and the fancy bow. With a 50-yard spool (150 feet), you can wrap approximately eleven similar-sized gift boxes. This breaks down to roughly $0.65 per package, significantly less expensive than purchasing pre-made bows, which can cost several dollars each. Making your own bows not only adds a personal touch but also offers substantial savings, especially during gift-giving occasions like holidays or birthdays when you might be wrapping multiple presents.
Craft Stunning Gift Bows This Season
 A collection of beautifully wrapped gifts showcasing various handmade bows
With these step-by-step instructions, you’re now equipped to create beautiful gift bows that will impress. If the directions seem daunting at first, the best way to learn is by doing. Grab a wrapped package and a roll of ribbon and start experimenting. Like any new skill, your first attempts might be a bit messy, but with practice, your bows will become increasingly refined and impressive.
Practice is key! The more you practice, the easier and more natural the process will become. Soon, you’ll be creating gift bows that are the envy of everyone. Imagine the compliments on your beautifully wrapped Christmas gifts – they will look so inviting, recipients might be tempted to peek inside before their time!
These techniques aren’t limited to just gift bows. You can also use these steps to make decorative bows for your Christmas tree, wreaths, garlands, or any holiday décor. Simply adjust the size of the loops to create larger bows for bigger decorations. The fundamental steps remain the same, allowing you to apply your bow-making skills across various decorative projects.
A Heartfelt Thanks to Jan
 Thank you graphic with text overlay "How to tie a fancy bow for presents"
A special thank you to Jan for sharing her invaluable bow-making tips and guiding us through this creative process. For those inspired to elevate their gift-wrapping game, practicing these techniques is the next step. Perhaps it’s time to say farewell to those less personal gift bags and embrace the art of the handmade bow!
Explore More Gift Ideas
 Holiday gift guide cover graphic
Looking for the perfect presents to wrap with your newly mastered bow-tying skills? Explore the 2024 Holiday Gift Guide for a curated collection of gift ideas for everyone on your list.
-Casey