
Gift bags are a fantastic, versatile, and time-saving alternative to traditional gift wrapping. They offer an element of surprise and can be reused, making them an eco-friendlier choice. But simply dropping a gift into a bag can feel a bit…unfinished. The secret to truly impressive gift bag presentation? Mastering the art of tissue paper placement.
In this guide, we’ll explore the best techniques on how to put tissue paper in a gift bag to not only secure your gift but also add that touch of elegance and excitement that makes unwrapping an experience. Whether you’re gifting a small token of appreciation or a grand gesture, the way you present it speaks volumes.
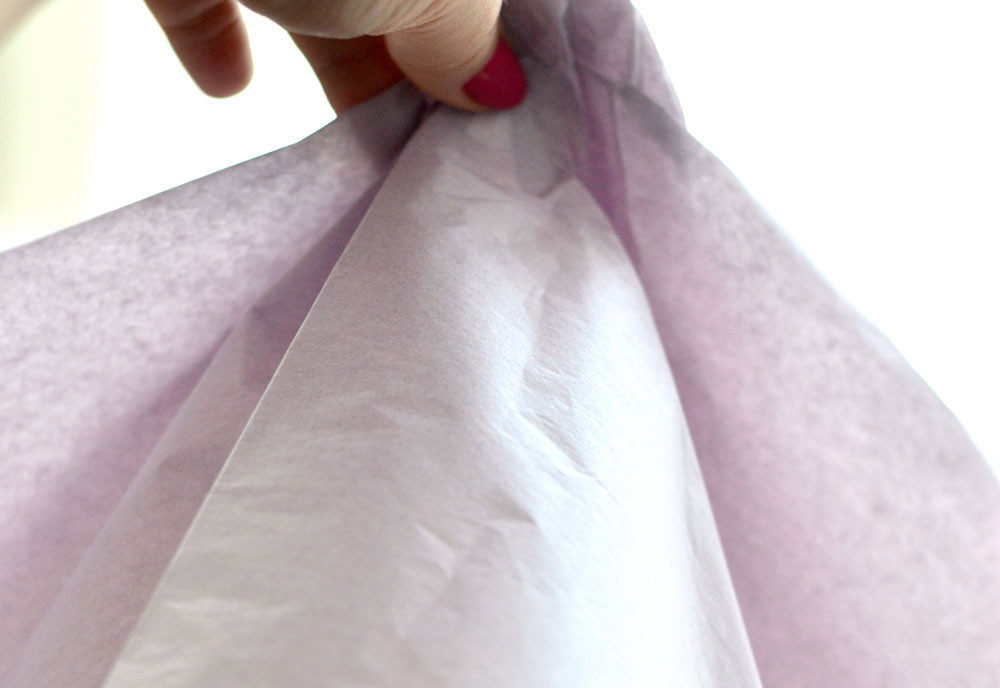
 A hand inserting purple tissue paper into a white gift bag, demonstrating the tissue paper bouquet method.
Why Tissue Paper Matters in Gift Bags: Beyond Just Filler
Tissue paper isn’t just there to take up space. It plays several crucial roles in enhancing your gift presentation:
- Cushioning and Protection: Tissue paper provides a soft layer of padding, safeguarding delicate gifts during transport and preventing them from shifting around in the bag.
- Height and Visual Appeal: Strategically placed tissue paper adds height and volume to the gift bag, creating a more substantial and visually appealing presentation. It draws the eye and makes the gift look more considered.
- Concealment and Surprise: Tissue paper elegantly hides the gift, building anticipation and excitement for the recipient. The reveal becomes part of the gifting experience.
- Color and Theme Integration: Tissue paper allows you to introduce color and texture that complements the gift bag and the occasion. You can match colors to a theme, holiday, or the recipient’s preferences.
- Professional Finish: Knowing how to arrange tissue paper properly elevates the look of your gift from hastily thrown together to thoughtfully curated, adding a professional touch even for DIY gifts.
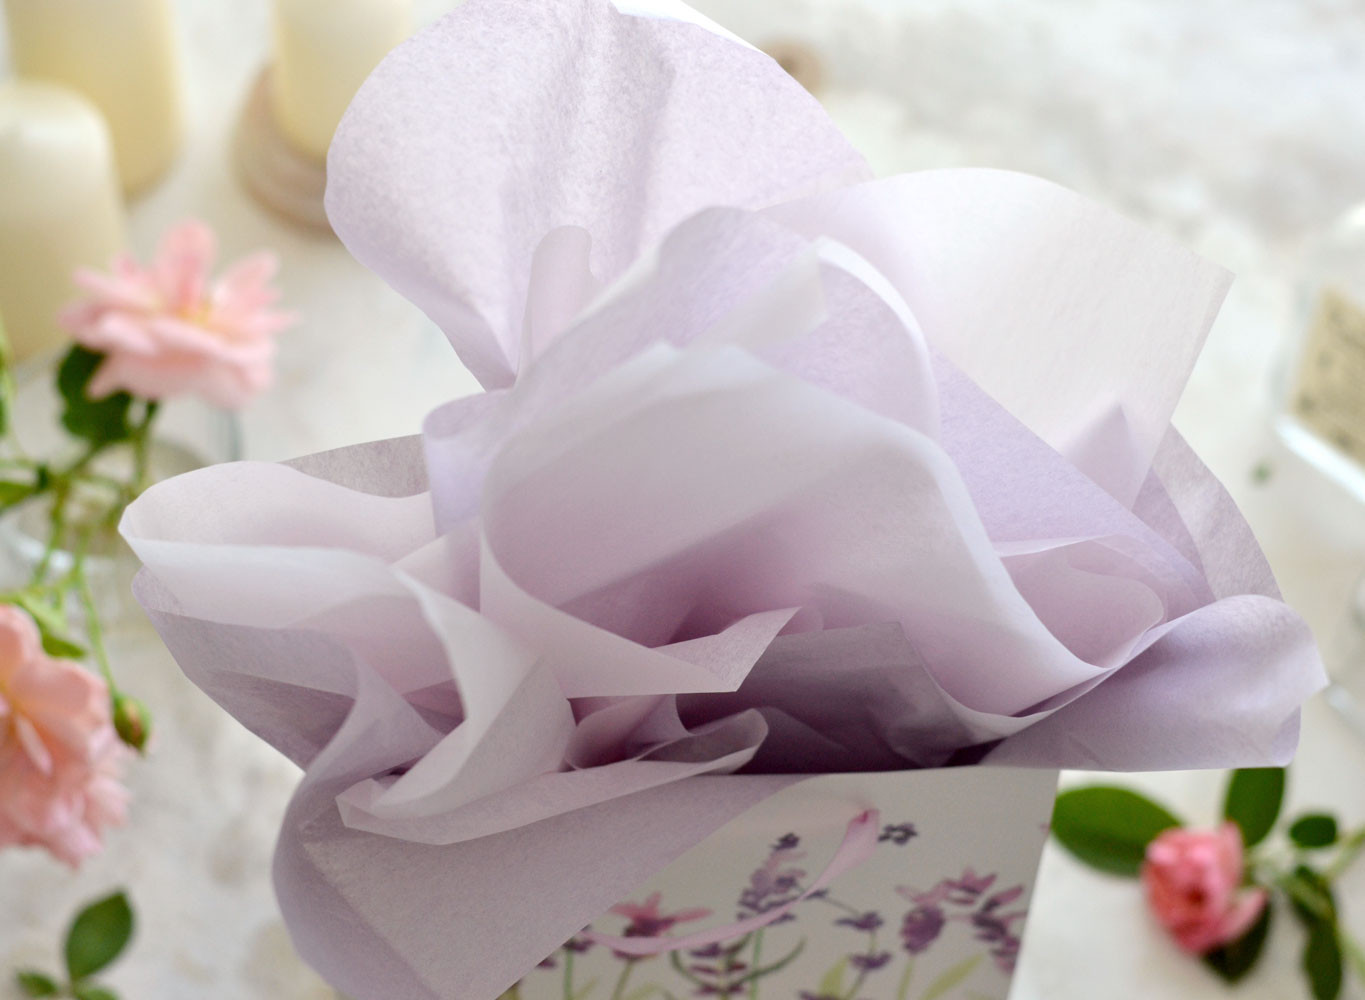
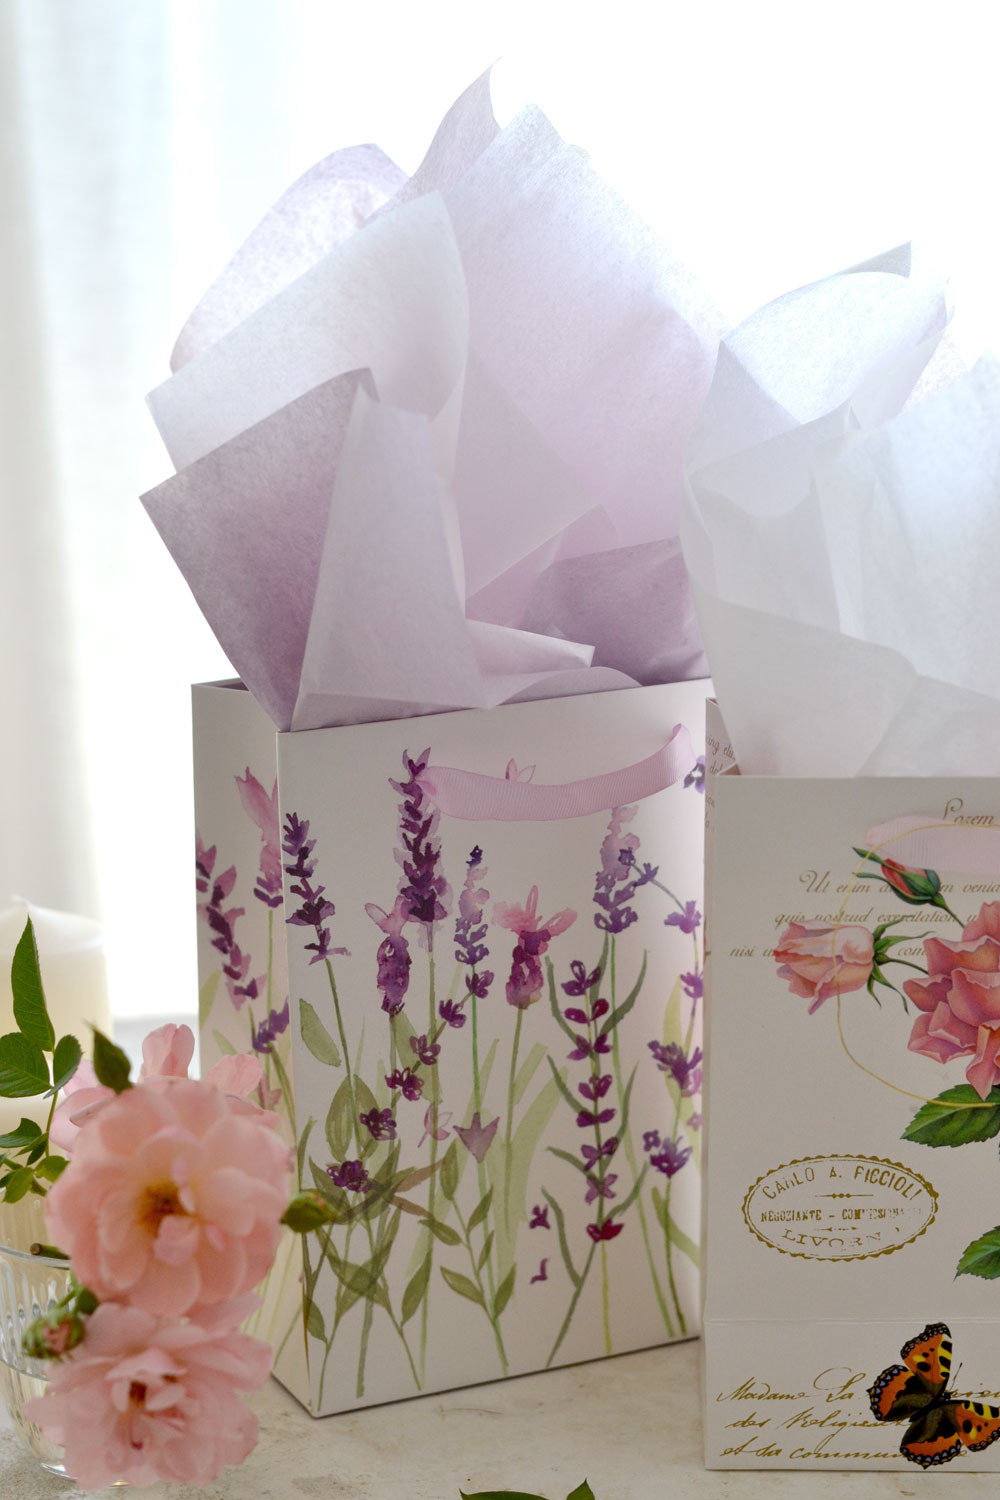
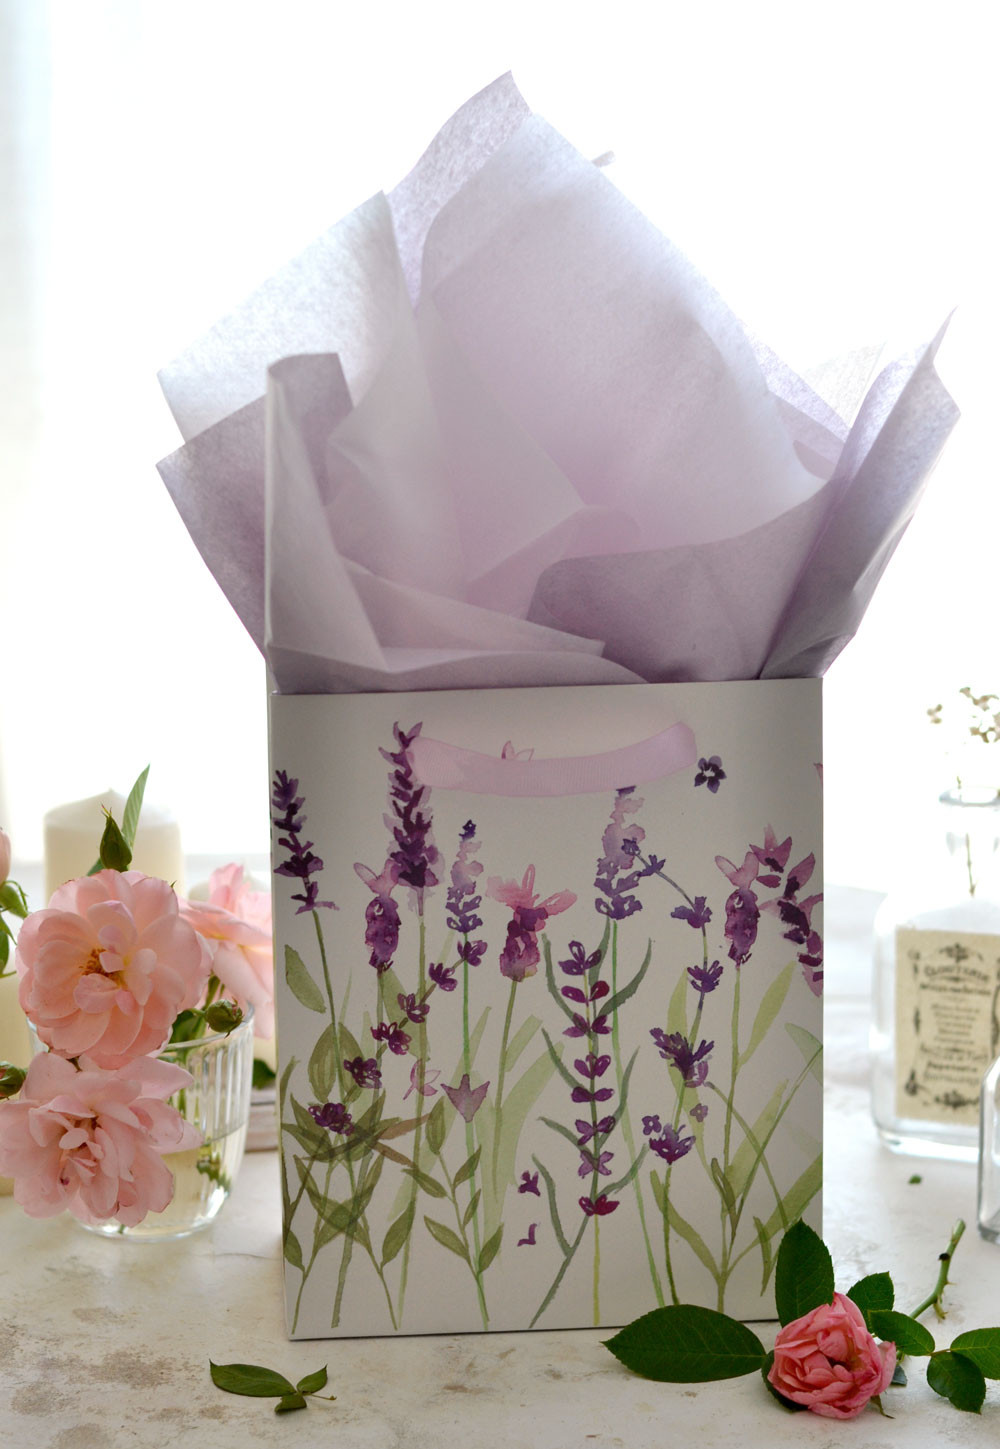 Close up of a lavender gift bag filled with purple and white tissue paper, showcasing color coordination in gift wrapping.
Choosing the Right Tissue Paper & Gift Bag for Impact
Before we dive into techniques, let’s briefly consider the materials. The right combination of tissue paper and gift bag can significantly enhance your presentation.
- Gift Bag Style: Consider the occasion and your gift. Kraft paper bags offer a rustic, natural look, while glossy bags exude sophistication. Choose bags with designs that resonate with the gift or the recipient’s style. For law-related gifts, consider bags in classic colors like navy, gray, or burgundy, or those with subtle patterns.
- Tissue Paper Colors: White tissue paper is a classic and versatile choice, offering a clean and elegant backdrop. However, don’t shy away from colors!
- Complementary Colors: Choose tissue paper in colors that complement the gift bag. For example, pink tissue in a floral bag or silver tissue in a navy bag.
- Thematic Colors: Use colors that match the occasion, like red and green for Christmas, pastel shades for baby showers, or gold and silver for anniversaries.
- Recipient’s Favorites: If you know the recipient’s favorite color, incorporating it into the tissue paper is a thoughtful touch.
- Metallic Accents: Metallic tissue paper (gold, silver, copper) adds a touch of glamour and is perfect for celebratory occasions.
- Tissue Paper Quantity: For a standard gift bag, 2-4 sheets of tissue paper are usually sufficient. Adjust based on the bag size and the desired fullness.
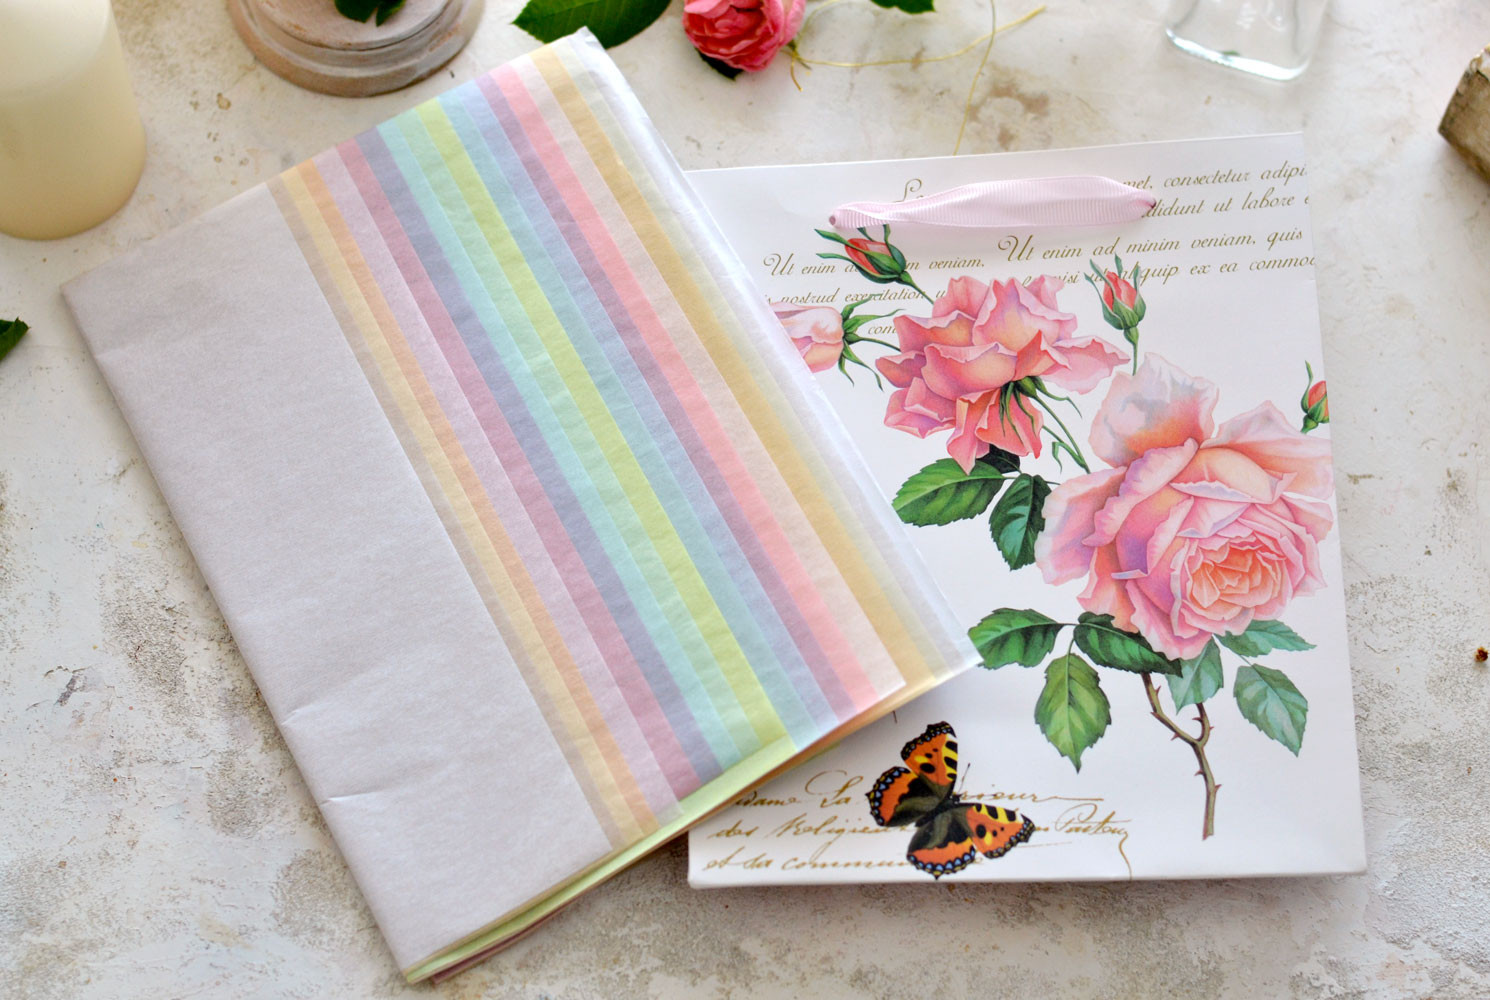 A selection of colorful tissue paper sheets in various shades, demonstrating options for gift bag decoration.
Step-by-Step Guide: Mastering Tissue Paper Techniques for Gift Bags
Here are a few popular and effective methods on how to put tissue paper in a gift bag:
1. The Classic Bouquet Method: Simple Elegance
This is a timeless and easy technique that creates a beautiful, flower-like burst of tissue paper at the top of the bag.
- Lay and Stack: Place 2-4 sheets of tissue paper on a flat surface, stacked neatly on top of each other. You can use one color or alternate colors for visual interest.
- Pinch and Lift: Find the center of the top sheet and gently pinch all layers together at this point. Lift upwards, letting the tissue paper drape down.
- Form the Bouquet: Continue gathering the tissue paper downwards, forming a loose “bouquet” shape in your hand.
- Insert into Bag: Carefully insert the pointed end of your tissue paper bouquet into the gift bag, positioning it around and slightly behind your gift.
- Fluff and Arrange: Once inserted, gently fluff the tissue paper at the top of the bag to create a full, rounded appearance, resembling a bouquet of flowers. Adjust the layers until you achieve the desired look.
 Hands pinching the center of tissue paper sheets, first step in creating the tissue bouquet for gift bags.
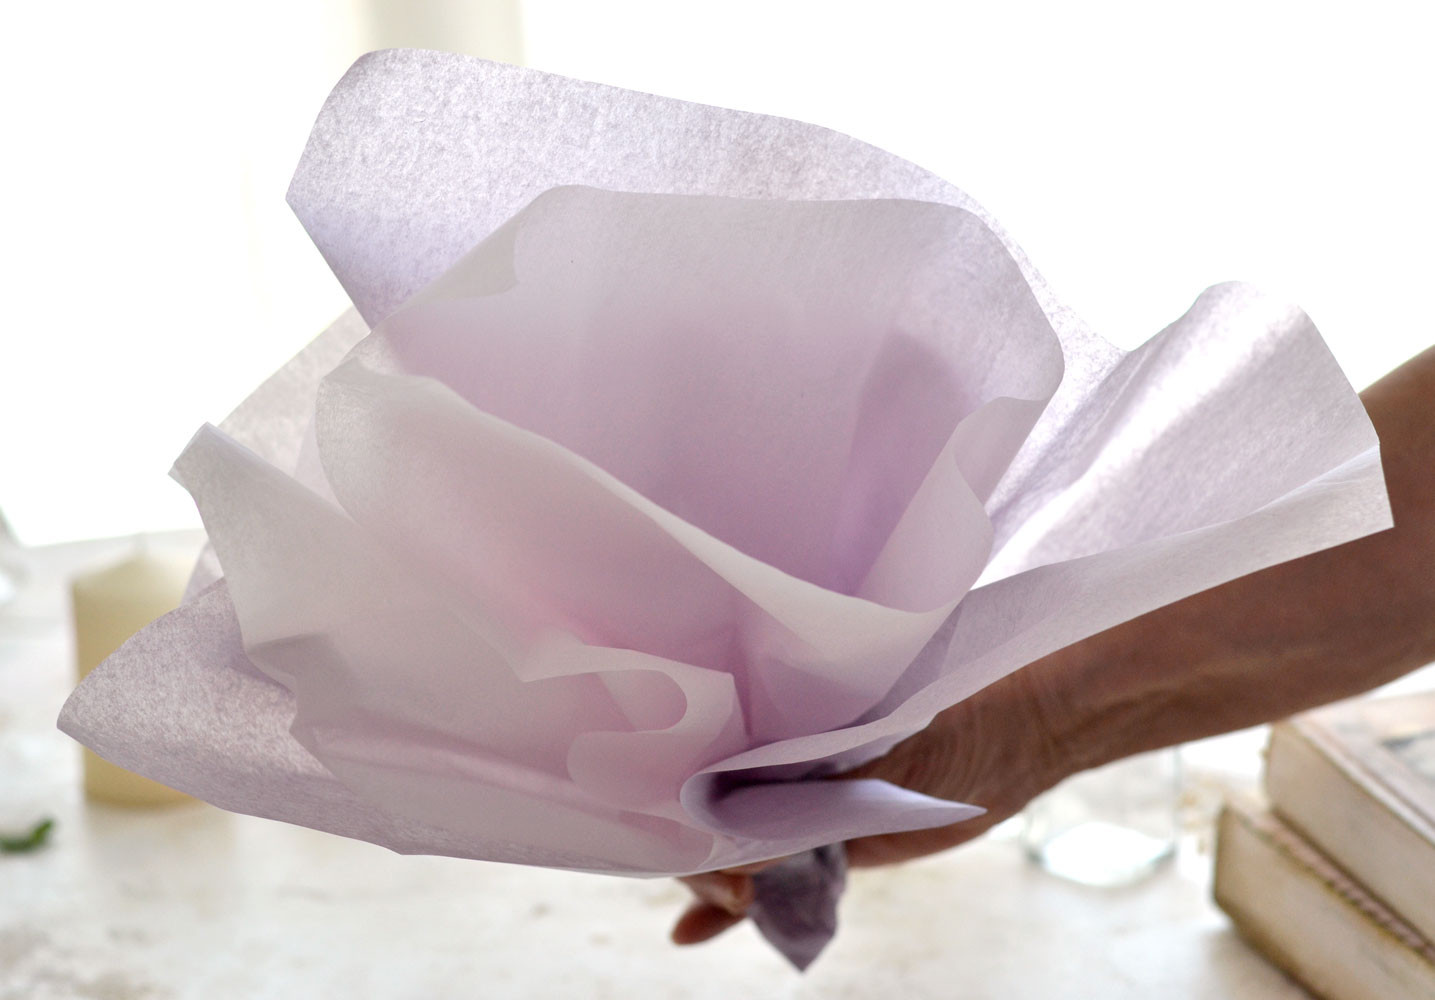 Hands holding the tissue paper gathered like a bouquet, preparing to insert it into a gift bag.
 Tissue paper bouquet being inserted into a gift bag, demonstrating the placement technique.
2. The Spiky Starburst Method: For a Modern Flair
If you prefer a more contemporary and dynamic look, the starburst method adds a spiky, energetic feel to your gift bag.
- Stack and Accordion Fold: Stack 2-3 sheets of tissue paper. Starting from one short edge, make accordion folds (like folding a fan), about 1-2 inches wide, across the entire stack.
- Fold in Half: Fold the accordion-folded tissue paper in half at the center.
- Secure the Center: Use a piece of tape or twist tie to secure the center fold.
- Shape the Starburst: Gently separate and fan out the layers of tissue paper on each side of the center to create a starburst or spiky effect.
- Insert and Position: Place the pointed end of the starburst into the gift bag, positioning it so the “spikes” radiate outwards and upwards. Adjust and fluff as needed.
3. The Criss-Cross Cascade Method: Layered and Luxurious
For a more voluminous and textured presentation, the criss-cross cascade method offers depth and visual interest.
- Individual Sheets: Take each sheet of tissue paper individually.
- Scrunch and Twist: Lightly scrunch each sheet in the center and give it a gentle twist. You don’t need to make it a tight ball, just enough to create some texture and dimension.
- Layer and Arrange: Insert each scrunched tissue paper sheet into the gift bag, layering them and crisscrossing them at angles. Start by placing some towards the back, then the front, and then fill in the sides.
- Build Volume: Continue adding scrunched sheets, building volume and creating a cascading effect that spills out of the top of the bag. Adjust the placement of each sheet to create a balanced and visually appealing arrangement.
Pro Tips for Perfect Tissue Paper Presentation
- Mix and Match Textures: Experiment with combining different types of tissue paper, such as smooth and crinkled, or matte and metallic, for added visual interest.
- Coordinate with Gift Tags and Ribbons: Extend your color scheme to gift tags, ribbons, and other embellishments for a cohesive and polished look.
- Consider the Gift’s Shape: For oddly shaped gifts, use more tissue paper to create a stable and visually balanced presentation.
- Practice Makes Perfect: Don’t be afraid to experiment with different techniques and find what works best for you and the gifts you’re giving.
- Less is Sometimes More: While volume is good, avoid overstuffing the bag to the point where it looks messy or the tissue paper is overly compressed. Aim for a balance between fullness and neatness.
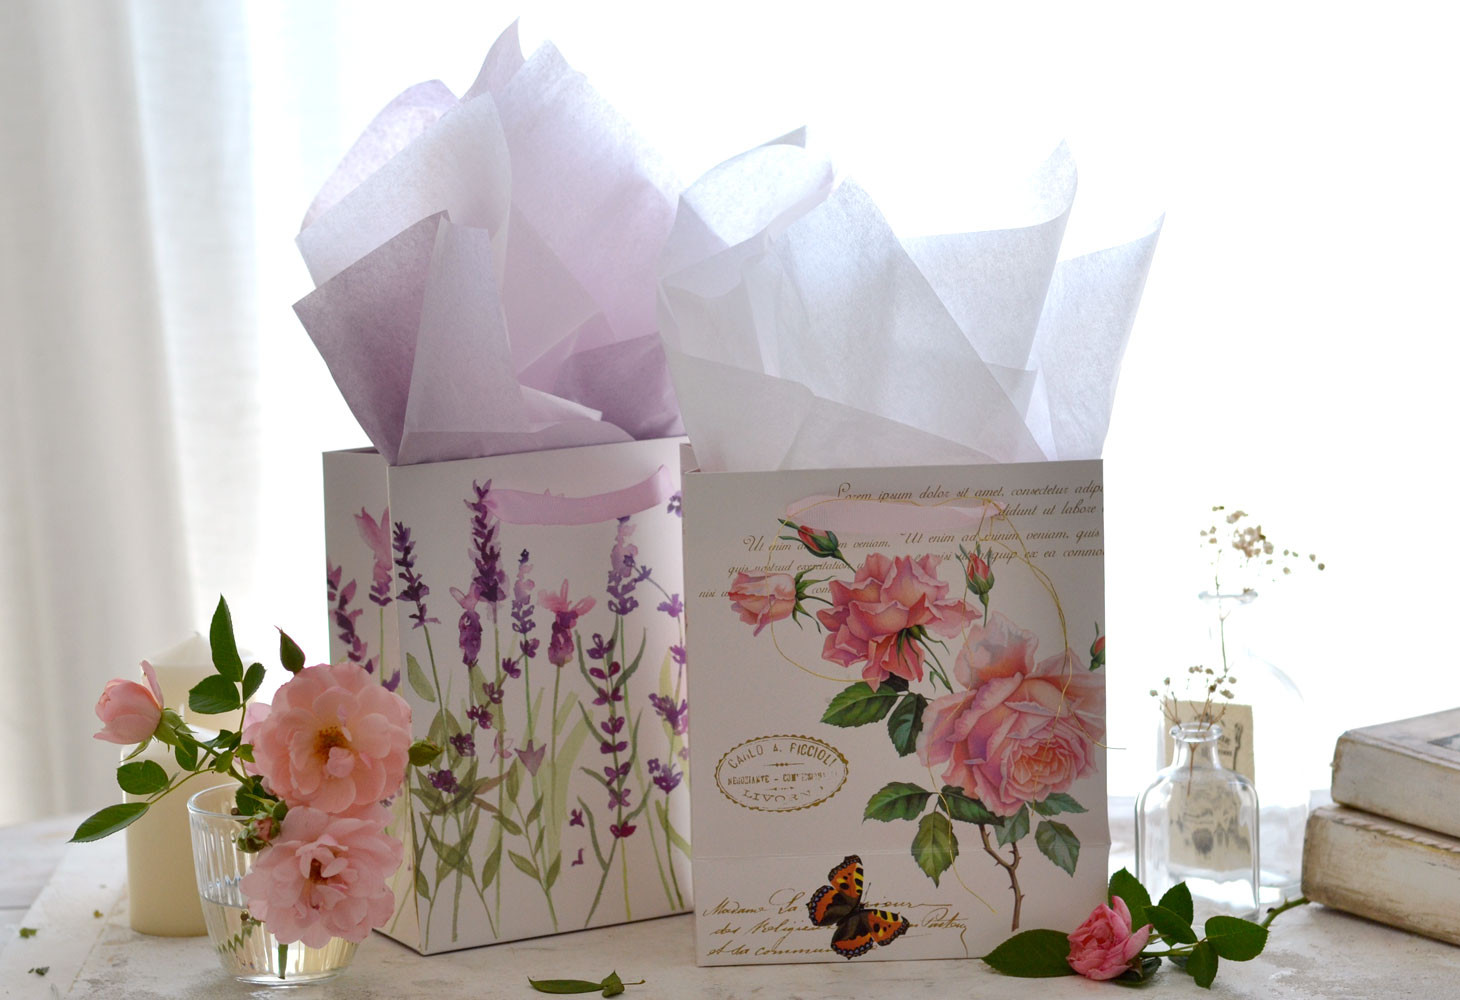
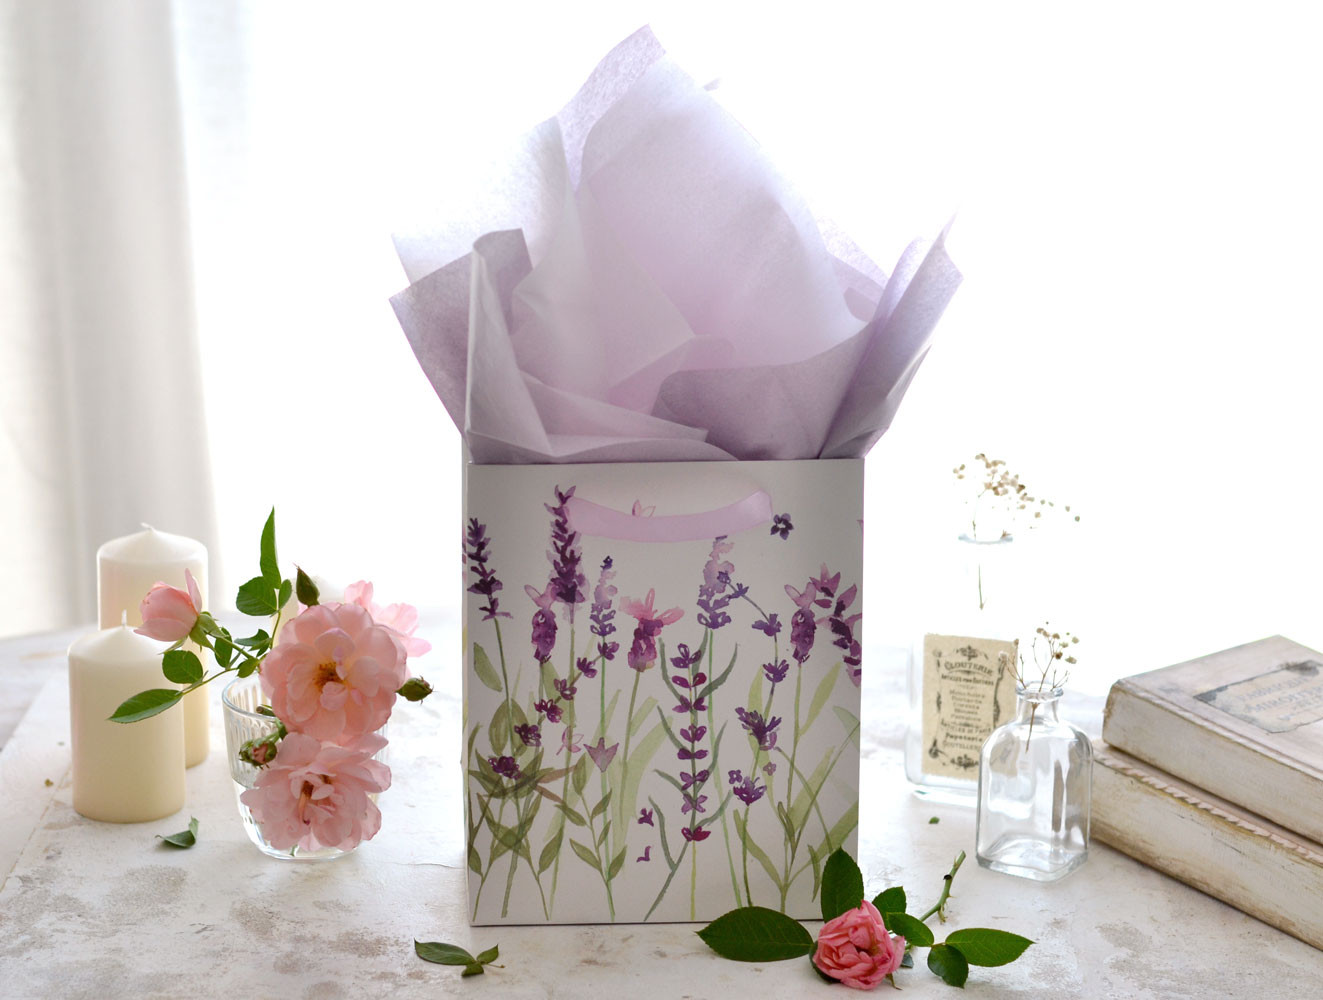 A gift bag filled with purple tissue paper, paired with a lavender themed gift, showcasing a coordinated gift presentation.
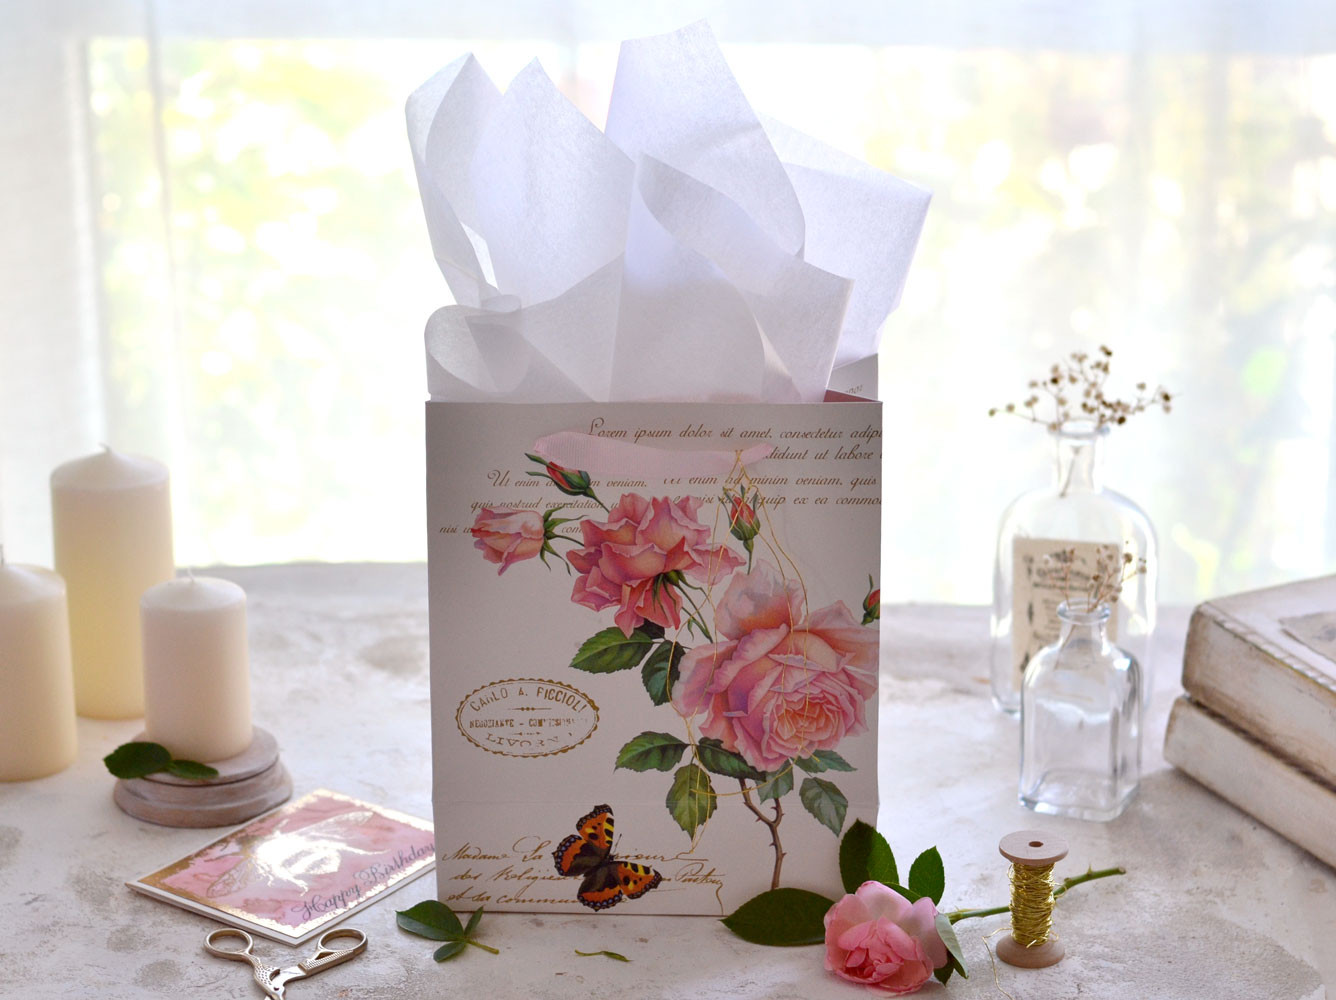 A rose themed gift bag with white tissue paper, demonstrating classic color pairing for gift wrapping.
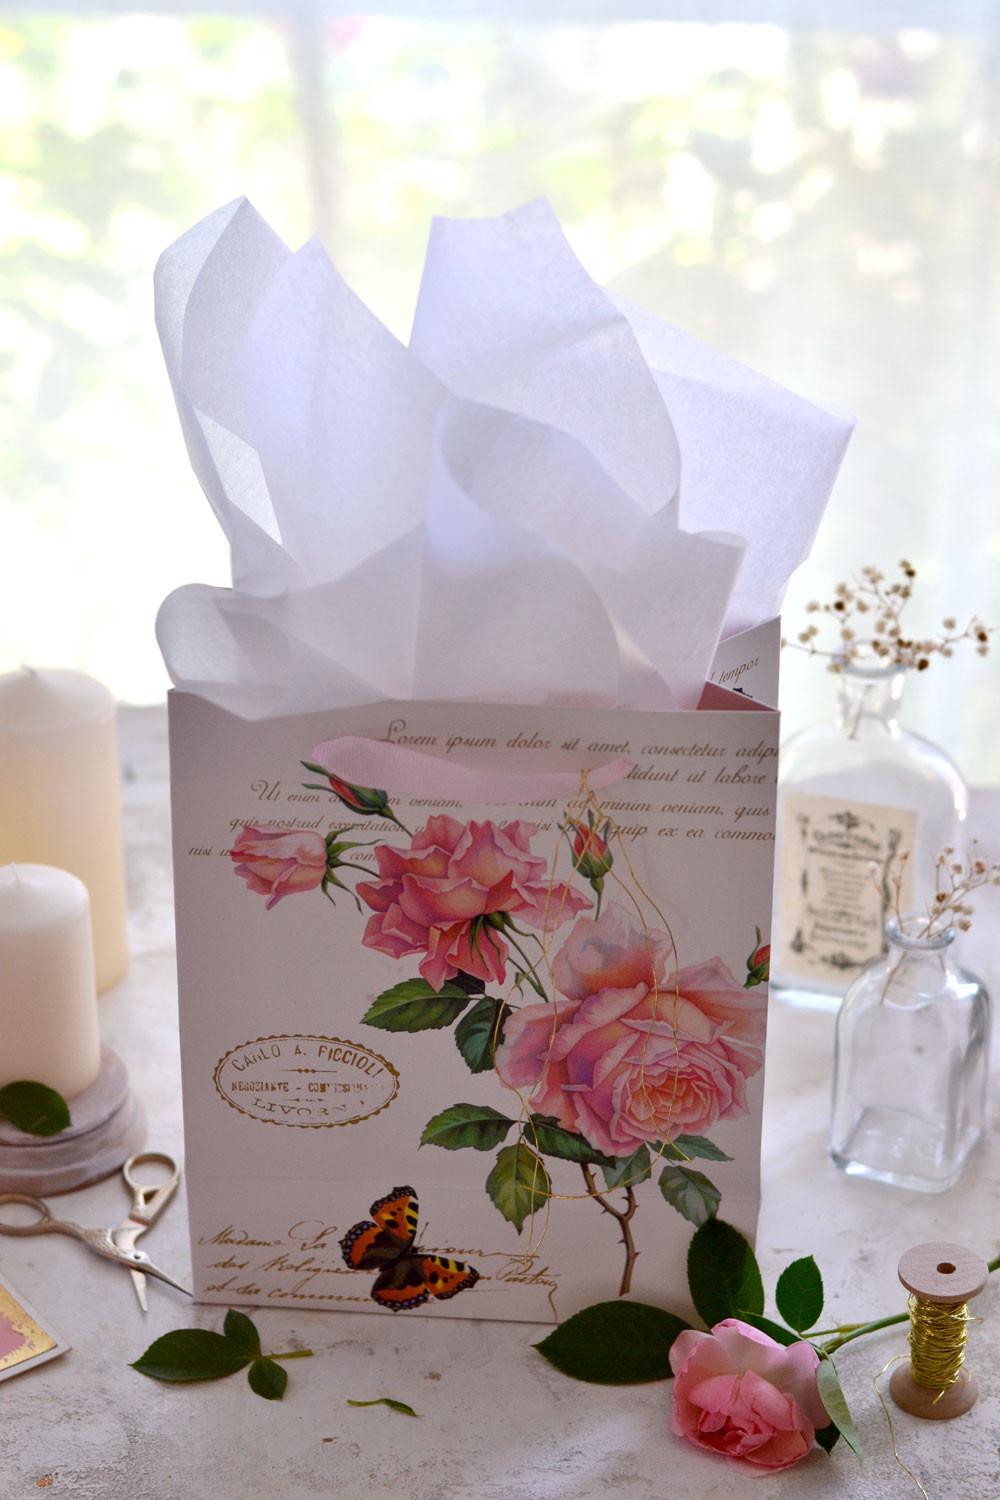 A pink rose gift bag with white tissue paper, showing a simple yet elegant gift bag presentation.
Tissue Paper Ideas Beyond the Basics
Once you’ve mastered the basic techniques, you can get even more creative:
- Patterned Tissue Paper: Use tissue paper with polka dots, stripes, or other patterns to add personality.
- Custom Printed Tissue Paper: For a truly professional touch, especially for business gifts, consider custom-printed tissue paper with a logo or message.
- Tissue Paper Flowers: Create tissue paper flowers and attach them to the top of the gift bag for an extra decorative element.
- Layered Colors: Use multiple colors of tissue paper to create ombre effects or bold color blocks.
 Various decorated gift bags with colorful tissue paper and embellishments, inspiring creative gift wrapping ideas.
Final Thoughts: The Finishing Touch That Matters
Knowing how to put tissue paper in a gift bag is a small detail that makes a big difference. It’s about adding that extra layer of care and thoughtfulness that elevates your gift presentation from ordinary to outstanding. So next time you’re using a gift bag, take a few extra moments to arrange the tissue paper beautifully – it’s a simple gesture that will surely be appreciated.
For more gift wrapping inspiration and creative ideas, explore our other articles on lawyergift.net. Happy gifting!