Halloween is creeping closer, and it’s the perfect time to start thinking about treats and gifts for your loved ones. Forget store-bought clichés – this year, let’s embrace the spirit of DIY and create some truly unique and spooky Halloween gifts! If you’re searching for creative and fun ways to celebrate Halloween, you’ve come to the right place. We’re diving into the world of handmade Halloween Gift Ideas that are sure to impress, starting with adorable Halloween tags that add a personal touch to any treat.
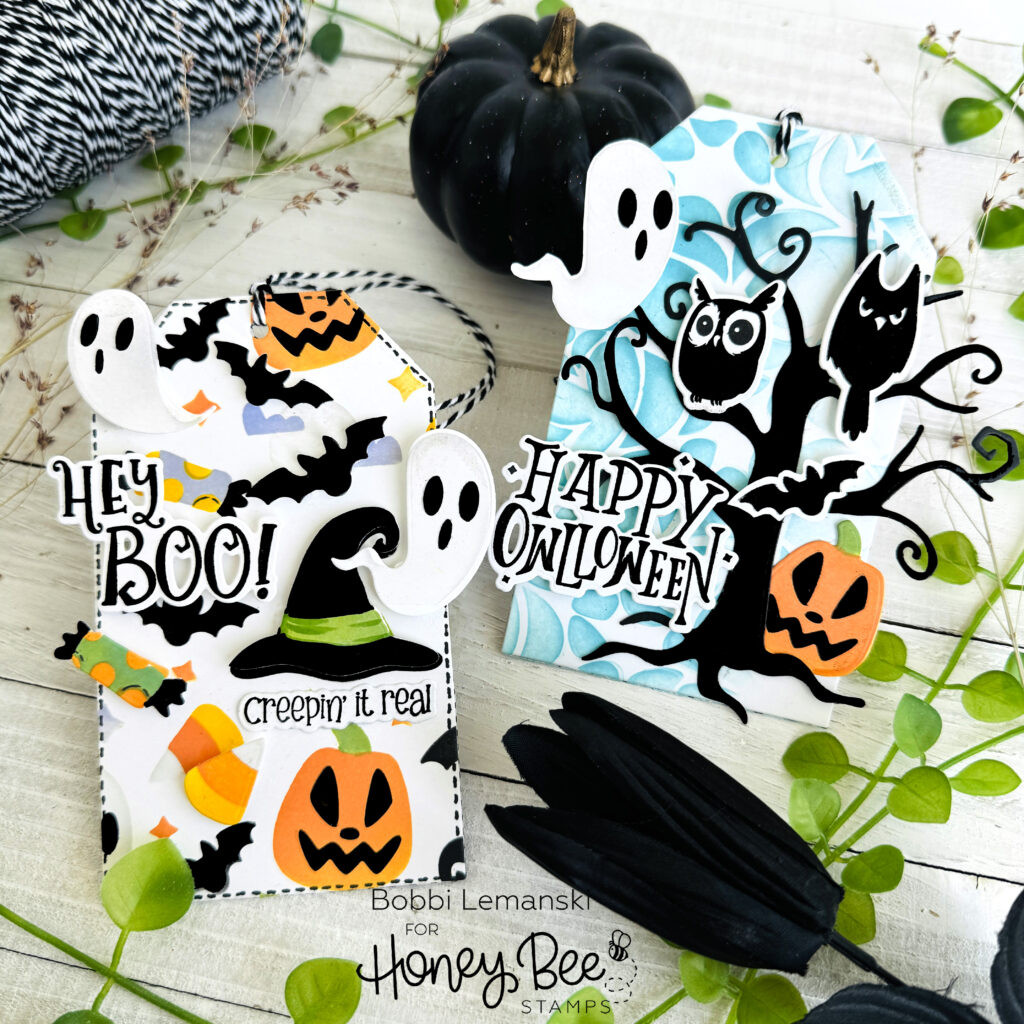 Close-up of two handmade Halloween tags featuring spooky and cute designs.
DIY Halloween Gift Tags: Small Gifts, Big Impact
Gift tags might seem like a small detail, but they’re a fantastic way to elevate your Halloween presents. Handmade tags show you’ve put in extra thought and effort, making your gifts even more special. Plus, they are incredibly versatile and can be attached to candy bags, baked goods, small trinkets, or even larger gifts. Let’s explore how to make some charming Halloween tags that will delight anyone who receives them.
Crafting a “Happy Haunting” Tag
For a classic Halloween vibe, the “Happy Haunting” tag is a winner. This design uses stencils and ink blending techniques to create a spooky yet fun background.
 Detailed view of a handmade Halloween tag with stenciled spooky images and the sentiment "Happy Haunting".
Materials You’ll Need:
- White cardstock
- Halloween-themed stencils (like the Happy Haunting – Set of 6 Background Stencils)
- Distress Oxide Inks in Halloween colors (Black Soot, Carved Pumpkin, Twisted Citron, Mustard Seed, Lost Shadow, Shaded Lilac)
- Blender brushes
- Happy Haunting Honey Cuts dies
- Foam tabs or dots
- Black fine-tip pen (optional, for hand-drawn stitches)
- Patterned paper (from Sweet and Spooky Paper Pad)
- Baker’s twine
Step-by-Step Instructions:
- Stencil the Background: Use your blender brushes and Distress Oxide inks to stencil Halloween images onto two pieces of white cardstock. Experiment with layering colors for depth.
- Die-Cut Elements: From one stenciled piece, use coordinating dies to cut out individual Halloween images. From the other piece, die-cut a tag shape to create your tag base.
- Assemble the Tag: Attach the stenciled images to the tag base using foam tabs for a 3D effect.
- Add Sentiment: Stamp and die-cut a “Happy Haunting” sentiment or a similar spooky phrase. Adhere it to the tag, letting some parts hang off the edge for a playful look.
- Finishing Touches: Optional: Hand-draw black stitches around the tag perimeter for a handcrafted feel. Attach a piece of patterned paper to the back of the tag to cover the back and add extra flair. Add baker’s twine to finish it off.
Creating an “Owlloween” Tag
If you prefer a touch of cute with your spooky, the “Owlloween” tag is perfect! Featuring adorable owls and a haunted tree, this tag is charming and festive.
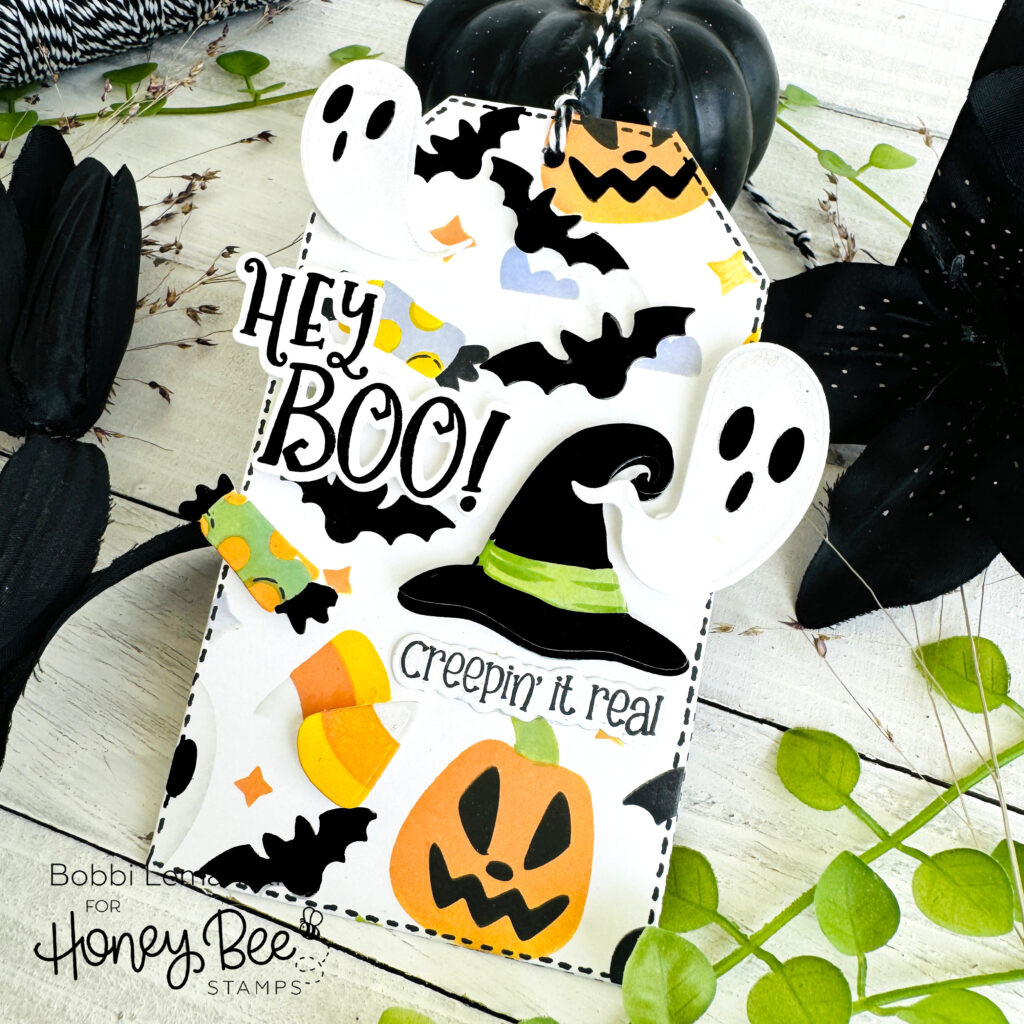 Close-up of a handmade Halloween tag featuring an owl, haunted tree, and bats with the sentiment "Hey Boo!".
Materials You’ll Need:
- White cardstock
- Owlloween – 6×8 Stamp Set and coordinating dies
- Happy Haunting stencil set (for pumpkin and background)
- Ranger Tumbled Glass Distress Oxide Ink
- Blender brushes
- Foam tabs or dots
- Patterned paper (from Sweet and Spooky Paper Pad)
- Baker’s twine
Step-by-Step Instructions:
- Stencil the Background: Use a stencil from the Happy Haunting set and Tumbled Glass Distress Oxide Ink to create a subtle background on your tag base.
- Stamp and Die-Cut Images: Stamp images from the Owlloween stamp set, such as the haunted tree, owls, and bats, using black ink. Die-cut these images and a pumpkin (from Happy Haunting set).
- Assemble the Tag: Arrange and adhere the stamped images onto the tag base. Use foam tabs to make the owls and sentiment stand out. Allow some elements to extend beyond the tag edges for visual interest.
- Add Sentiment: Stamp, die cut and attach a spooky sentiment like “Hey Boo!” from the Owlloween set.
- Finishing Touches: Cover the back of the tag with patterned paper. Add baker’s twine for hanging.
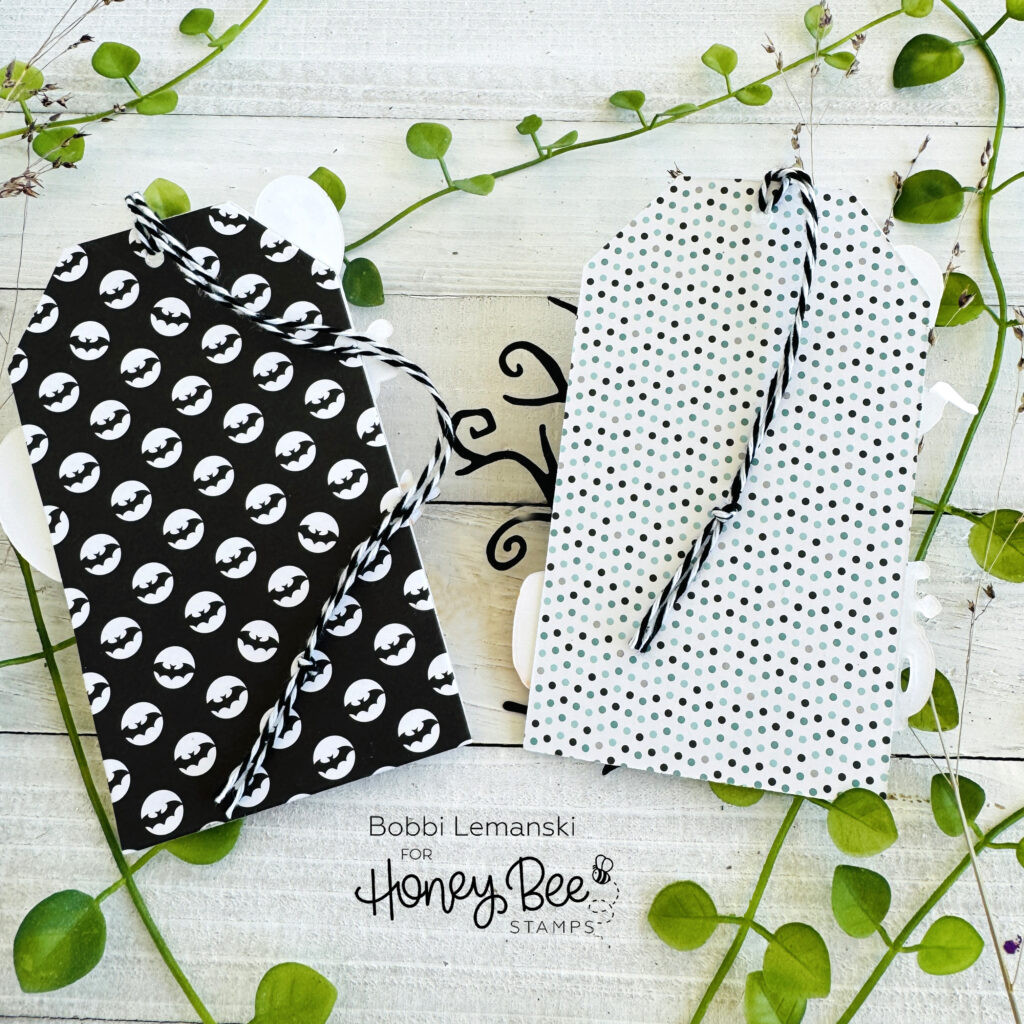 Group of handmade Halloween tags in various designs and colors, ready to be attached to gifts.
Beyond Tags: More Halloween Gift Inspiration
While tags are a delightful starting point, the realm of DIY Halloween gift ideas extends much further! Consider these other spooky-cute options:
- Halloween Treat Bags & Boxes: Take your cue from the tags and create coordinating treat bags or boxes. Decorate plain bags or boxes with stencils, stamps, and patterned paper to match your tag designs. Fill them with candies, homemade cookies, or small toys.
- Personalized Halloween Decorations: Craft small Halloween decorations like mini banners, paper pumpkins, or ghost garlands. These can be personalized with names or spooky messages and gifted to friends or family to add a festive touch to their homes.
- Handmade Halloween Cards: Extend your paper crafting skills to create unique Halloween cards. Use the same stamps, stencils, and techniques from the tags to design cards that deliver your Halloween greetings with a personal flourish.
Make Your Halloween Gifts Extra Special
The beauty of DIY Halloween gifts lies in the personal touch. Here are a few tips to make your creations even more special:
- Personalize it: Tailor your gifts to the recipient’s taste. Use their favorite colors, characters, or spooky themes.
- Presentation Matters: সুন্দরভাবে wrap your gifts! Use Halloween-themed wrapping paper, ribbons, and of course, your handmade tags to create a cohesive and impressive presentation.
- Involve the Kids: Crafting Halloween gifts can be a fun family activity. Get your kids involved in simple tasks like stamping, coloring, or assembling treat bags.
This Halloween, skip the generic gifts and unleash your creativity! Handmade Halloween gift ideas, from charming tags to spooky decorations, are a wonderful way to show you care and add a personal touch to the season. For all your crafting supplies, be sure to check out Honey Bee Stamps for high-quality stamps, stencils, papers, and more to bring your Halloween gift ideas to life! Happy crafting and Happy Halloween!