
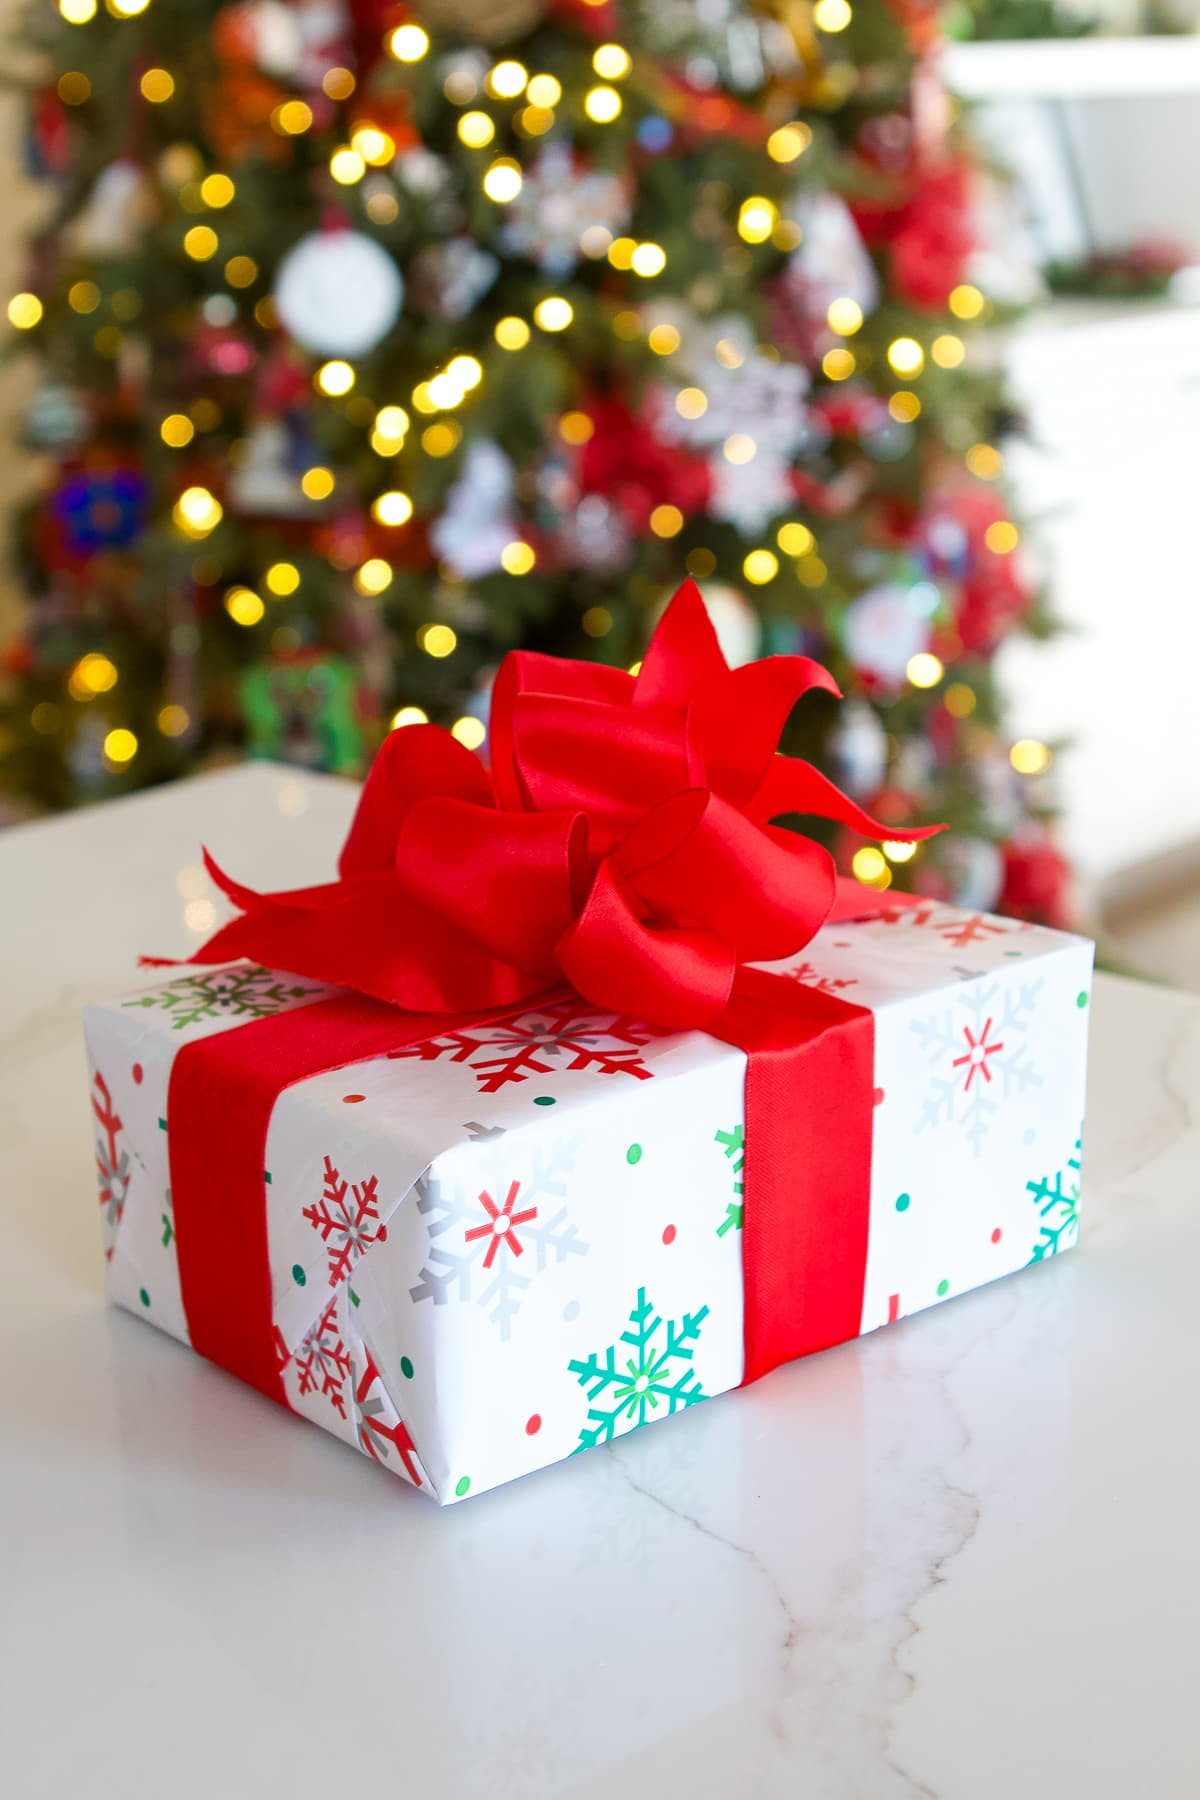
Tying a bow on a gift is an art that elevates the presentation, making it more special, and lawyergift.com is here to guide you. Mastering How To Tie A Bow On A Gift enhances the visual appeal, adding a personal touch that shows you care. Whether you’re gifting a token of appreciation or a grand gesture, a well-tied bow makes all the difference, so discover the art of gift wrapping with our bow-tying tutorial, explore unique gift presentation ideas, and learn expert bow-making tips.
1. Why Learn How To Tie A Bow On A Gift?
Learning how to tie a bow on a gift elevates the presentation, adding a personal and elegant touch to any present. A beautifully tied bow showcases thoughtfulness and attention to detail. According to a study by the Gift Packaging Association in 2023, gifts with decorative bows are perceived as more valuable and appreciated.
1.1 Enhancing Gift Presentation
Enhancing gift presentation involves creating an appealing visual impact that elevates the recipient’s experience. A well-tied bow adds a touch of elegance and sophistication, showcasing the giver’s attention to detail and thoughtfulness. According to a 2022 survey by Hallmark, 70% of people believe that beautifully wrapped gifts show the giver cares more.
1.2 Adding a Personal Touch
Adding a personal touch to gift wrapping makes the present more meaningful and unique. Customizing the bow with specific colors, materials, or embellishments reflects the recipient’s personality and preferences. A study by the University of California, Berkeley in 2021, revealed that personalized gifts foster stronger emotional connections between people.
1.3 Cost-Effective Elegance
Achieving cost-effective elegance in gift wrapping involves using affordable materials and techniques to create a luxurious look. Learning to tie your own bows can save money compared to buying pre-made bows, while still adding a sophisticated touch to your gifts. According to a report by the National Retail Federation in 2024, DIY gift wrapping can reduce costs by up to 50%.
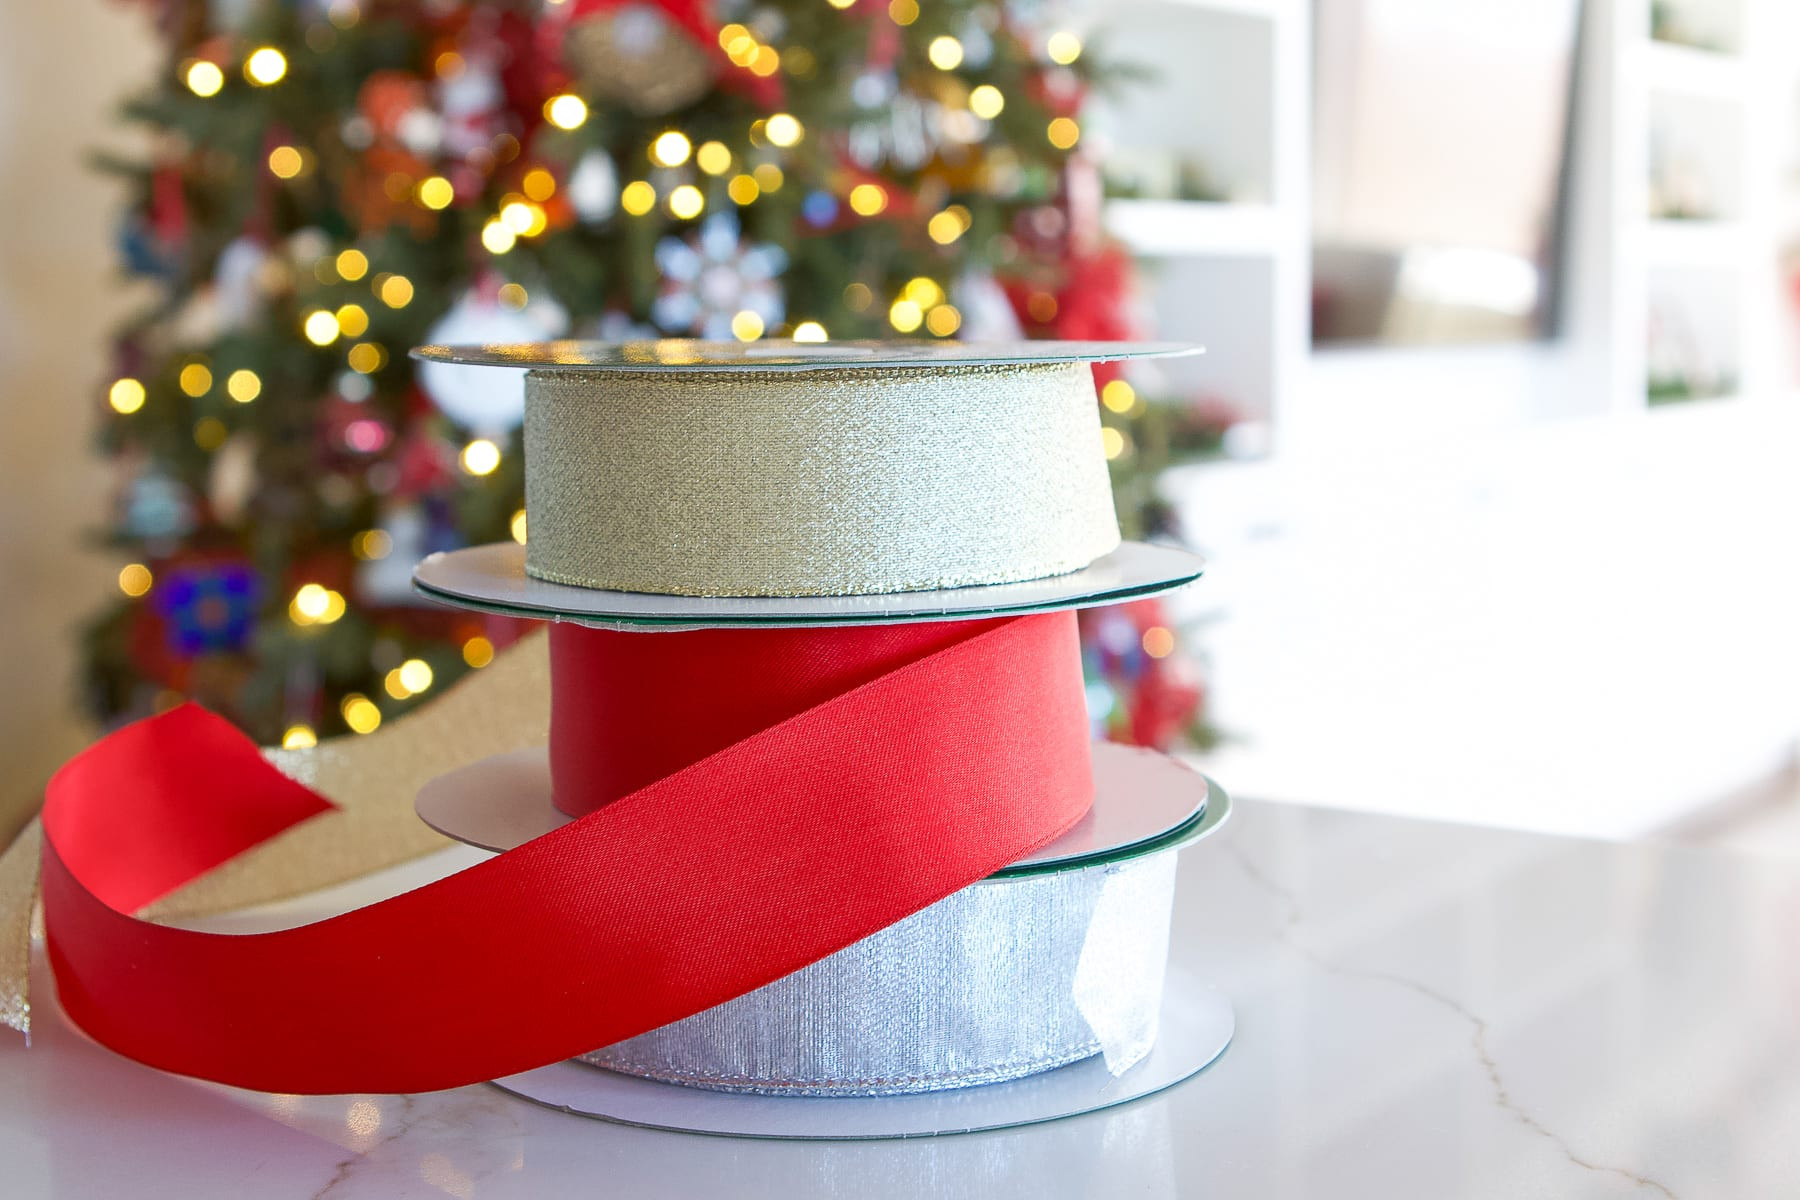 Ribbon spools for tying bows on gifts, showcasing various colors and materials
2. What Materials Do You Need To Tie A Bow On A Gift?
To tie a bow on a gift, you’ll need ribbon (wired or satin), scissors, and the wrapped gift. Wired ribbon is recommended for beginners due to its ease of shaping, and according to a 2023 article in Martha Stewart Living, using high-quality ribbon enhances the overall appearance of the gift.
2.1 Selecting the Right Ribbon
Selecting the right ribbon is crucial for creating a beautiful bow, with wired ribbon being ideal for beginners due to its flexibility and shape retention. Satin and grosgrain ribbons offer elegance and durability, ensuring the bow looks polished and professional. According to a 2022 report by The Knot, satin ribbons are the most popular choice for wedding-related gifts due to their luxurious feel.
2.2 Essential Tools: Scissors and More
Essential tools for tying a bow include sharp scissors for clean cuts and a ruler for precise ribbon length measurements. A hot glue gun can add embellishments or secure the bow to the gift. In a 2024 guide by Good Housekeeping, sharp scissors are recommended for preventing frayed edges and achieving a professional finish.
2.3 Where To Buy Quality Ribbons
Quality ribbons can be purchased from craft stores like Michaels, Joann Fabric, and online retailers such as Etsy and Amazon. These stores offer a variety of colors, materials, and widths, ensuring you find the perfect ribbon for any occasion. According to a 2023 survey by Craft Business Magazine, Michaels is the preferred store for crafters due to its wide selection and competitive prices.
3. How To Tie A Basic Bow: A Simple Method
To tie a basic bow, start by wrapping the ribbon around the gift, crossing the ends at the top, then form two loops and tie them together in a knot. This method is quick and effective for everyday gifts, which is highlighted in a 2022 tutorial by Real Simple.
3.1 Step-by-Step Instructions
- Wrap the Ribbon: Wrap the ribbon around the gift and cross the ends at the center.
- Form Two Loops: Create a loop with each end of the ribbon.
- Tie the Loops: Tie the two loops together as if you were tying a shoelace knot.
- Adjust and Fluff: Adjust the loops and ends to create a balanced and attractive bow.
- Trim the Ends: Cut the ribbon ends at an angle for a polished look.
3.2 Tips for Beginners
For beginners, use wired ribbon for easier shaping and practice tying the bow separately before attaching it to the gift. Watching video tutorials can also be helpful, which is recommended by Better Homes & Gardens in their 2023 gift wrapping guide.
3.3 Common Mistakes to Avoid
Common mistakes include using too little ribbon, tying the knot too tightly, and not fluffing the bow properly. Ensure you have enough ribbon to work with, tie the knot gently, and take time to adjust the loops for a full, attractive bow, as noted in a 2024 article by Oprah Daily.
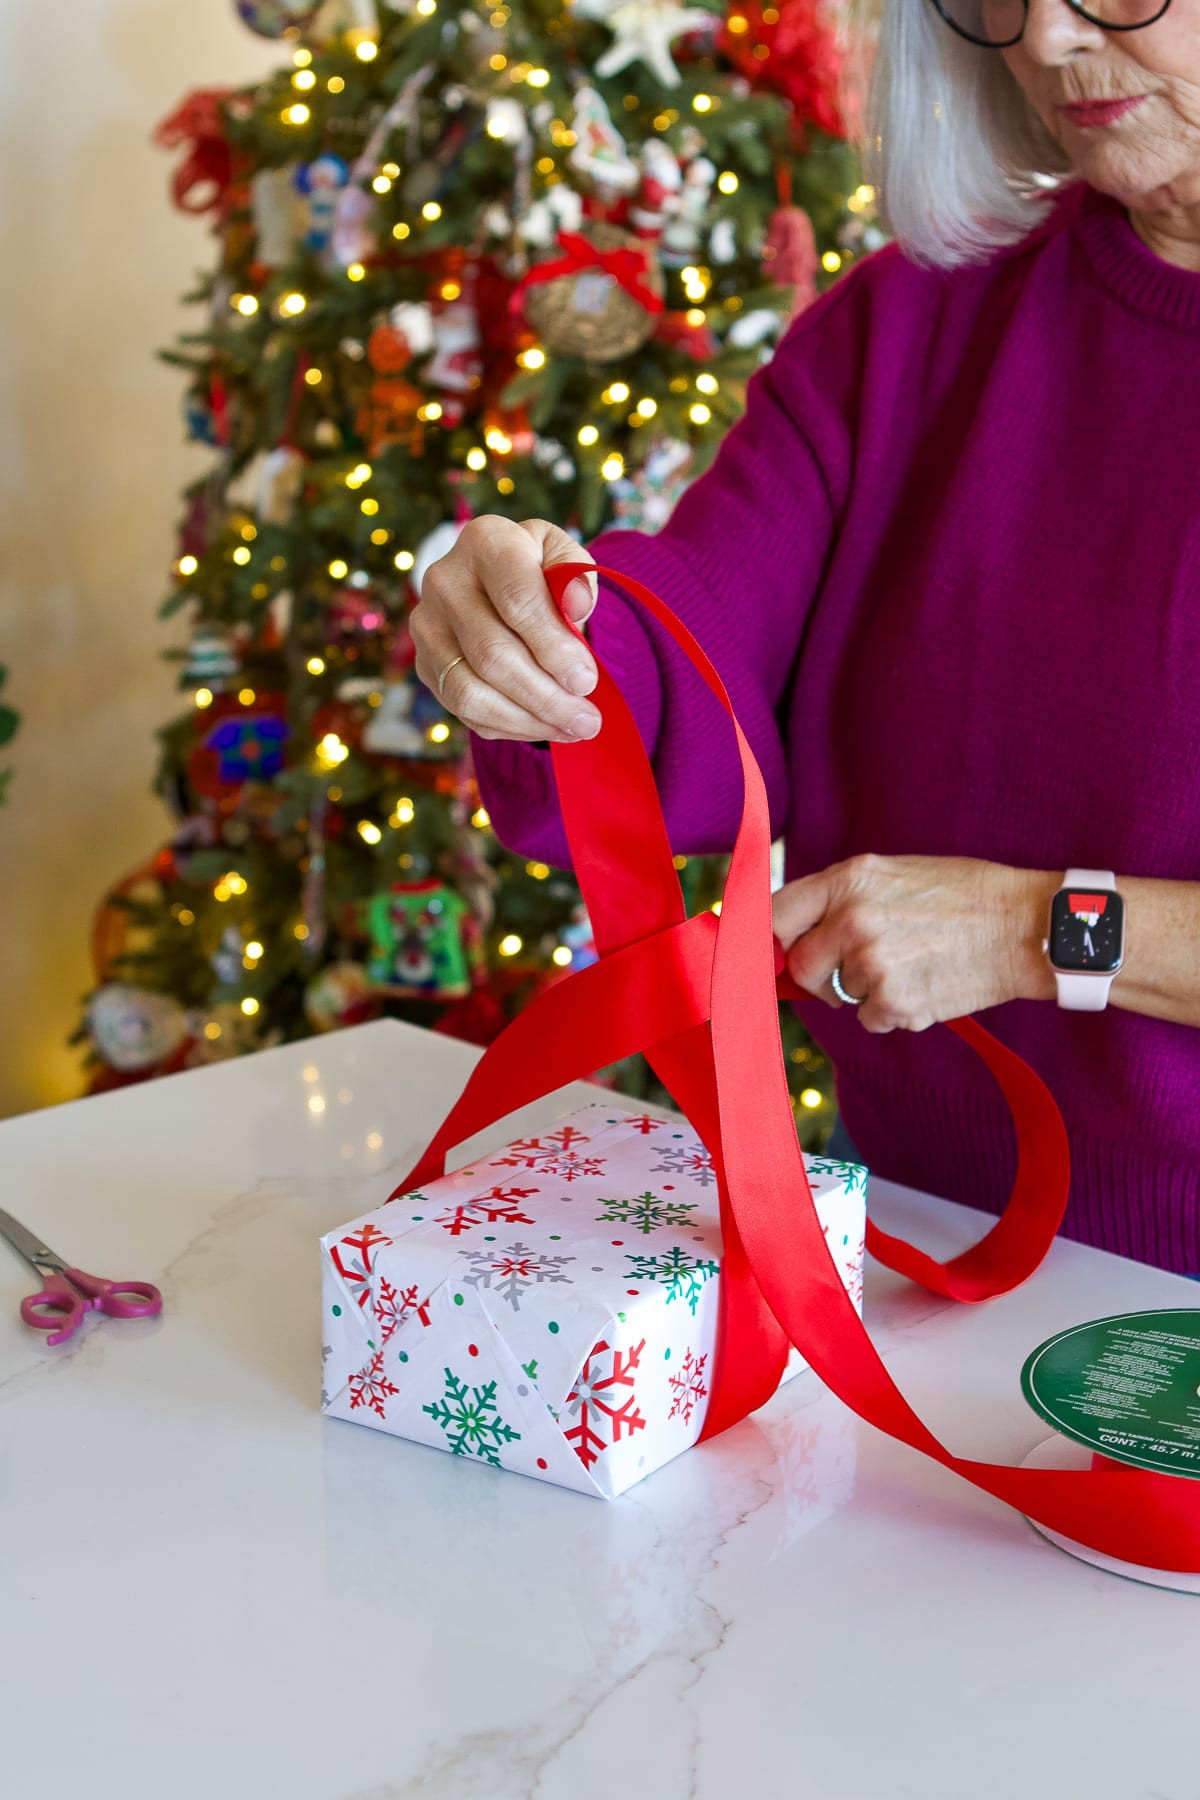 Instructions on how to tie a basic bow for gifts, showing steps with ribbon and scissors
4. How To Tie A Classic Bow: The Looped Method
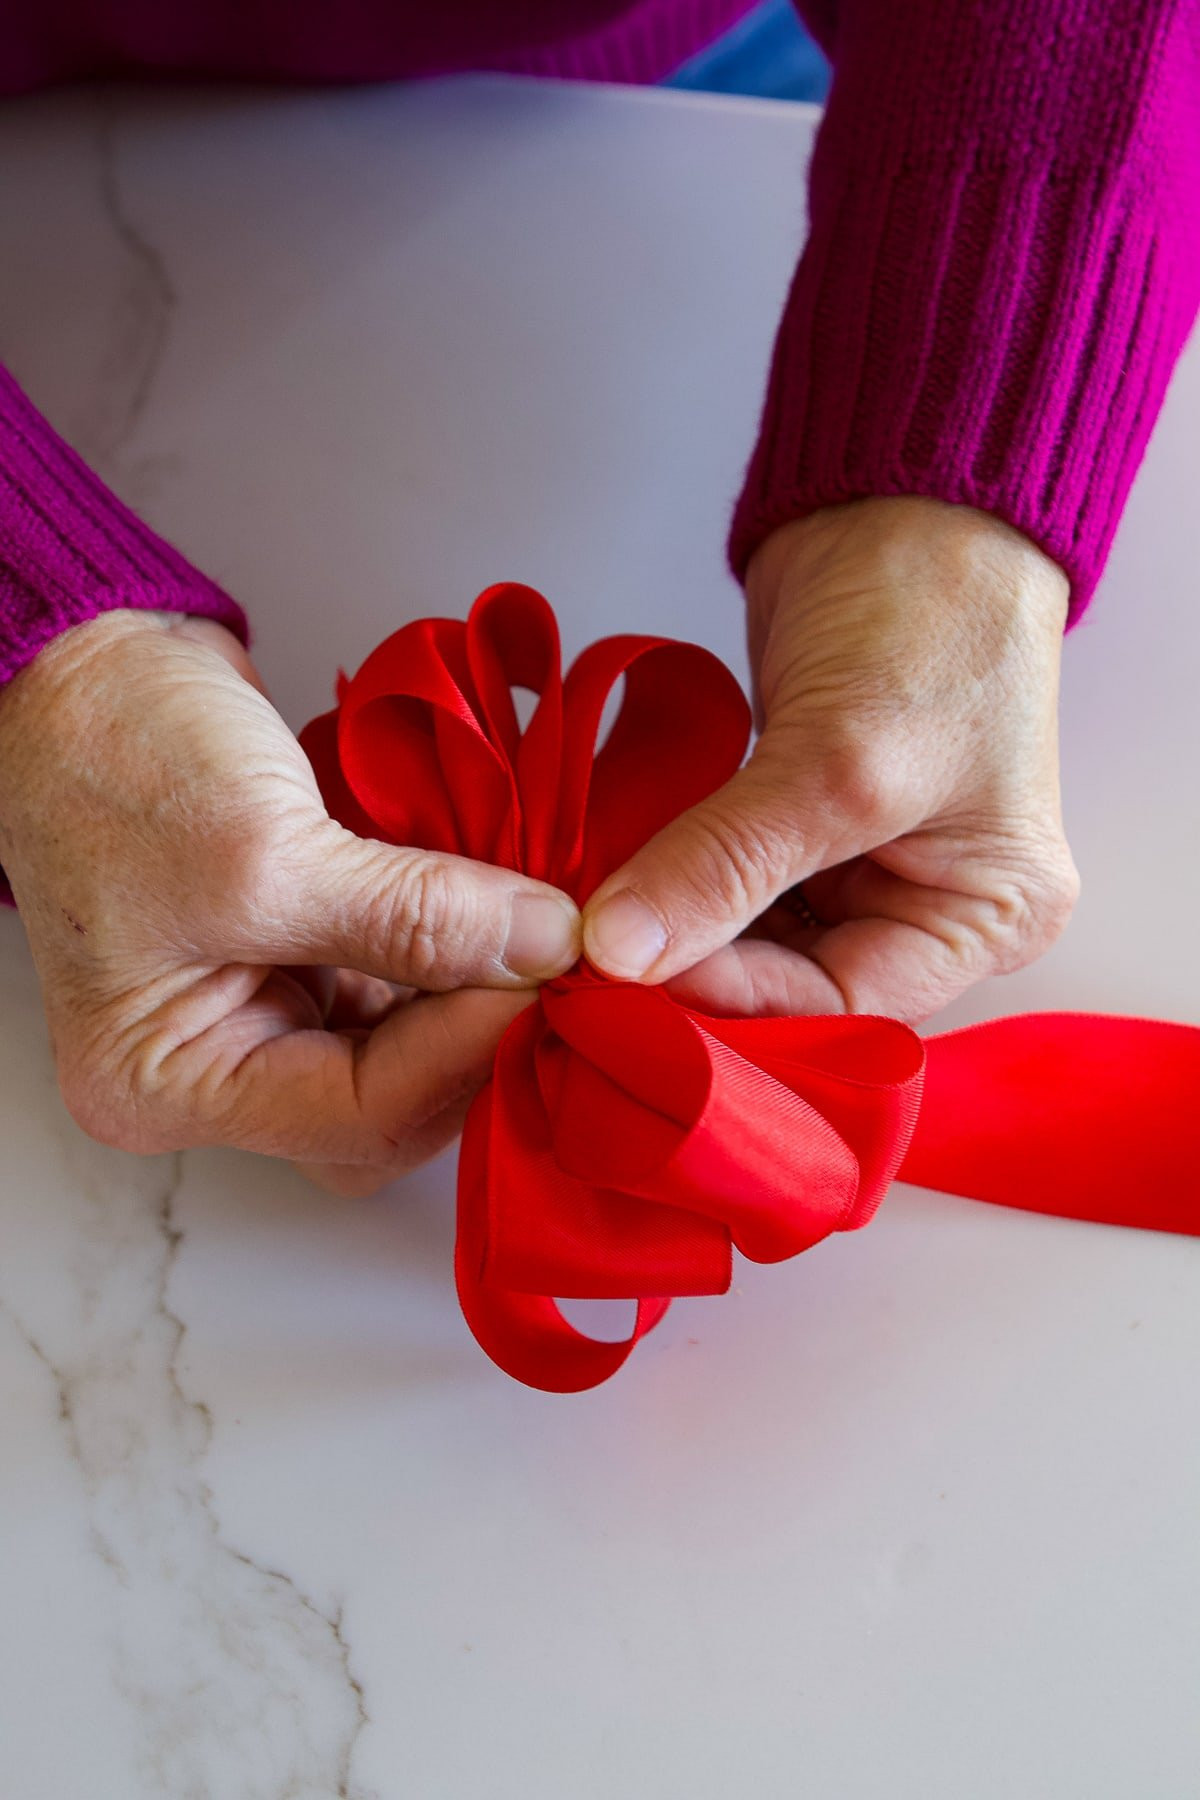
To tie a classic bow, create multiple loops on each side, pinching them together in the center before securing them with wire or ribbon. This looped method provides a fuller, more elegant bow, demonstrated in a 2021 tutorial by HGTV.
4.1 Detailed Steps for a Looped Bow
- Create the First Loop: Form a loop with the ribbon and pinch it in the center.
- Make Additional Loops: Create several more loops on each side, ensuring they are of equal size.
- Secure the Center: Use wire or ribbon to tightly secure the loops at the center.
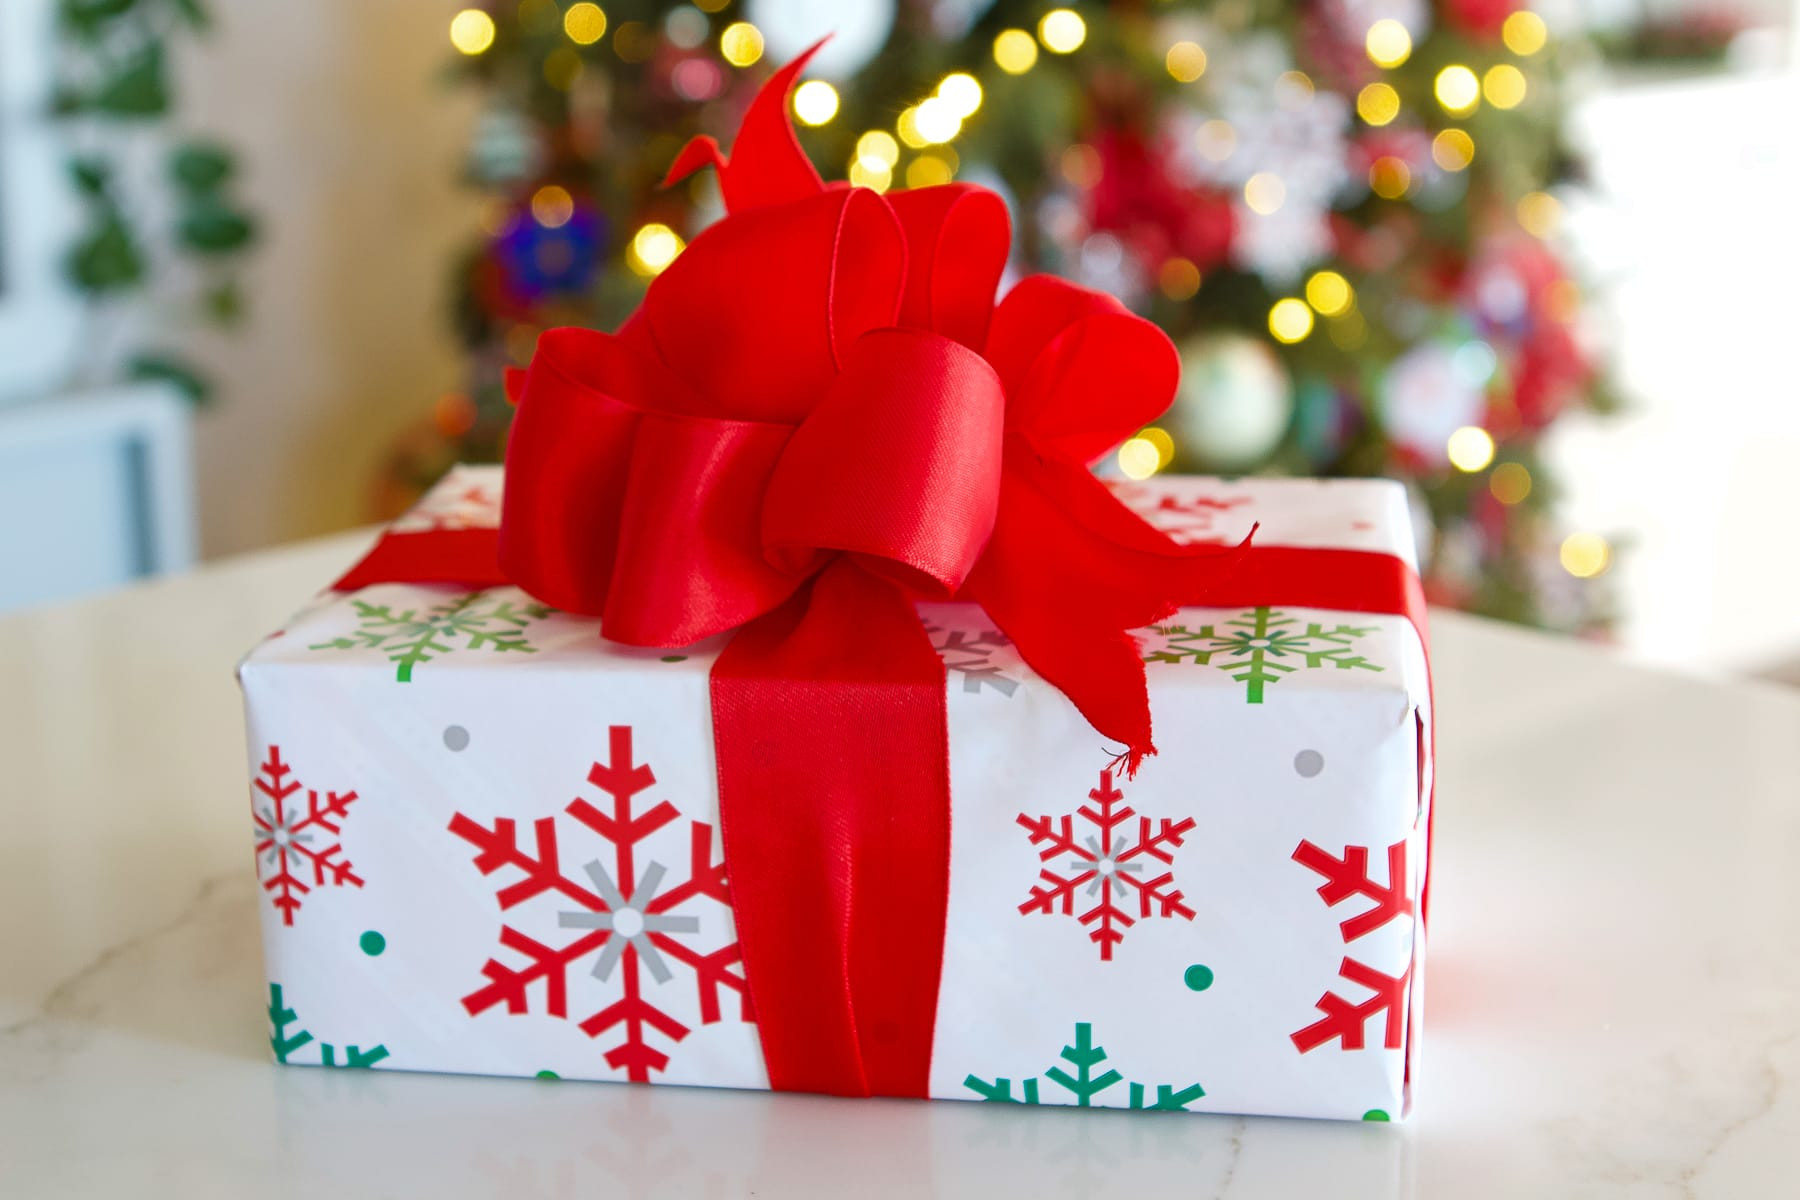
- Fluff the Loops: Gently pull and adjust each loop to create a full, rounded bow.
- Attach to Gift: Secure the finished bow to the gift using ribbon or glue dots.
4.2 Adjusting Loop Size and Number
Adjusting the loop size and number allows for customization, with smaller loops creating a denser bow and larger loops providing a more dramatic effect. Experiment with different sizes and numbers to achieve your desired look, as suggested in a 2023 blog post by Good Housekeeping.
4.3 Ensuring Symmetry and Balance
Ensuring symmetry and balance involves carefully aligning the loops and adjusting them equally on both sides. This creates a visually appealing and professional-looking bow, according to a 2022 article in Martha Stewart Living.
5. How To Tie A Double Bow: Adding Extra Flair
To tie a double bow, create two separate bows and layer one on top of the other, securing them together in the center. This technique adds extra volume and visual interest, as showcased in a 2024 tutorial by Country Living.
5.1 Layering Two Bows for a Fuller Look
Layering two bows involves creating one larger bow as a base and a smaller bow to place on top, providing a layered and voluminous effect. Ensure the colors and materials complement each other for a cohesive look.
5.2 Mixing Ribbon Types and Colors
Mixing ribbon types and colors adds depth and contrast to the bow, making it visually appealing. Combine satin with grosgrain or use complementary colors for a striking effect, as suggested in a 2023 article by Real Simple.
5.3 Securing the Layers Together
Securing the layers involves using wire, ribbon, or glue dots to tightly bind the two bows together at the center. This ensures the bows stay in place and maintain their shape, according to a 2022 guide by HGTV.
 Double bow tutorial showing layered ribbons and securing techniques for gift wrapping
6. How To Tie A Rosette Bow: A Floral Touch
To tie a rosette bow, create a series of small loops, gradually increasing in size, and secure them at the base to form a flower-like shape. This bow adds a delicate and elegant touch, often used for special occasions, as demonstrated in a 2021 tutorial by BHG.
6.1 Creating Small, Graduated Loops
Creating small, graduated loops involves forming progressively larger loops and securing them at the base to create a layered rosette shape. This technique adds depth and dimension to the bow, as highlighted in a 2024 blog post by The Knot.
6.2 Shaping the Rosette
Shaping the rosette involves carefully arranging the loops to resemble a flower. Adjust the loops to ensure they are evenly spaced and balanced, creating a visually appealing rosette, according to a 2023 article in Martha Stewart Living.
6.3 Securing and Attaching the Rosette
Securing and attaching the rosette involves using wire, ribbon, or glue dots to hold the loops together at the base and attach the rosette to the gift. This ensures the rosette maintains its shape and stays securely in place, as noted in a 2022 guide by Good Housekeeping.
7. How To Tie A Pom-Pom Bow: A Fun and Festive Option
To tie a pom-pom bow, wrap ribbon around your hand or a cardboard template to create multiple loops, then tie them in the center and fluff the loops to create a pom-pom shape. This bow is fun and festive, perfect for birthdays or casual gifts, as shown in a 2022 tutorial by Country Living.
7.1 Wrapping Ribbon to Create Loops
Wrapping ribbon to create loops involves winding the ribbon around your hand or a template multiple times to form numerous loops of equal size. The more loops, the fuller the pom-pom will be.
7.2 Tying and Securing the Center
Tying and securing the center involves carefully binding all the loops together tightly with ribbon or wire. This step is crucial for holding the pom-pom together, as highlighted in a 2023 guide by HGTV.
7.3 Fluffing the Pom-Pom
Fluffing the pom-pom involves gently pulling and separating each loop to create a round, fluffy shape. This step brings the pom-pom to life, making it look full and festive, as noted in a 2024 blog post by Real Simple.
 Pom-pom bow instruction showing wrapping, tying, and fluffing techniques for gift decoration
8. How To Use Wired Ribbon for Bows: Achieving Professional Results
Using wired ribbon for bows provides structure and shape, resulting in professional-looking bows. The wire edges allow you to manipulate the ribbon easily, creating defined loops and curves, as demonstrated in a 2021 tutorial by BHG.
8.1 Benefits of Wired Ribbon
Benefits of wired ribbon include its ability to hold its shape, create crisp edges, and maintain a polished look. Wired ribbon is ideal for creating elaborate bows that require structure and definition, as highlighted in a 2023 guide by Martha Stewart Living.
8.2 Techniques for Shaping Wired Ribbon
Techniques for shaping wired ribbon involve pinching, folding, and twisting the ribbon to create various shapes and loops. The wire edges allow you to mold the ribbon into the desired form, ensuring the bow looks perfect, according to a 2022 blog post by The Knot.
8.3 Creating Structured Bows with Wire
Creating structured bows with wire involves using the wired edges to define the shape and maintain the bow’s form. This technique is perfect for creating bows that stand out and make a statement, as noted in a 2024 article by Good Housekeeping.
9. Embellishing Your Bows: Adding Extra Details
Embellishing your bows with extra details such as charms, beads, or greenery adds a personal and unique touch, enhancing the overall presentation. These embellishments can reflect the recipient’s personality or the occasion, as suggested in a 2022 blog post by Country Living.
9.1 Adding Charms and Beads
Adding charms and beads involves attaching small decorative elements to the bow using glue or wire. These additions can add a touch of elegance or whimsy, depending on the chosen elements, as highlighted in a 2023 guide by Real Simple.
9.2 Incorporating Greenery and Flowers
Incorporating greenery and flowers involves adding small sprigs of greenery or individual flowers to the bow for a natural and elegant look. This is particularly effective for wedding or garden-themed gifts, according to a 2024 article by The Knot.
9.3 Using Decorative Accents
Using decorative accents such as glitter, lace, or patterned fabric can transform a simple bow into a stunning masterpiece. These accents can add texture, color, and visual interest, making the gift truly special, as noted in a 2021 blog post by HGTV.
10. Bows for Different Occasions: Tailoring to the Event
Tailoring bows to different occasions involves selecting colors, materials, and styles that match the event’s theme. For example, elegant satin bows are perfect for weddings, while fun pom-pom bows are great for birthdays, as suggested in a 2023 guide by BHG.
10.1 Wedding Gifts: Elegant and Classic
Wedding gifts benefit from elegant and classic bows made from satin or velvet ribbon in soft, neutral colors. Adding lace or pearl embellishments can enhance the sophistication, according to a 2022 article in Martha Stewart Living.
10.2 Birthday Presents: Fun and Colorful
Birthday presents are perfect for fun and colorful bows made from bright, patterned ribbons. Pom-pom or rosette bows can add a playful touch, as highlighted in a 2024 guide by Country Living.
10.3 Holiday Gifts: Festive and Themed
Holiday gifts call for festive and themed bows using ribbons in traditional holiday colors and patterns. Adding small ornaments or greenery can enhance the holiday spirit, as noted in a 2021 blog post by Good Housekeeping.
 Different bow styles for various occasions, showcasing wedding, birthday, and holiday themes
11. How To Store Your Ribbons: Keeping Them Organized
Storing ribbons properly keeps them organized, prevents damage, and makes them easily accessible. Using ribbon organizers, spools, or clear containers can help maintain their quality, as suggested in a 2022 guide by Real Simple.
11.1 Using Ribbon Organizers
Using ribbon organizers such as wall-mounted racks or drawer dividers can keep ribbons neatly arranged and easily visible. These organizers help prevent tangling and damage, as highlighted in a 2023 article by BHG.
11.2 Storing Ribbons on Spools
Storing ribbons on spools keeps them tightly wound and prevents creasing. Using clear plastic spools allows you to see the ribbon color and type at a glance, according to a 2024 blog post by Good Housekeeping.
11.3 Clear Containers for Easy Access
Clear containers are ideal for storing ribbons as they provide visibility and protection from dust and moisture. Labeling the containers can further enhance organization, as noted in a 2021 guide by Martha Stewart Living.
12. DIY Bow-Making Stations: Setting Up Your Space
Setting up a DIY bow-making station involves creating a dedicated space with all the necessary tools and materials readily available. This can streamline the bow-making process and make it more enjoyable, as suggested in a 2023 guide by Country Living.
12.1 Essential Tools and Materials
Essential tools and materials for a bow-making station include a variety of ribbons, scissors, rulers, glue guns, and embellishments. Keeping these items organized and accessible can enhance efficiency, as highlighted in a 2022 article by Real Simple.
12.2 Organizing Your Supplies
Organizing your supplies involves using containers, drawers, and racks to keep ribbons, scissors, and other tools neatly arranged. Labeling each container can help you quickly find what you need, according to a 2024 blog post by HGTV.
12.3 Creating an Inspiring Workspace
Creating an inspiring workspace involves decorating the area with inspiring images, colors, and patterns. A comfortable and visually appealing space can enhance creativity and make bow-making more enjoyable, as noted in a 2021 guide by BHG.
13. Advanced Bow-Tying Techniques: Taking It to the Next Level
Advanced bow-tying techniques involve mastering complex methods such as the butterfly bow, cascading bow, and layered rosette. These techniques require practice but result in stunning, professional-looking bows, as suggested in a 2022 guide by Martha Stewart Living.
13.1 The Butterfly Bow
The butterfly bow involves creating loops that resemble butterfly wings, adding a whimsical and elegant touch to gifts. This technique requires precise folding and shaping of the ribbon, as highlighted in a 2023 article by The Knot.
13.2 The Cascading Bow
The cascading bow involves creating a series of loops that cascade down the gift, adding drama and visual interest. This technique requires careful layering and securing of the loops, according to a 2024 blog post by Real Simple.
13.3 Layered Rosette
The layered rosette involves creating multiple layers of loops to form a full, dimensional rosette. This technique requires patience and attention to detail but results in a stunning floral-inspired bow, as noted in a 2021 guide by Good Housekeeping.
 Advanced bow styles showcasing butterfly, cascading, and layered rosette techniques for elegant gift wrapping
14. Eco-Friendly Bow Options: Sustainable Choices
Eco-friendly bow options involve using sustainable materials such as recycled paper, fabric scraps, or natural twine. These choices reduce waste and promote environmental responsibility, as suggested in a 2023 guide by Country Living.
14.1 Using Recycled Paper Ribbons
Using recycled paper ribbons reduces waste and promotes sustainability. These ribbons can be found in various colors and patterns and are a great alternative to traditional plastic ribbons, as highlighted in a 2022 article by Real Simple.
14.2 Repurposing Fabric Scraps
Repurposing fabric scraps into bows is a creative and eco-friendly way to add a personal touch to gifts. Scraps of fabric can be cut into strips and tied into bows, adding texture and color, according to a 2024 blog post by HGTV.
14.3 Natural Twine and Jute
Natural twine and jute are sustainable options that add a rustic and organic feel to gifts. These materials are biodegradable and can be embellished with greenery or small wooden beads, as noted in a 2021 guide by BHG.
15. Tying Bows on Irregularly Shaped Gifts: Creative Solutions
Tying bows on irregularly shaped gifts requires creative solutions such as using stretchable ribbon, fabric wraps, or creating a focal point with a large bow on one side. These techniques ensure the gift looks attractive and well-presented, as suggested in a 2022 guide by Good Housekeeping.
15.1 Using Stretchable Ribbon
Using stretchable ribbon allows you to easily wrap and tie bows around oddly shaped items. The stretchable material conforms to the shape of the gift, ensuring a secure and attractive presentation, as highlighted in a 2023 article by Real Simple.
15.2 Fabric Wraps for Unique Shapes
Fabric wraps are ideal for irregularly shaped gifts as they can be easily molded and tied. Using a piece of fabric to wrap the gift and tying it with a bow creates a unique and elegant look, according to a 2024 blog post by The Knot.
15.3 Creating a Focal Point with a Large Bow
Creating a focal point with a large bow on one side of the gift draws attention and adds visual interest. This technique is particularly effective for gifts that are difficult to wrap traditionally, as noted in a 2021 guide by Martha Stewart Living.
16. Troubleshooting Bow-Tying Problems: Common Issues and Solutions
Troubleshooting bow-tying problems involves identifying common issues such as uneven loops, loose knots, or frayed ends and implementing solutions to achieve a perfect bow. These solutions can range from using sharper scissors to practicing different tying techniques, as suggested in a 2023 guide by BHG.
16.1 Uneven Loops
Uneven loops can be corrected by carefully adjusting the loops to ensure they are of equal size and shape. Using a ruler or template can help maintain consistency, as highlighted in a 2022 article by Real Simple.
16.2 Loose Knots
Loose knots can be prevented by tying the knot tightly and using wire or glue to secure it in place. Ensuring the ribbon is pulled taut during the tying process can also help, according to a 2024 blog post by Good Housekeeping.
16.3 Frayed Ends
Frayed ends can be avoided by using sharp scissors to cut the ribbon at an angle or by applying a small amount of clear nail polish to seal the edges. This ensures a clean and professional finish, as noted in a 2021 guide by Martha Stewart Living.
17. Bow-Tying Workshops and Classes: Learning from Experts
Attending bow-tying workshops and classes provides an opportunity to learn from experts and improve your skills. These classes often cover advanced techniques and provide hands-on experience, as suggested in a 2022 guide by Country Living.
17.1 Finding Local Workshops
Finding local workshops can be done by searching online directories, checking community centers, or contacting craft stores. These workshops often offer beginner-friendly classes and advanced sessions, as highlighted in a 2023 article by Real Simple.
17.2 Online Classes and Tutorials
Online classes and tutorials provide a convenient way to learn bow-tying techniques from the comfort of your home. Platforms like YouTube, Skillshare, and Udemy offer a variety of classes for all skill levels, according to a 2024 blog post by HGTV.
17.3 Benefits of Expert Guidance
Benefits of expert guidance include receiving personalized feedback, learning advanced techniques, and gaining confidence in your bow-tying abilities. Expert instructors can also provide tips and tricks for achieving professional results, as noted in a 2021 guide by BHG.
18. The Psychology of Gift Wrapping: How Bows Enhance the Experience
The psychology of gift wrapping reveals that beautifully wrapped gifts with bows enhance the recipient’s experience by creating anticipation and excitement. A well-presented gift shows thoughtfulness and care, making the recipient feel valued, as suggested in a 2023 article by Psychology Today.
18.1 Creating Anticipation and Excitement
Creating anticipation and excitement is achieved through visually appealing gift wrapping, including elegant bows and decorative elements. This builds excitement and makes the gift-opening experience more enjoyable, as highlighted in a 2022 article by Real Simple.
18.2 Showing Thoughtfulness and Care
Showing thoughtfulness and care through gift wrapping communicates that the giver put effort and attention into the presentation. This makes the recipient feel valued and appreciated, according to a 2024 blog post by The Knot.
18.3 Enhancing the Emotional Impact of a Gift
Enhancing the emotional impact of a gift involves creating a memorable and positive experience. Beautifully wrapped gifts with bows leave a lasting impression and strengthen the bond between giver and recipient, as noted in a 2021 guide by BHG.
19. Bow-Tying as a Therapeutic Activity: Relaxation and Creativity
Bow-tying can be a therapeutic activity that promotes relaxation and creativity. The repetitive motions and focus required can reduce stress and improve mental well-being, as suggested in a 2022 guide by Mindful.
19.1 Relaxation and Stress Reduction
Relaxation and stress reduction are achieved through engaging in repetitive and focused activities like bow-tying. This can help calm the mind and reduce anxiety, as highlighted in a 2023 article by Psychology Today.
19.2 Fostering Creativity and Self-Expression
Fostering creativity and self-expression is enhanced through the act of designing and creating unique bows. This allows individuals to express their personal style and creativity, according to a 2024 blog post by Art Therapy.
19.3 Improving Fine Motor Skills
Improving fine motor skills is a benefit of bow-tying, as it requires precise hand movements and coordination. This can be particularly beneficial for individuals recovering from injuries or those looking to improve their dexterity, as noted in a 2021 guide by Occupational Therapy.
20. Where To Find Unique Gift Ideas for Lawyers at LawyerGift.com
Looking for the perfect gift to adorn with your newly learned bow-tying skills? Look no further than lawyergift.com, your one-stop destination for unique and thoughtful gifts for lawyers.
20.1 Exploring Gift Categories at LawyerGift.com
Lawyergift.com offers a diverse range of gift categories tailored specifically for lawyers, from personalized desk accessories to law-themed gadgets. Each category is curated to provide meaningful and professional gift options, as showcased on the website’s homepage.
20.2 Finding Gifts for Special Occasions
Finding gifts for special occasions is easy at lawyergift.com, where you can browse gifts by occasion, such as graduation, promotion, or retirement. This ensures you find the perfect gift to celebrate any milestone, as highlighted in the site’s gift guide section.
20.3 Personalized Recommendations and Expert Advice
Lawyergift.com provides personalized recommendations and expert advice to help you choose the ideal gift for the lawyer in your life. Contact their customer service for tailored suggestions and assistance, as noted on their contact page.
Now that you’re equipped with the knowledge and skills to tie beautiful bows, it’s time to put your creativity to the test. Visit lawyergift.com today to discover a wide array of unique gift ideas for lawyers, and make your presents stand out with a personal touch. Explore their categories, find the perfect gift for any occasion, and let their expert advice guide you. Don’t wait—find the perfect gift and tie it with a bow that speaks volumes! For inquiries, reach out to them at Address: 3210 Wisconsin Ave NW, Washington, DC 20016, United States, Phone: +1 (202) 624-2500, or visit their Website: lawyergift.com.
FAQ: How To Tie A Bow On A Gift
What is the easiest way to tie a bow on a gift?
The easiest way to tie a bow on a gift is to wrap the ribbon around the gift, cross the ends at the top, form two loops, and tie them together in a knot, and this method is quick and effective for everyday gifts.
What type of ribbon is best for making bows?
Wired ribbon is the best type of ribbon for making bows, especially for beginners, due to its flexibility and ability to hold its shape.
How do I make a bow look professional?
To make a bow look professional, use high-quality ribbon, ensure symmetry and balance in the loops, and trim the ends at an angle for a polished look.
How can I add a personal touch to my bows?
You can add a personal touch to your bows by using unique colors, materials, or embellishments that reflect the recipient’s personality or the occasion.
Can I use fabric scraps to make bows?
Yes, you can use fabric scraps to make bows, repurposing fabric scraps into bows is a creative and eco-friendly way to add a personal touch to gifts.
How do I prevent my ribbon from fraying?
Prevent your ribbon from fraying by using sharp scissors to cut the ribbon at an angle or by applying a small amount of clear nail polish to seal the edges.
What are some eco-friendly bow options?
Some eco-friendly bow options include using recycled paper ribbons, repurposing fabric scraps, or using natural twine and jute.
How do I tie a bow on an irregularly shaped gift?
Tie a bow on an irregularly shaped gift by using stretchable ribbon, fabric wraps, or creating a focal point with a large bow on one side.
Where can I find unique gift ideas for lawyers?
You can find unique gift ideas for lawyers at lawyergift.com, which offers a diverse range of gift categories tailored specifically for legal professionals.
How can I store my ribbons to keep them organized?
Store your ribbons to keep them organized by using ribbon organizers, storing ribbons on spools, or using clear containers for easy access and visibility.