
Gift bags are a fantastic, time-saving alternative to traditional wrapping paper. They’re reusable, come in countless designs, and simplify gift presentation. But, a gift bag alone can sometimes look a little plain. That’s where tissue paper comes in! Knowing how to put tissue paper in a gift bag is a simple yet effective way to elevate your gift-giving and add that extra touch of thoughtfulness.
This guide will walk you through the easy steps to master the art of tissue paper in gift bags, ensuring your presents always look polished and delightful. We’ll cover everything from choosing the right tissue paper to fluffing it just right for maximum visual appeal.
 Hands inserting green tissue paper into a white gift bag, showcasing the initial step of placing tissue in a gift bag.
Choosing Your Gift Bag and Tissue Paper
Before we dive into the how-to, let’s briefly discuss selecting the perfect gift bag and tissue paper. The choices you make here can significantly impact the overall aesthetic of your gift presentation.
Selecting the Right Gift Bag
Gift bags are incredibly versatile. You can find them in various sizes, materials, and designs. For a classic and sophisticated look, opt for solid colors like white or kraft brown. These neutral options are perfect for any occasion and allow the tissue paper and the gift itself to stand out.
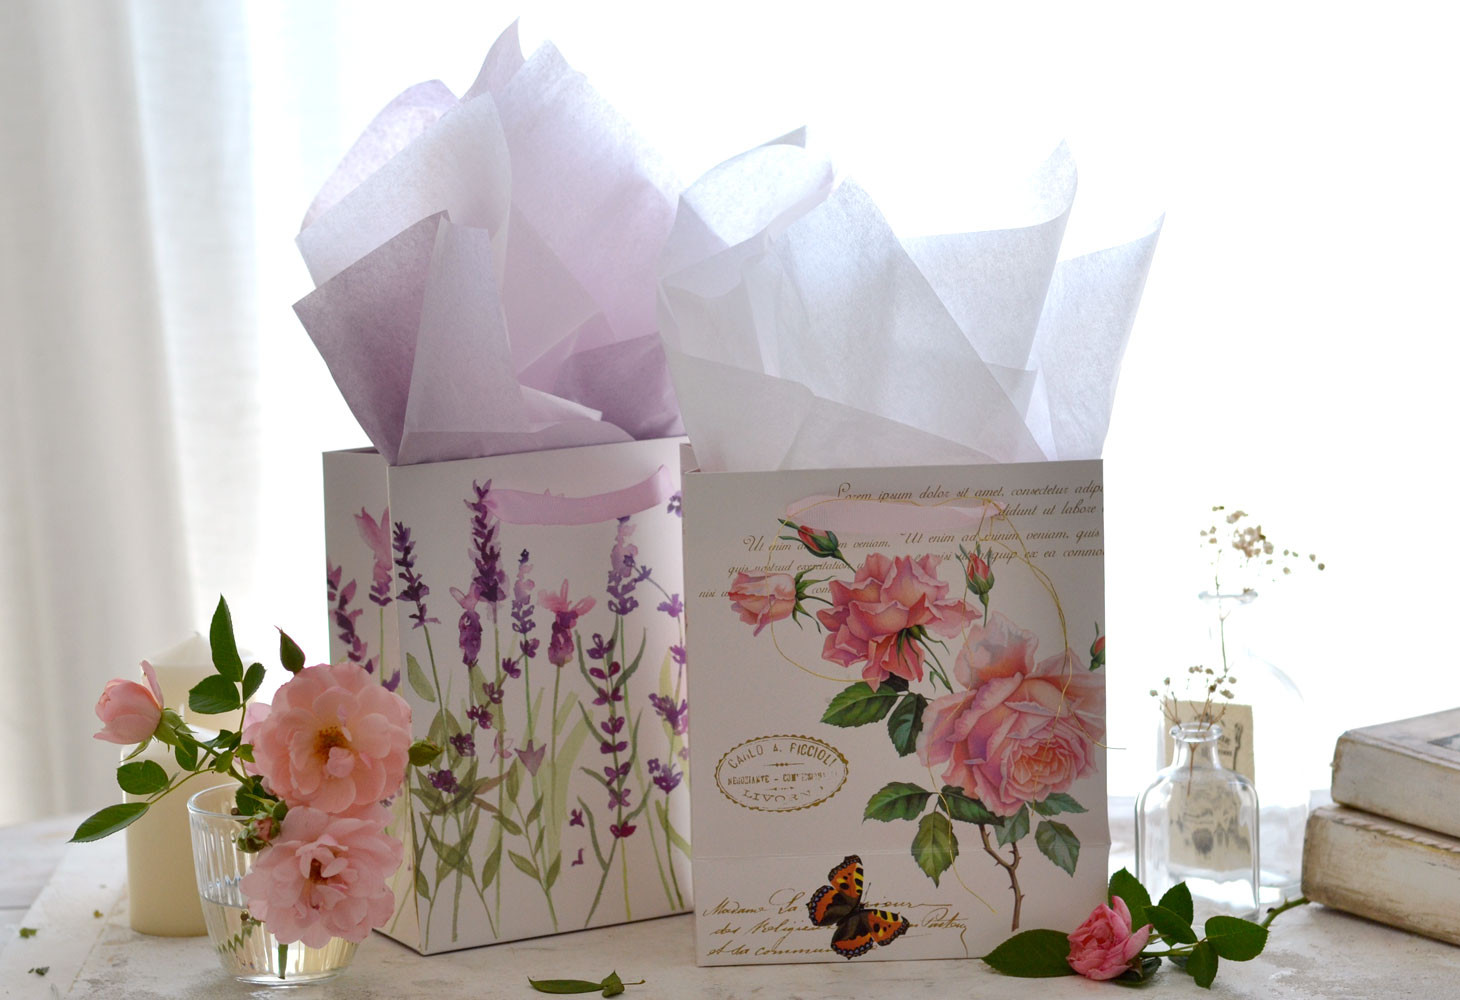
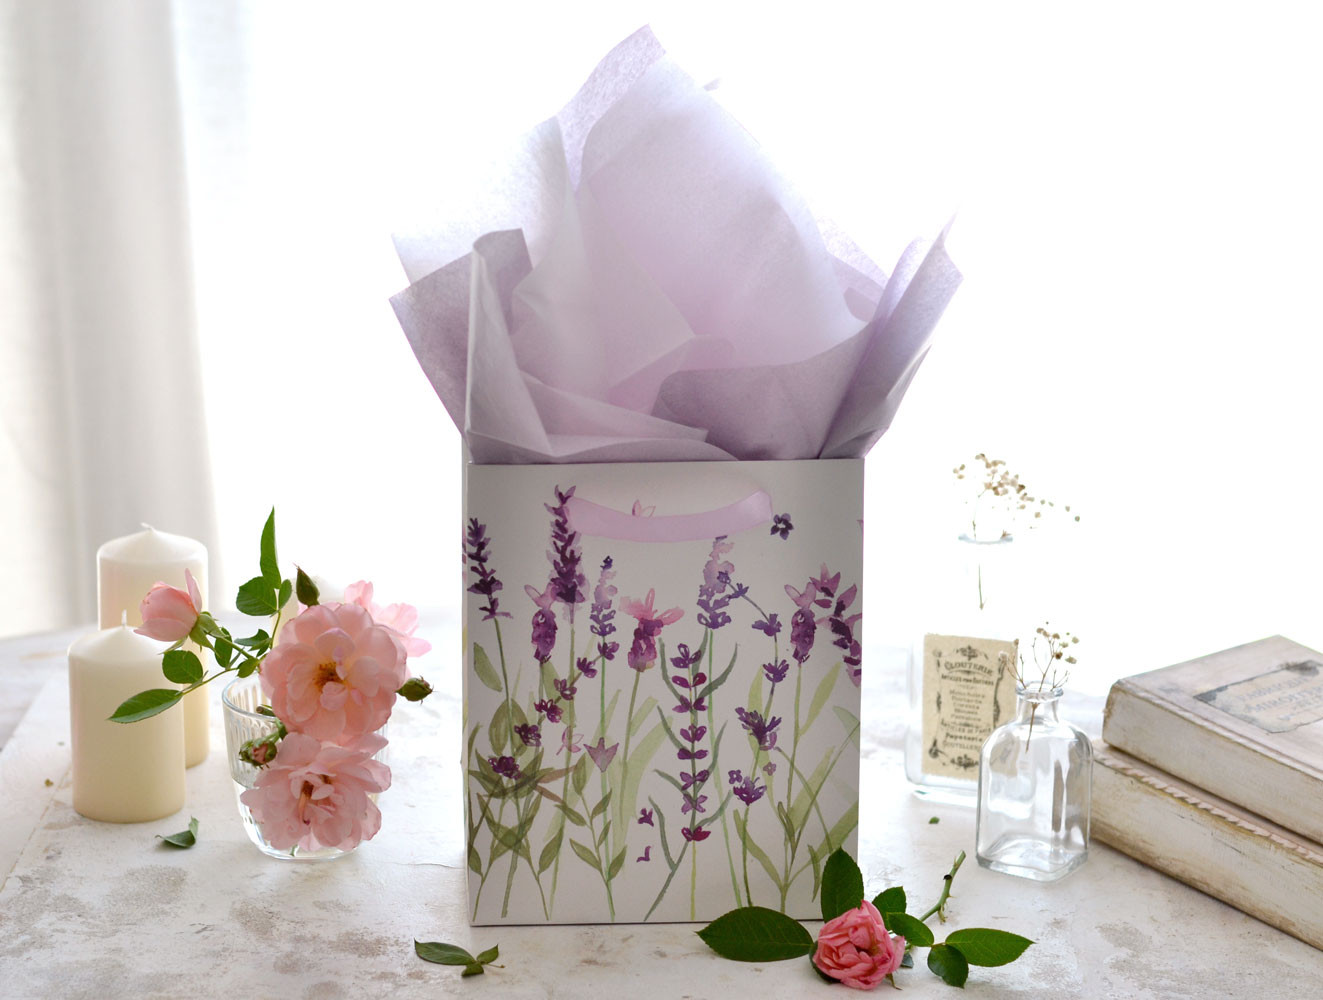
However, don’t shy away from patterned or themed gift bags! Consider the recipient’s personality and the occasion. A floral bag for a birthday, a festive design for holidays, or a bag featuring their favorite characters can add a personalized touch. Think about the gift itself – does it have a theme? Coordinating the gift bag to the gift, like a lavender-themed bag for lavender sachets, creates a cohesive and thoughtful presentation.
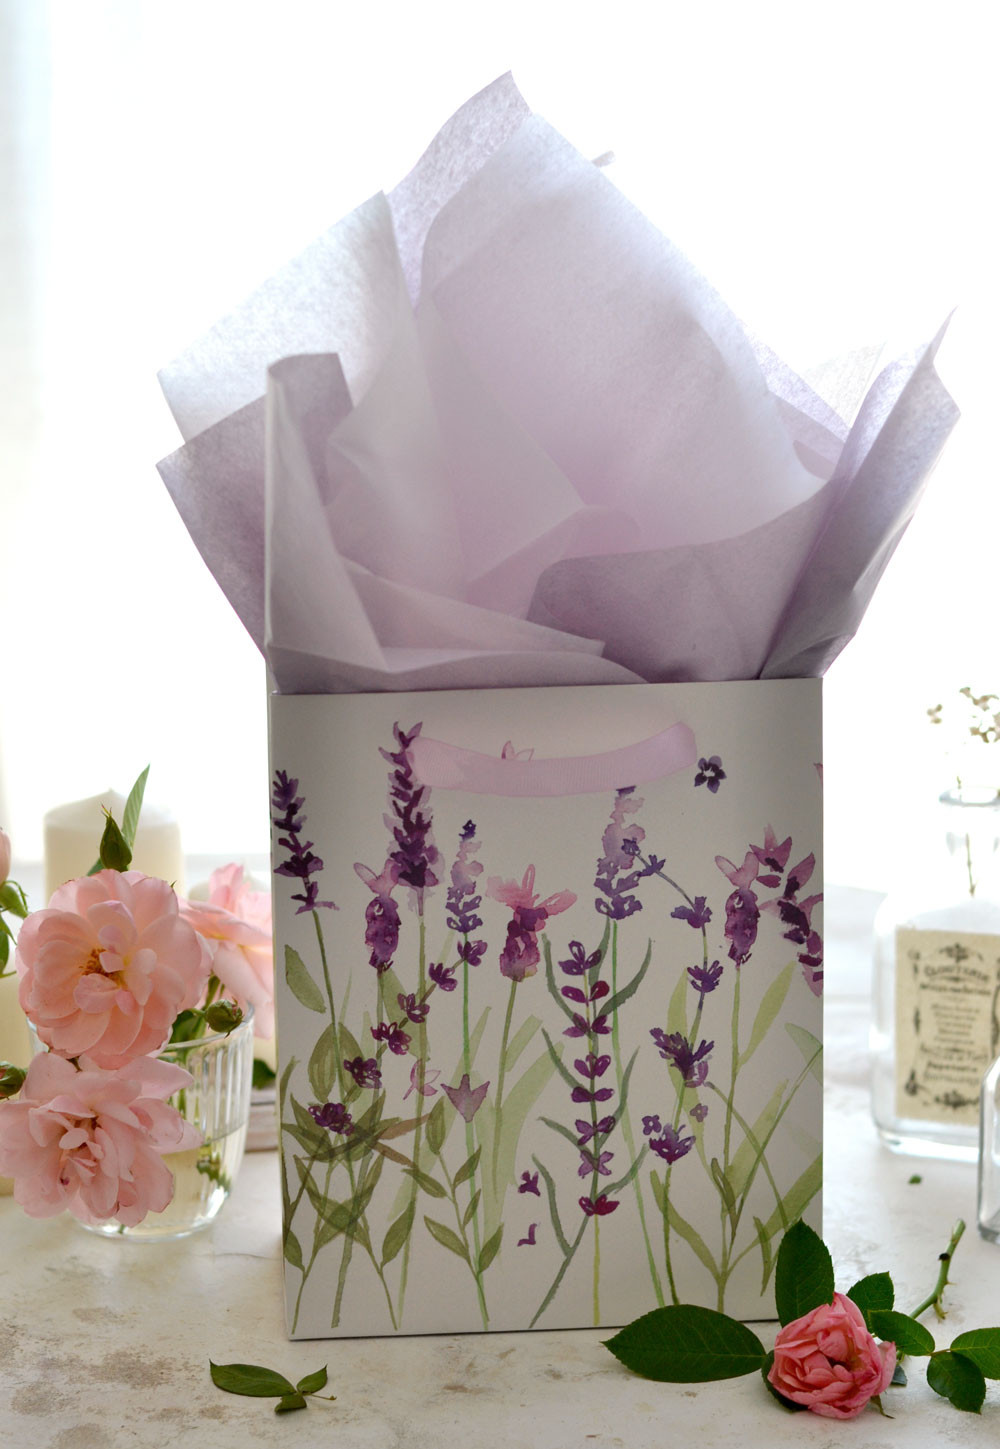 A lavender-themed gift bag filled with purple tissue paper, illustrating a coordinated color scheme for gift presentation.
Choosing Tissue Paper Colors and Types
Tissue paper is where you can really get creative and add pops of color and texture. White tissue paper is a classic and versatile choice, offering a clean and crisp look that complements any gift bag.
But don’t limit yourself to white! Colored tissue paper can enhance your gift presentation and tie into your chosen gift bag or the occasion’s theme. Consider these ideas:
- Complementary Colors: Choose tissue paper colors that complement the gift bag. For example, pink tissue paper in a bag with pink roses or purple tissue paper for a lavender-themed bag.
- Contrasting Colors: For a bolder look, use contrasting colors. Imagine bright yellow tissue paper in a navy blue bag – eye-catching and fun!
- Metallic Tissue Paper: Metallic gold or silver tissue paper adds a touch of elegance and is perfect for celebratory occasions like anniversaries or holidays.
- Mix and Match: Don’t be afraid to use multiple colors of tissue paper in one bag. Choose colors that work well together to create depth and visual interest.
When selecting tissue paper, think about the overall impression you want to create. Do you want it to be elegant, fun, festive, or understated? Your tissue paper choice can help you achieve the desired effect.
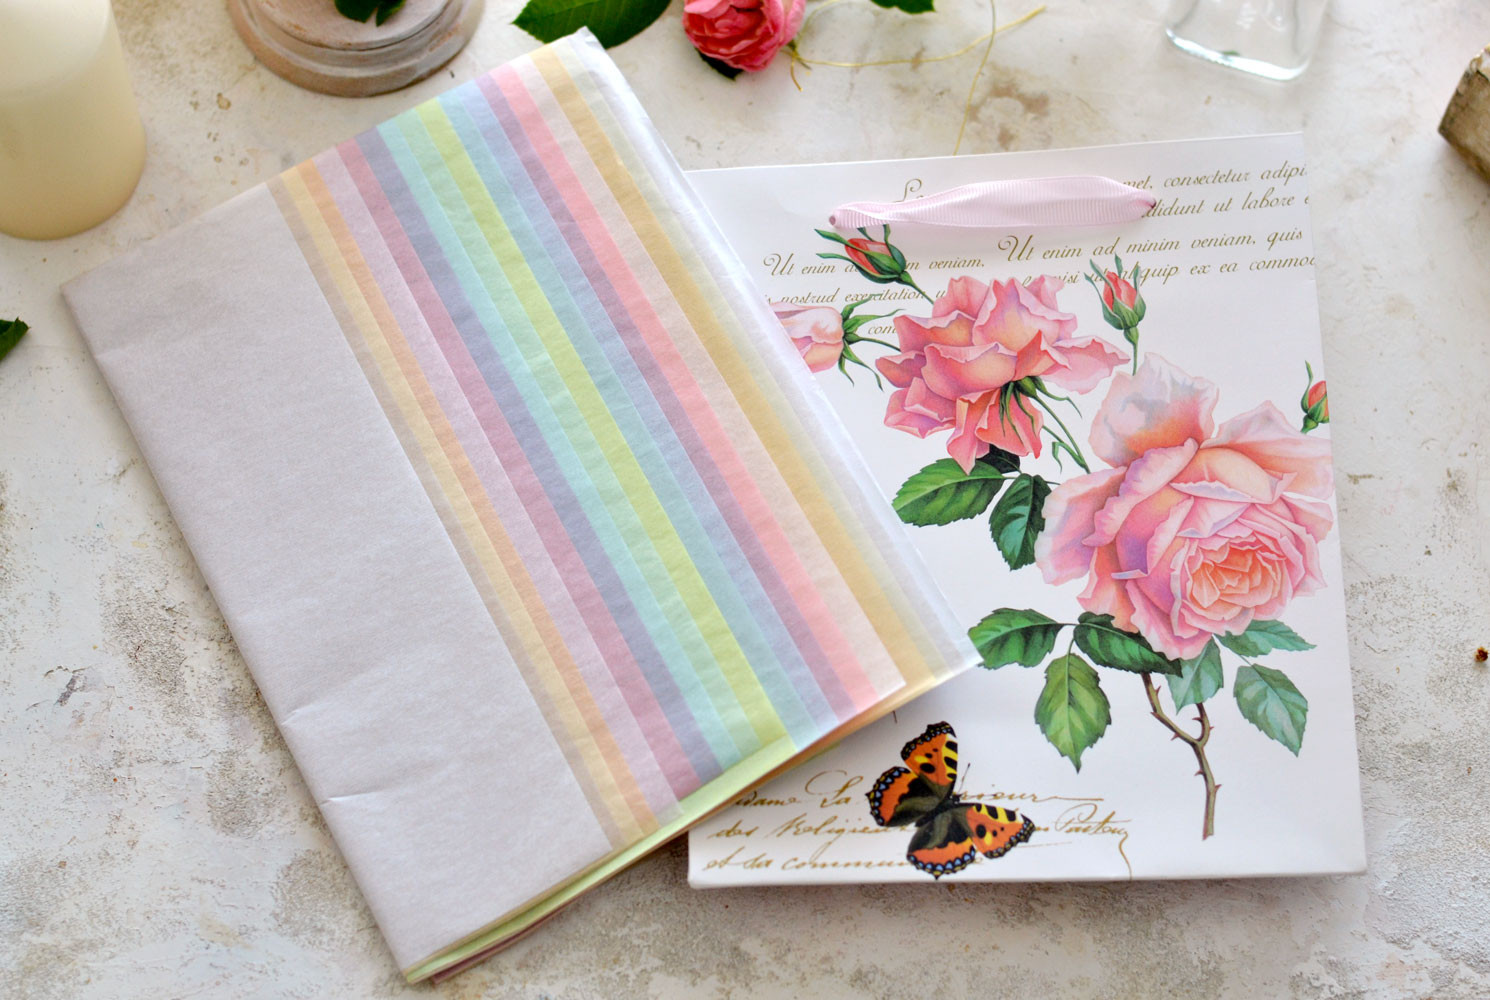 A selection of colorful tissue paper sheets, demonstrating various color options for gift wrapping and presentation.
Step-by-Step Guide: How to Put Tissue Paper in a Gift Bag
Now, let’s get to the main event: putting tissue paper in your gift bag. Follow these simple steps for a perfectly presented gift every time.
Step 1: Prepare Your Tissue Paper
Lay one or two sheets of tissue paper on a flat surface. For a standard-sized gift bag, two sheets are usually sufficient. You can use more or less depending on the size of your bag and the desired fullness. Decide on your color combination at this stage if you’re using multiple colors. Stack them together, aligning the corners.
Step 2: Pinch and Gather
Find the center of the tissue paper stack. Pinch the center with your fingers and gently lift the tissue paper upwards. Let the sides of the tissue paper drape down.
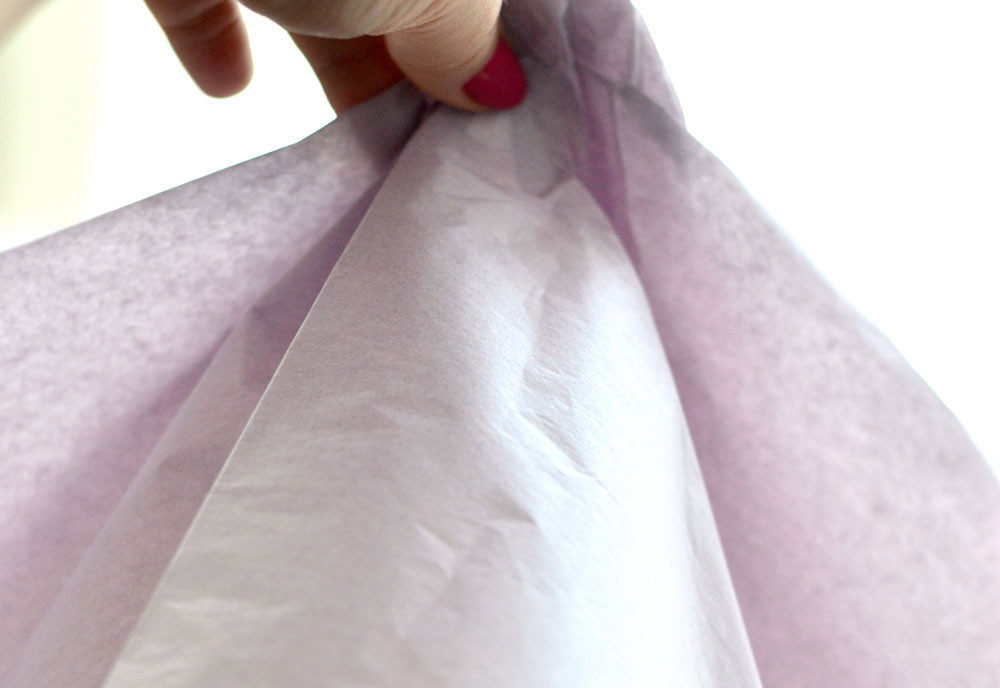 Close-up of fingers pinching the center of tissue paper, demonstrating the gathering technique for creating volume.
Step 3: Create the Bouquet Shape
Flip the gathered tissue paper upside down, so the pinched center is now pointing downwards. Gently arrange the draping tissue paper to resemble a flower bouquet. You can fluff and adjust the layers to create volume and a pleasing shape. Holding it like a bouquet makes it easy to insert into the bag.
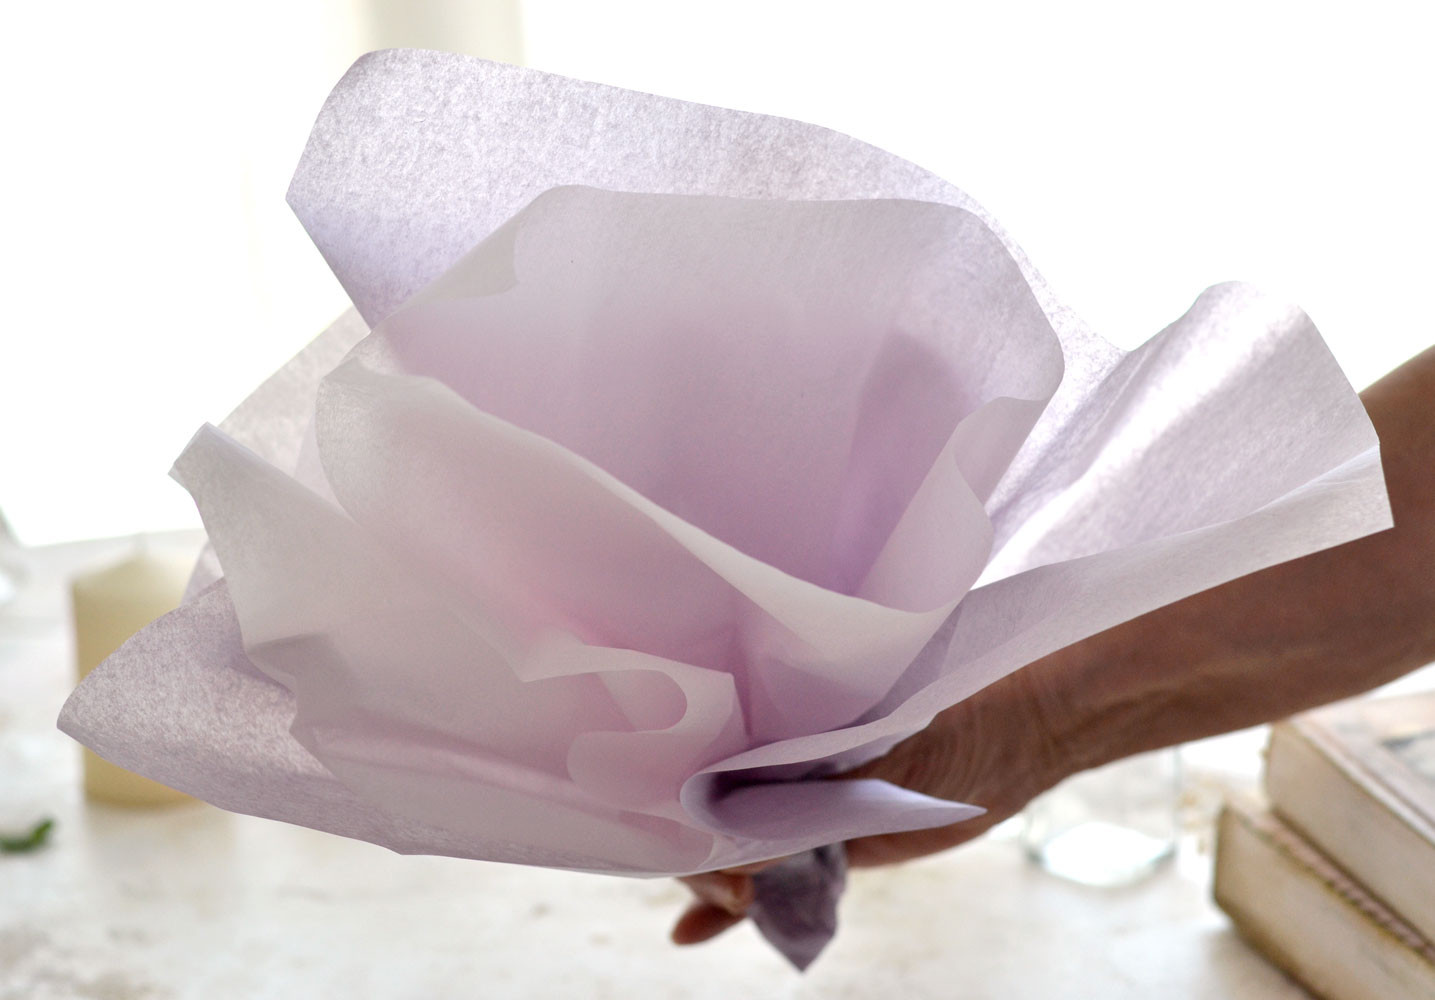 Hands holding gathered tissue paper resembling a bouquet, ready to be placed into a gift bag for decorative filling.
Step 4: Insert into the Gift Bag
Carefully insert the pointed, pinched end of your tissue paper “bouquet” into the gift bag. Push it down gently until it sits securely inside, resting on top of your gift. Now, fluff the tissue paper that’s peeking out of the top of the bag. Arrange it to your liking, creating a visually appealing display. You can pull some layers higher than others for a more dynamic look.
 Hands inserting a tissue paper bouquet into a gift bag, showing the final step of placing and arranging tissue for presentation.
Pro Tips for Perfect Tissue Paper Placement
- Vary the Height: Don’t make all the tissue paper layers the same height. Varying the height creates a more natural and visually interesting look.
- Create Volume: Fluff the tissue paper generously to create volume and make the gift bag look fuller and more inviting.
- Consider the Gift: The size and shape of your gift will influence how much tissue paper you need and how it will be arranged. Adjust accordingly.
- Practice Makes Perfect: Like any skill, putting tissue paper in a gift bag gets easier with practice. Don’t be discouraged if your first attempt isn’t perfect.
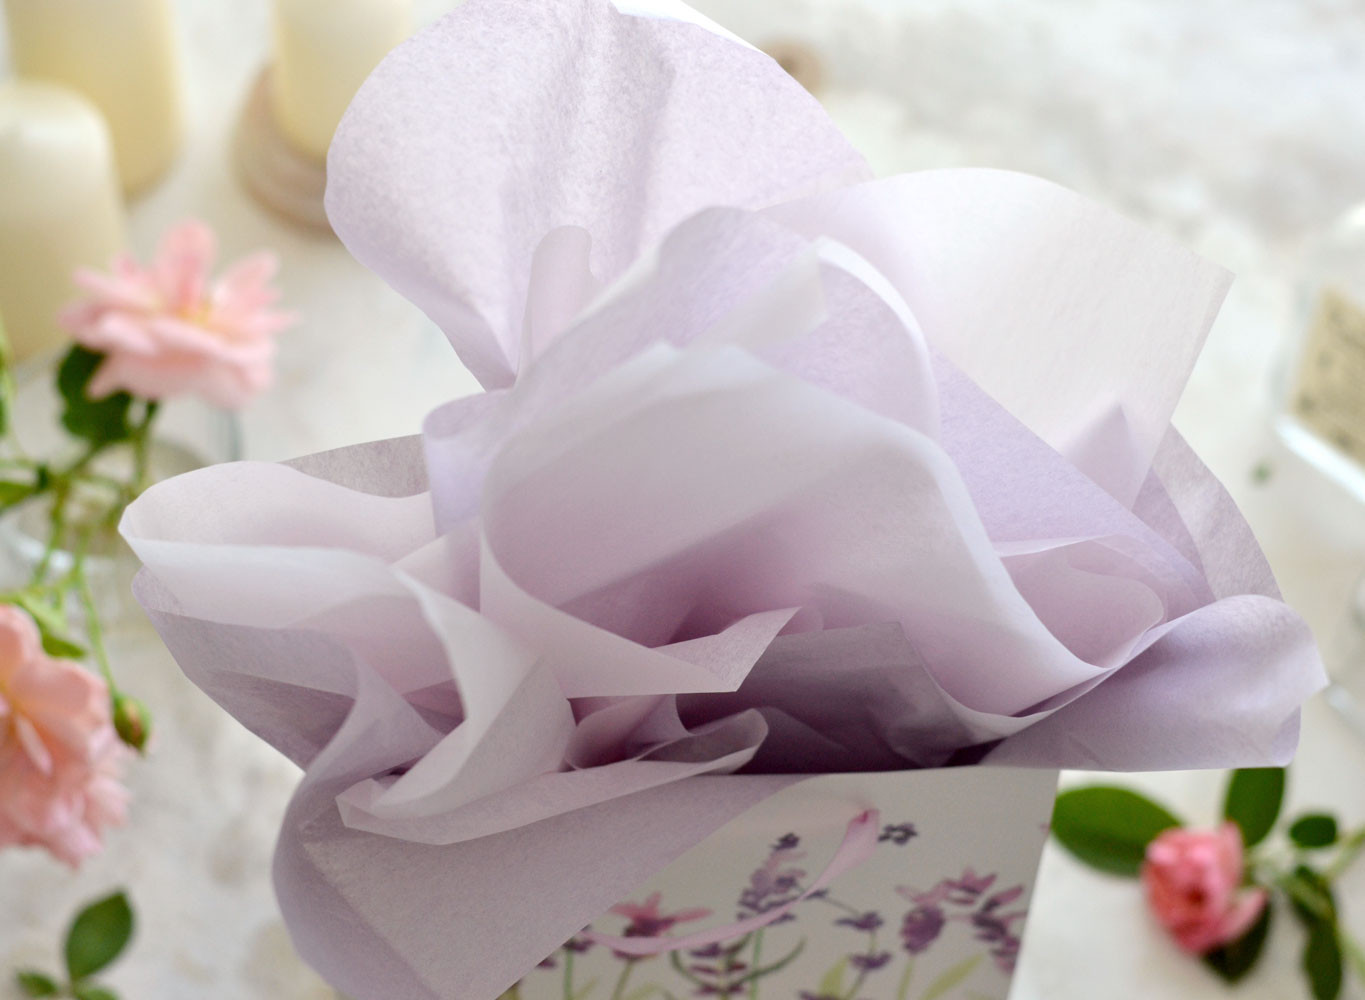
 A gift bag with purple and white tissue paper, showcasing a color combination and the finished look of tissue paper in a bag.
Beyond the Basics: Creative Tissue Paper Ideas
Once you’ve mastered the basic technique, you can explore creative variations to make your gift bags even more special:
- Layered Colors: Use different colors of tissue paper to create layers and visual depth.
- Textured Tissue Paper: Experiment with textured tissue paper, like crinkled or patterned tissue, for added interest.
- Folded Designs: Instead of simply fluffing, try folding the tissue paper into fans or other shapes before inserting it into the bag.
- Embellishments: Add small embellishments like ribbons, stickers, or small tags to the tissue paper for an extra personalized touch.
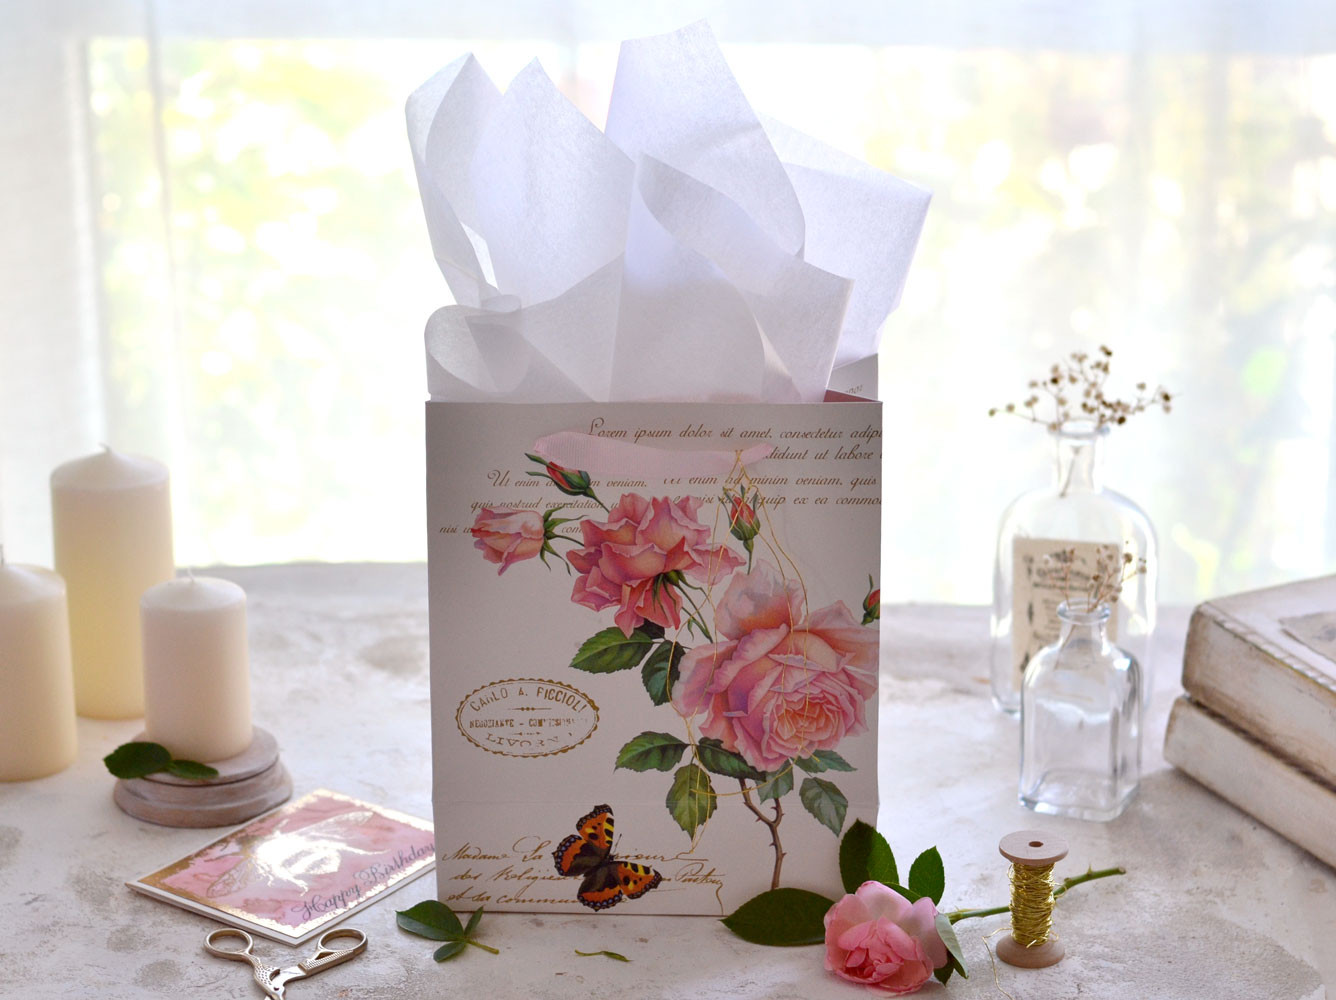 A gift bag with white tissue paper, demonstrating a clean and classic look suitable for various occasions.
Conclusion
Putting tissue paper in a gift bag is a simple yet impactful way to enhance your gift presentation. It adds a touch of elegance, thoughtfulness, and visual appeal. With a few sheets of tissue paper and these easy steps, you can transform an ordinary gift bag into something truly special. So next time you’re giving a gift bag, remember the power of tissue paper and take a few moments to make your presentation perfect!