There’s a unique joy in presenting a gift that’s wrapped with just as much thought and care as the present itself. Large projects can feel daunting, but creating your own Custom Gift Wrap is surprisingly accessible and incredibly rewarding. For years, I’ve wanted to share a definitive guide on how to design your own wrapping paper. My goal is to break down the process, making it easy for you to design personalized custom gift wrap for any occasion. Consider this your personal invitation into the world of DIY gift presentation, where you can learn to craft custom gift wrap that truly elevates your gifts.
Before diving into the design and printing process for your custom gift wrap, gather these essential items to ensure a smooth and creative journey:
DESIGN AND PRINT CHECKLIST
To make sure you don’t miss any steps in creating your personalized custom gift wrap, it’s helpful to go through a checklist. Watching the video tutorial a few times and working alongside it is highly recommended as you learn to design and print your own custom gift wrap. Here’s a step-by-step guide to support your creative process:
- Begin by purchasing and downloading a “seamless pattern” from an online marketplace such as Creative Market. Seamless patterns are ideal for custom gift wrap as they repeat flawlessly, creating a continuous design.
- Launch Adobe Illustrator. Navigate to File > Open, and then select your downloaded seamless pattern file. Adobe Illustrator is the perfect tool for designing intricate custom gift wrap.
- Take note of the width of your pattern. This measurement is crucial for ensuring seamless repetition in your custom gift wrap design.
- Press Shift + O to access the Artboard tool in Adobe Illustrator and adjust the artboard size. For this tutorial, we’re using Canon Photo Matte Paper with dimensions of 13″ x 19″. Input these dimensions. Press “V” to exit artboard editing mode. Setting the correct artboard size is key for print-ready custom gift wrap.
- Position the seamless pattern image at the top-left corner of your artboard. This serves as your starting point for building your custom gift wrap design.
- Use Command+C to “Copy” the seamless pattern design to your clipboard.
- Use Command+F to paste the design directly in front of the original.
- Go to the Object menu, then Transform > Move. This function allows for precise placement of your pattern for perfect custom gift wrap.
- In the “Horizontal” field, input “12” (inches). This value corresponds to the width of the seamless pattern used in this example. Adjust this number according to your specific seamless pattern width to ensure accurate tiling for your custom gift wrap.
- Set the “Vertical” field value to “0”.
- Click “Okay”. You’ll observe that the seamless pattern has shifted precisely 12″ to the right, aligning perfectly with the initial pattern, creating a seamless extension for your custom gift wrap.
- Select both pattern images on your artboard by dragging your mouse over them.
- Return to the Object menu and choose Transform > Move once more.
- This time, set the values to: Horizontal = 0, Vertical = 12.
- Immediately repeat steps 13 & 14 to completely fill your 13×19 canvas with the seamless pattern. Your canvas is now fully prepared for printing your custom gift wrap on the Canon PIXMA iP8720 Crafting Printer!
 Adobe Illustrator interface displaying the artboard setup for designing custom gift wrap
 Close-up view of the seamless pattern tiling in Adobe Illustrator, showcasing the design process for custom gift wrap
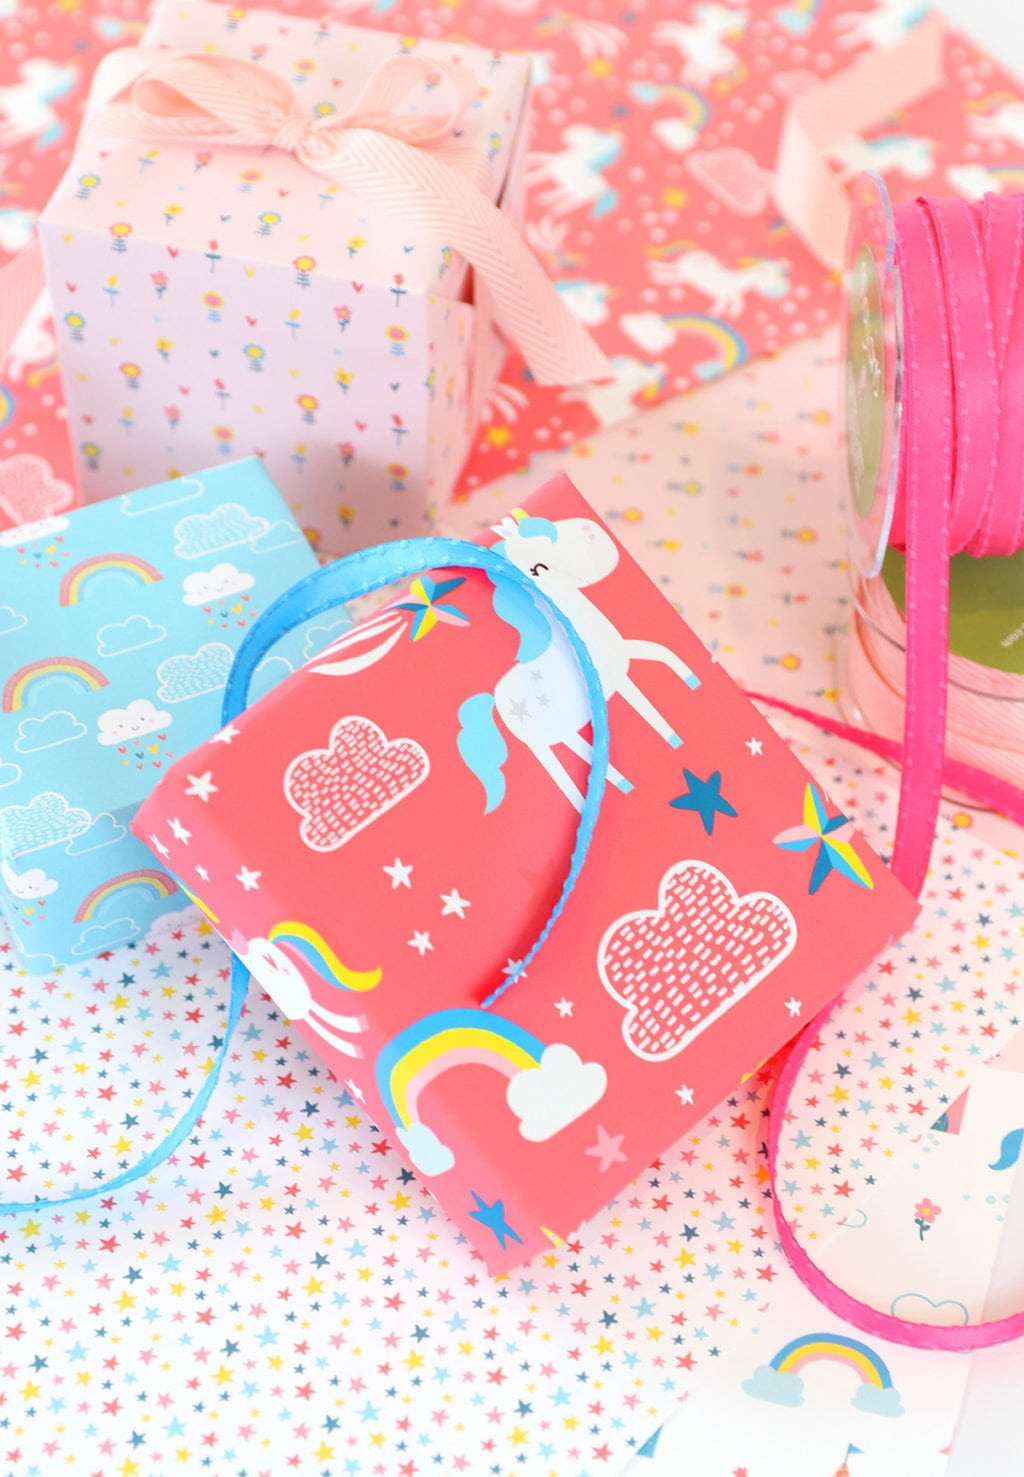
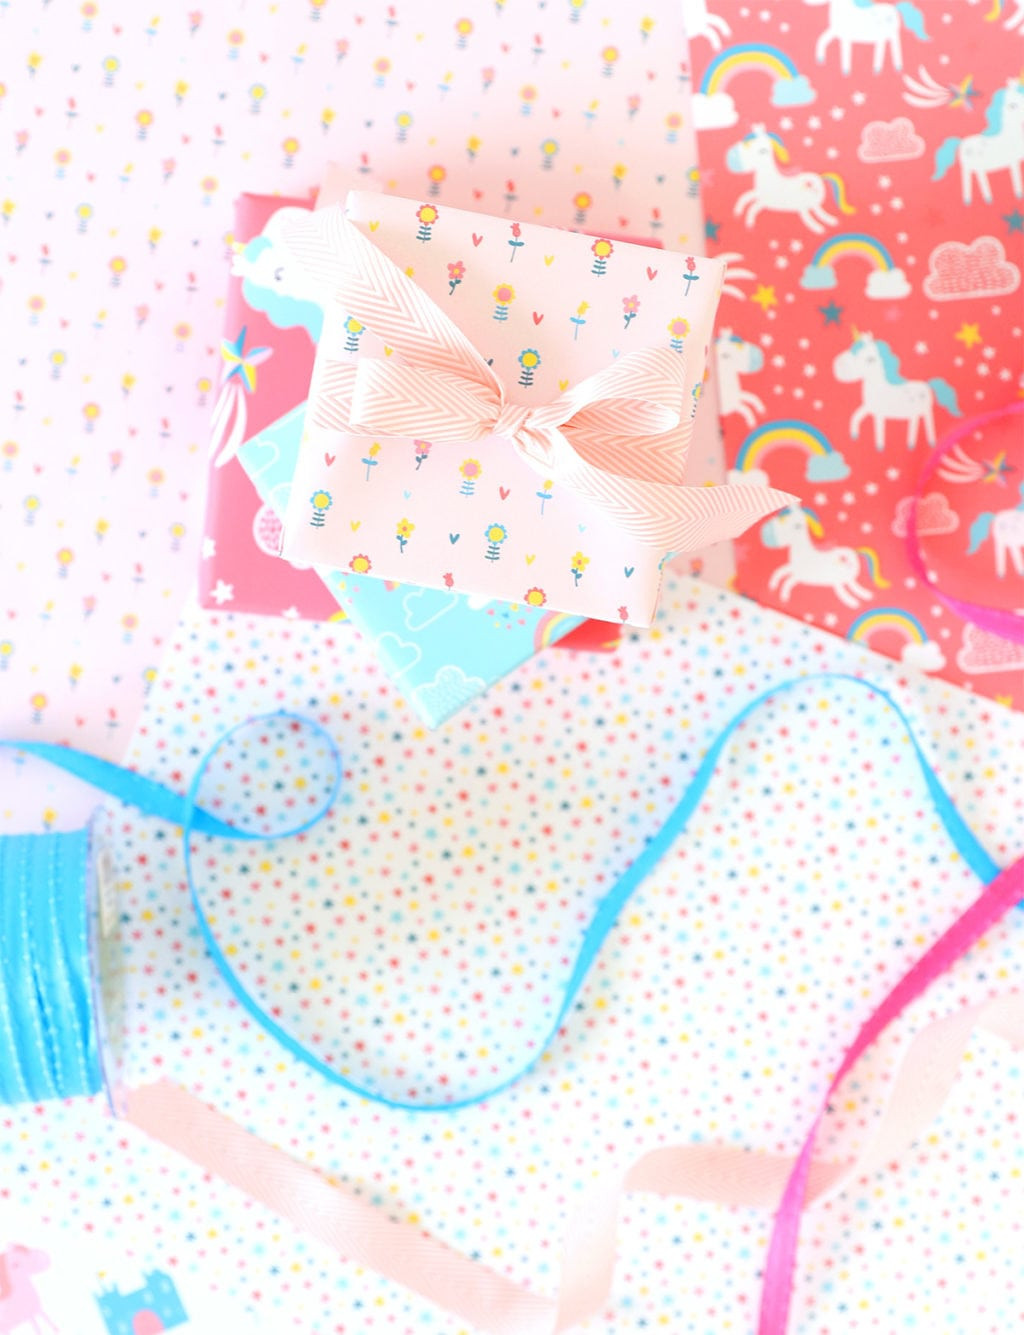 Printed custom gift wrap design on Canon PIXMA printer, demonstrating the final output of the DIY project
Adobe Illustrator software
Matte Photo Paper
Canon PIXMA iP8720 Crafting Printer