
Gift tags might seem like a small detail, but they add a personal and thoughtful touch to any present. Forget generic store-bought tags! With a Gift Tag Template and a few simple supplies, you can easily craft unique and beautiful tags right at home. This guide will walk you through creating your own custom gift tags, adding that extra special something to your gifts.
First, gather your supplies. Here’s what you’ll need to get started on your DIY gift tag project:
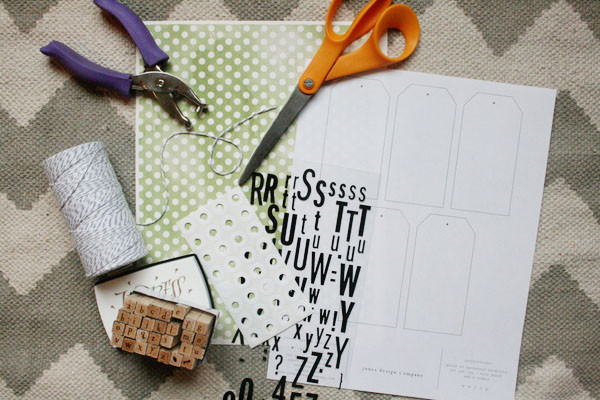 Materials needed to make DIY gift tags including patterned paper, tag template, scissors, hole punch, reinforcement labels and ribbon
- Patterned Paper: Scrapbook paper is ideal for gift tags. Consider using printable watercolor paper for a unique and artistic look.
- Gift Tag Template: A template ensures consistent shapes and sizes for your tags. You can find free printable gift tag templates online (and we’ve got you covered below!).
- Scissors: For precisely cutting out your tags.
- Hole Punch: To create a hole for attaching the tag to your gift.
- Reinforcement Labels: These add durability to the hole and give a polished finish.
- Ribbon, Twine, or String: To tie your gift tag to the present.
- Embellishments (Optional): Stickers, stamps, markers, glitter, and anything else you’d like to use to personalize your tags.
Now, let’s get crafting! Follow these simple steps to create your own beautiful gift tags:
Step 1: Print Your Gift Tag Template
Download and print your chosen gift tag template. You can print it directly onto your patterned paper or onto regular paper to use as a stencil.
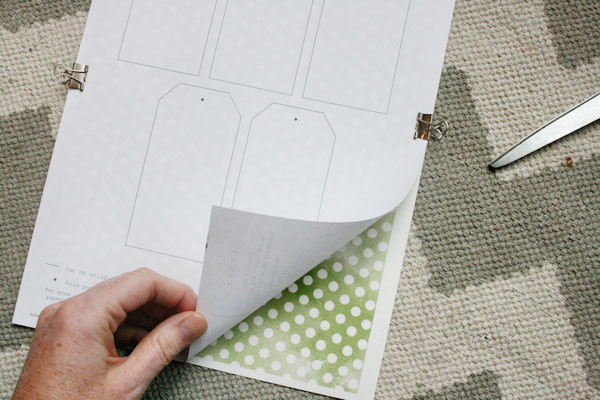 Placing a gift tag template over patterned paper and securing it with paper clips for cutting
Step 2: Cut Out Your Gift Tags
Carefully cut out the gift tags following the template lines. If you printed the template on regular paper, secure it to your patterned paper with paper clips or a light adhesive before cutting. This ensures clean and even cuts.
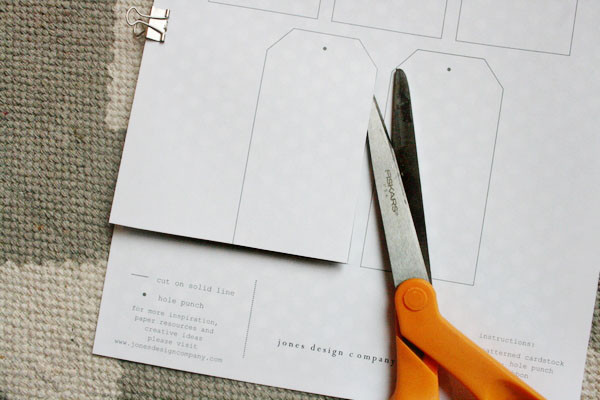 Cutting out a gift tag shape from patterned paper using scissors
Alternatively, print the template directly onto your chosen patterned paper and cut around the template lines. This method can save a step and is especially convenient for simpler designs.
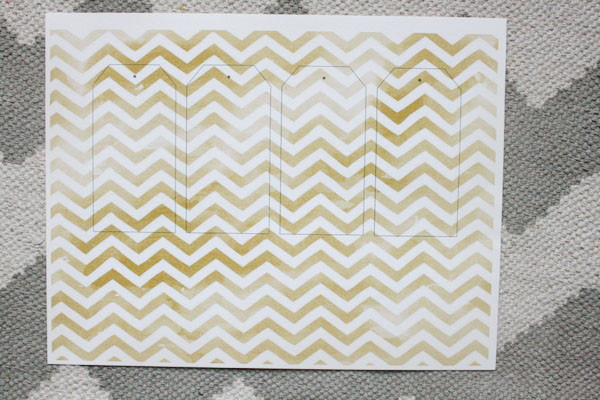 Template printed directly on patterned paper ready for cutting into a gift tag
Step 3: Punch a Hole
Use a hole punch to create a hole at the designated spot on your gift tag template. This is usually indicated at the top center of the tag.
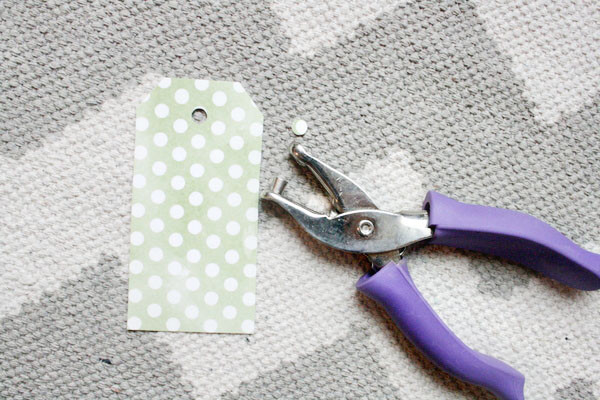 Using a hole punch to create a hole in a DIY gift tag
Step 4: Reinforce the Hole
Apply reinforcement labels to both the front and back of the hole. This strengthens the tag and prevents the ribbon from tearing through the paper.
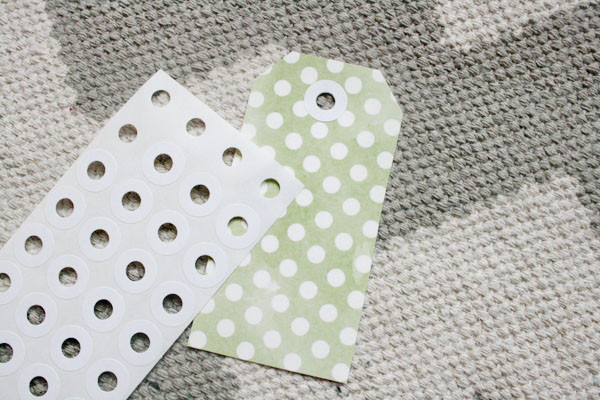 Adding reinforcement labels to the front and back of the hole on a gift tag
Step 5: Attach Ribbon or Twine
Thread a ribbon, twine, or string through the reinforced hole. Tie it in a loop or knot, ready to attach to your gift.
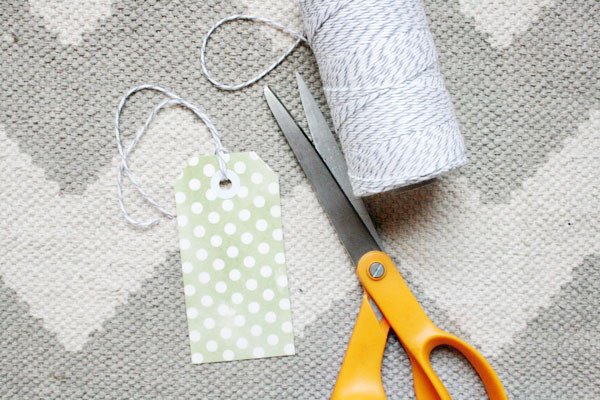 Tying a ribbon onto a handmade gift tag
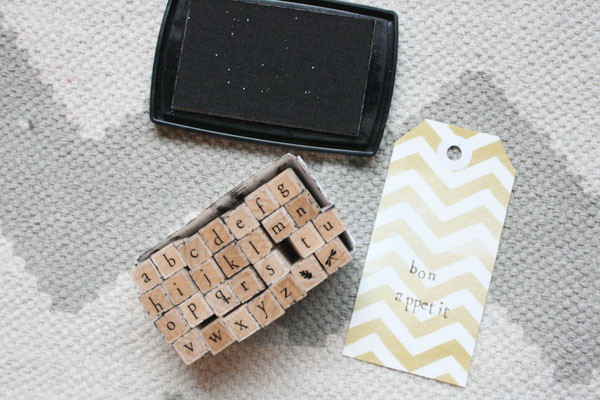
Step 6: Embellish and Personalize
Now for the fun part! Decorate your gift tags to match the occasion, recipient, or gift. Use stickers, stamps, markers, glitter, or handwritten messages to add a personal touch.
 Embellishing a gift tag with sticker letters for personalization
Adding a sticker number is a festive way to personalize birthday gift tags.
 Gift tag personalized with a number sticker for a birthday
Alphabet stamps are excellent for adding names or short phrases to your custom gift tags, making each one unique.
The beauty of DIY gift tags is the ability to tailor them to anyone and any occasion.
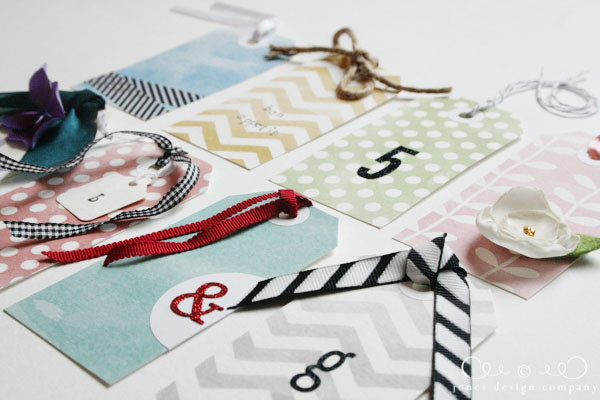 Close-up of diverse personalized DIY gift tags showcasing different designs and embellishments
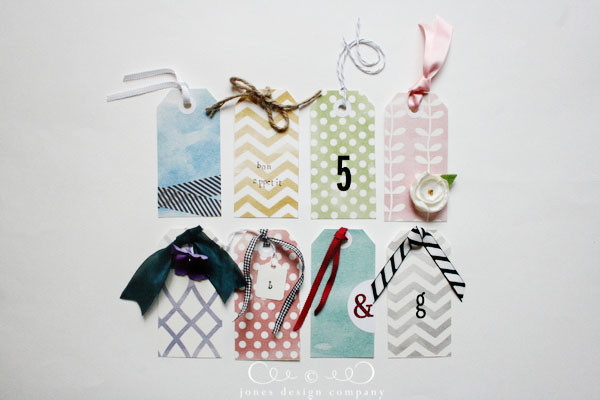 Collection of handmade gift tags in various watercolor designs and styles
Ready to start creating? Download your free gift tag template below and unleash your creativity!
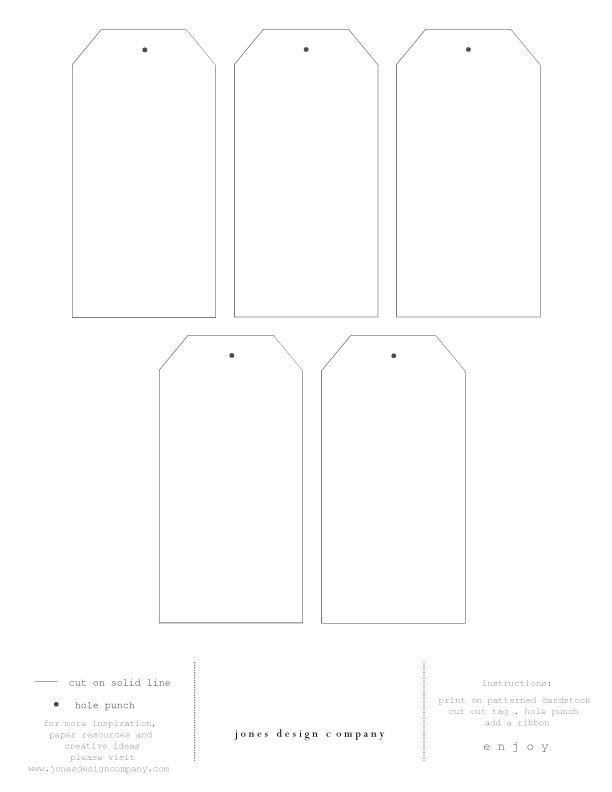 Free printable gift tag template download
These tags were created using watercolor printable paper, which offers a beautiful range of patterns and colors perfect for crafting.
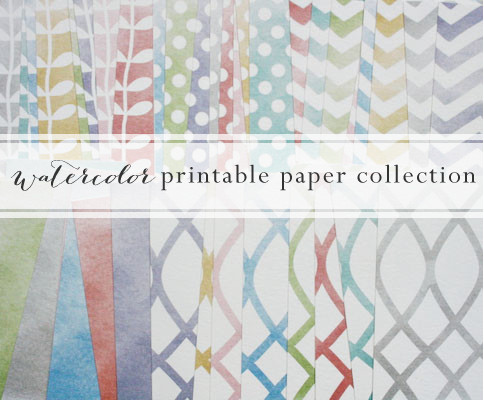 Watercolor printable paper collection swatches in various colors and patterns
With a free gift tag template and a little creativity, you can elevate your gift-giving with personalized, handmade tags that are sure to impress. Download your template and start crafting today!
[