Looking for a heartfelt and sustainable gift idea? In today’s fast-paced world, homemade presents carry a special significance, showing loved ones you care beyond store-bought items. While supporting small businesses is wonderful, crafting your own gifts can be equally meaningful and budget-friendly. If you’re seeking a simple yet impactful way to express gratitude, consider the charm of Tea Gifts, specifically homemade mint tea.
Mint, a remarkably easy herb to cultivate even in a small home garden or windowsill pot, is celebrated for its soothing qualities, particularly for digestion. This makes it a universally appreciated gift, especially during times of stress or simply for a moment of relaxation.
Let’s explore how to create an exquisite handcrafted mint tea gift, complete with reusable packaging and organic ingredients grown with love – a present anyone would be delighted to receive!
Step 1: Harvesting and Drying Your Mint
Begin by bundling 4-5 stems of fresh mint together. The key to preserving the mint’s flavor is proper drying. Hang these bundles in a well-ventilated area. Traditionally, spaces above a wood stove or fireplace work wonderfully due to the warm, dry air. However, any dry location will suffice. Allow a few days for thorough drying. For a quicker approach, especially if you’re preparing a last-minute gift, use a dehydrator or gently dry the mint stalks on a cookie sheet in your oven at the lowest setting (around 150 degrees Fahrenheit).
Step 2: Preparing the Dried Mint
Once the mint is fully dried, carefully remove the leaves from the stems. Collect these fragrant, dried mint leaves in a bowl. You’re now ready to assemble your tea gifts.
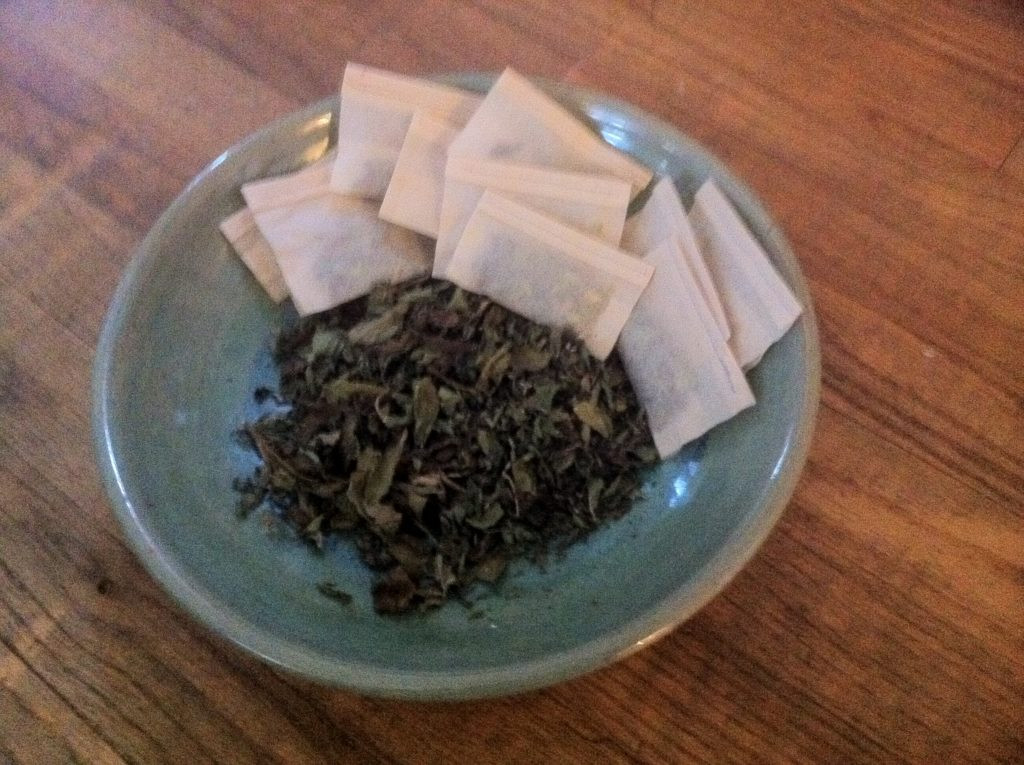 Dried mint leaves, step in making homemade tea gifts
Step 3: Filling the Tea Bags
For a truly classic tea experience, use unbleached paper tea bags. Fill each bag with a generous teaspoon of your dried mint. To secure the mint inside, fold the open end of the tea bag over by about ¼ inch, and then fold it over once more. This creates a neat closure for sewing.
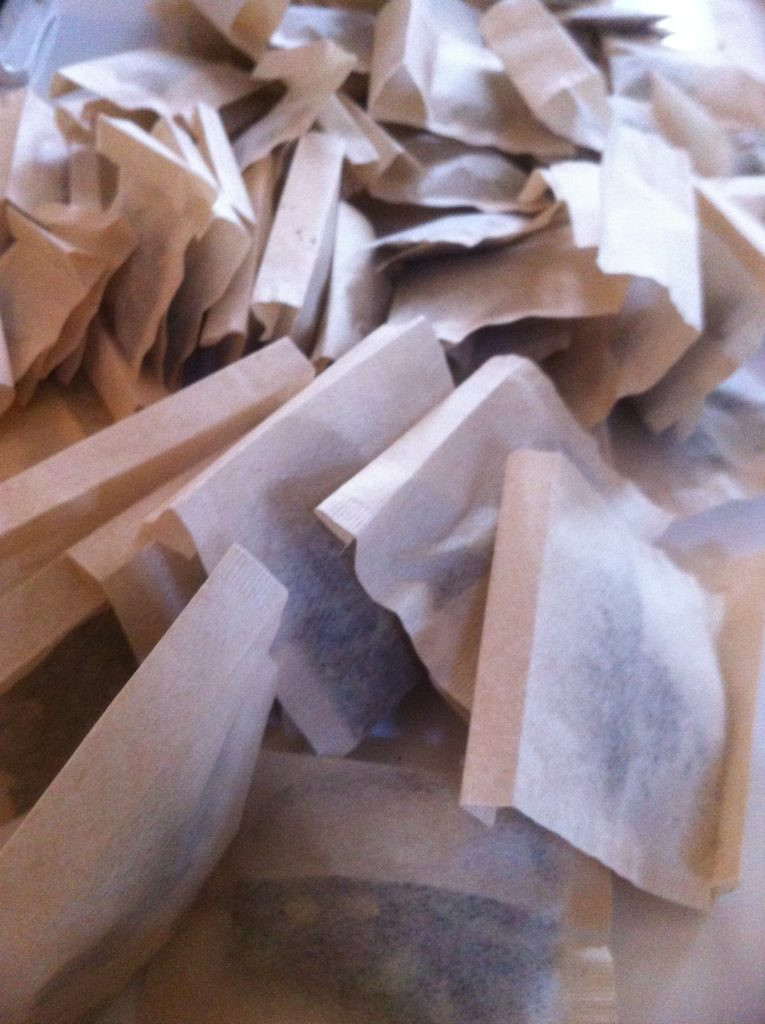 Handmade tea bags filled with dried mint for tea gifts
Step 4: Sewing the Tea Bags Closed
Using a sewing machine or needle and thread, stitch the folded ends of the tea bags closed. If you’re creating multiple tea bags, you can leave a small thread tail between each bag. This allows you to trim them apart later without the stitching unraveling, streamlining your tea gift production.
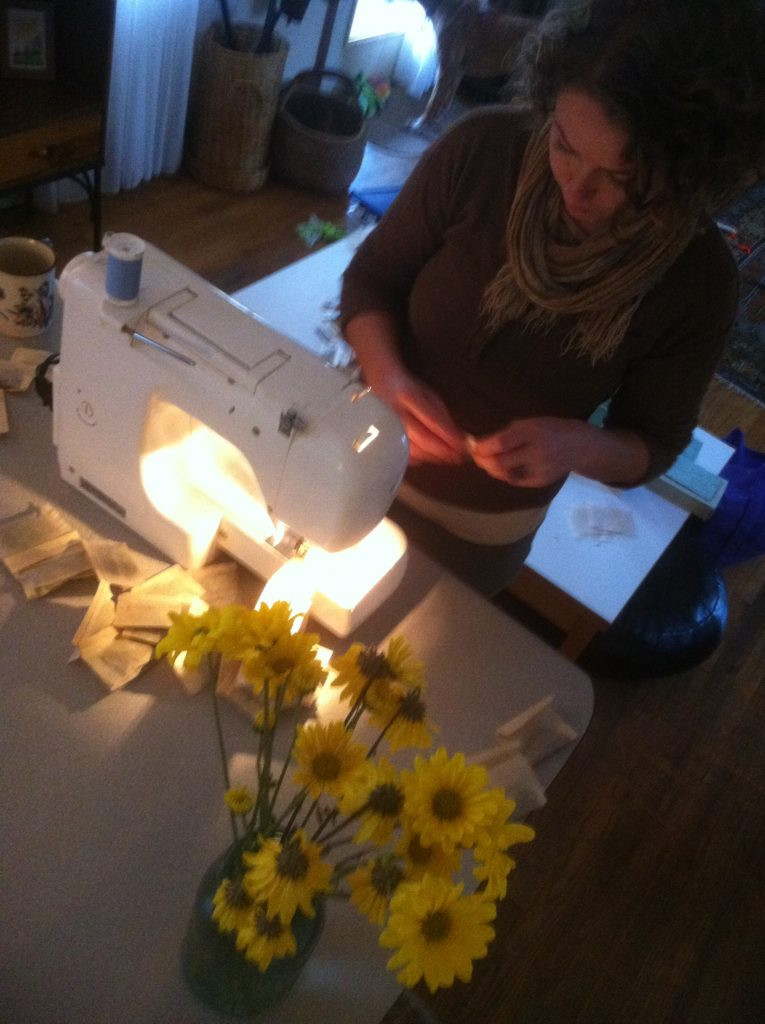 Sewing handmade tea bags for DIY tea gifts
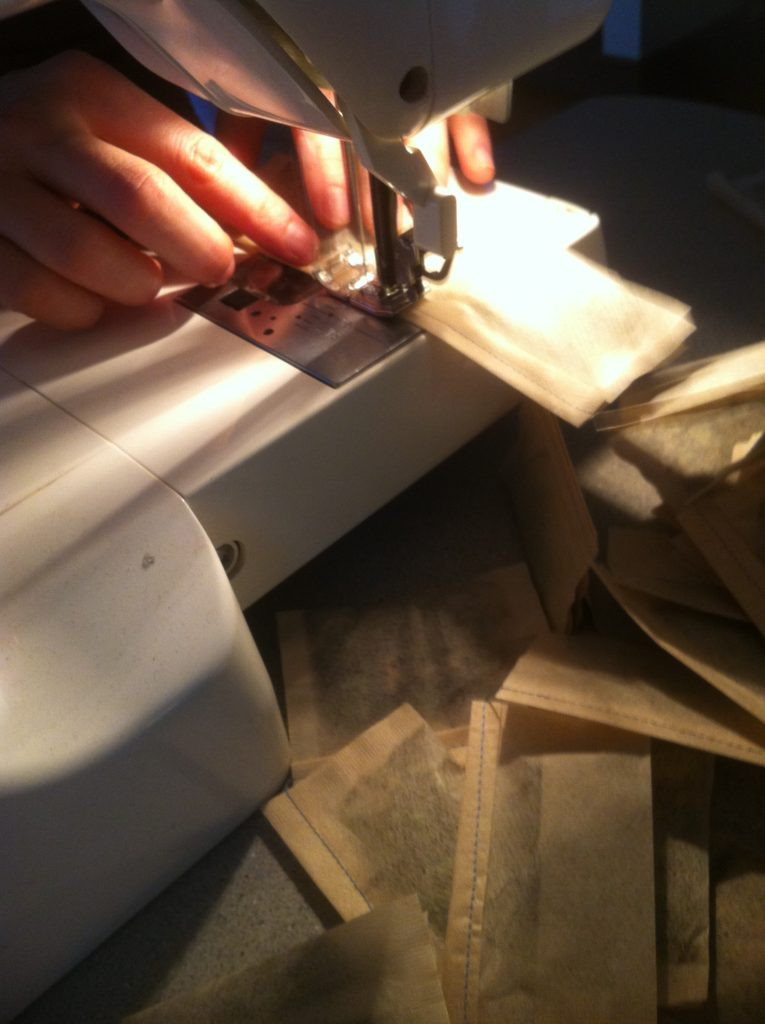 Close up of sewing tea bags, crafting unique tea gifts
Step 5: Assembling Your Tea Gift Jars
Find charming 8-oz mason jars to package your tea gifts. Fill each jar with 10-20 of your handcrafted mint tea bags. To add a decorative touch to the lids, cut circles of scrap fabric or recycled paper bags (for a kraft paper aesthetic) to place under the lid ring. Personalize your jars further with natural elements like acorns, ribbons, or handwritten tags tied with twine.
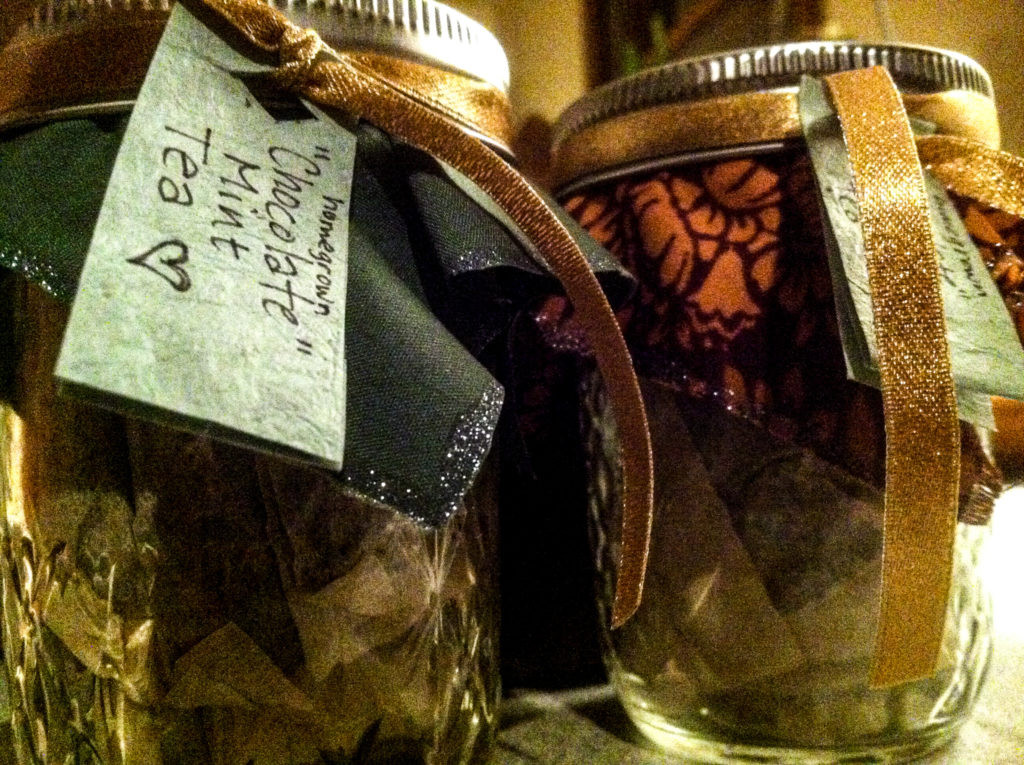 Mason jars filled with mint tea bags, beautifully packaged tea gifts
Step 6: Giving the Gift of Tea
With these beautifully packaged jars, you now have delightful tea gifts ready to share with family and friends. To enjoy the tea, simply steep a bag in hot water for 4-5 minutes. A touch of honey can be added for sweetness, depending on preference. These tea gifts are not just presents; they are jars of warmth and affection, perfect for any occasion. Consider these homemade mint tea gifts for birthdays, holidays, or just because – a truly thoughtful gesture that brings comfort and joy.