Running out of gift bags at the last minute? Or maybe you’re looking to save a little money and add a personal touch to your gift wrapping? We’ve all been there, searching for the right sized gift bag or wishing for a more coordinated look for our presents. Forget the store-bought bags! This incredibly easy trick will show you how to transform ordinary wrapping paper into a custom gift bag in minutes.
Once you master this simple technique, you’ll be amazed at how quickly you can create these handy bags. Plus, it’s a fun and creative way to personalize your gifts for any occasion. Whether you want to match your party theme or simply use up leftover wrapping paper, making your own gift bags is a game-changer. Follow our step-by-step guide below to learn How To Make A Gift Bag Out Of Wrapping Paper and discover some helpful tips to make each bag perfect.
 Person folding wrapping paper to make a gift bag
Supplies You’ll Need
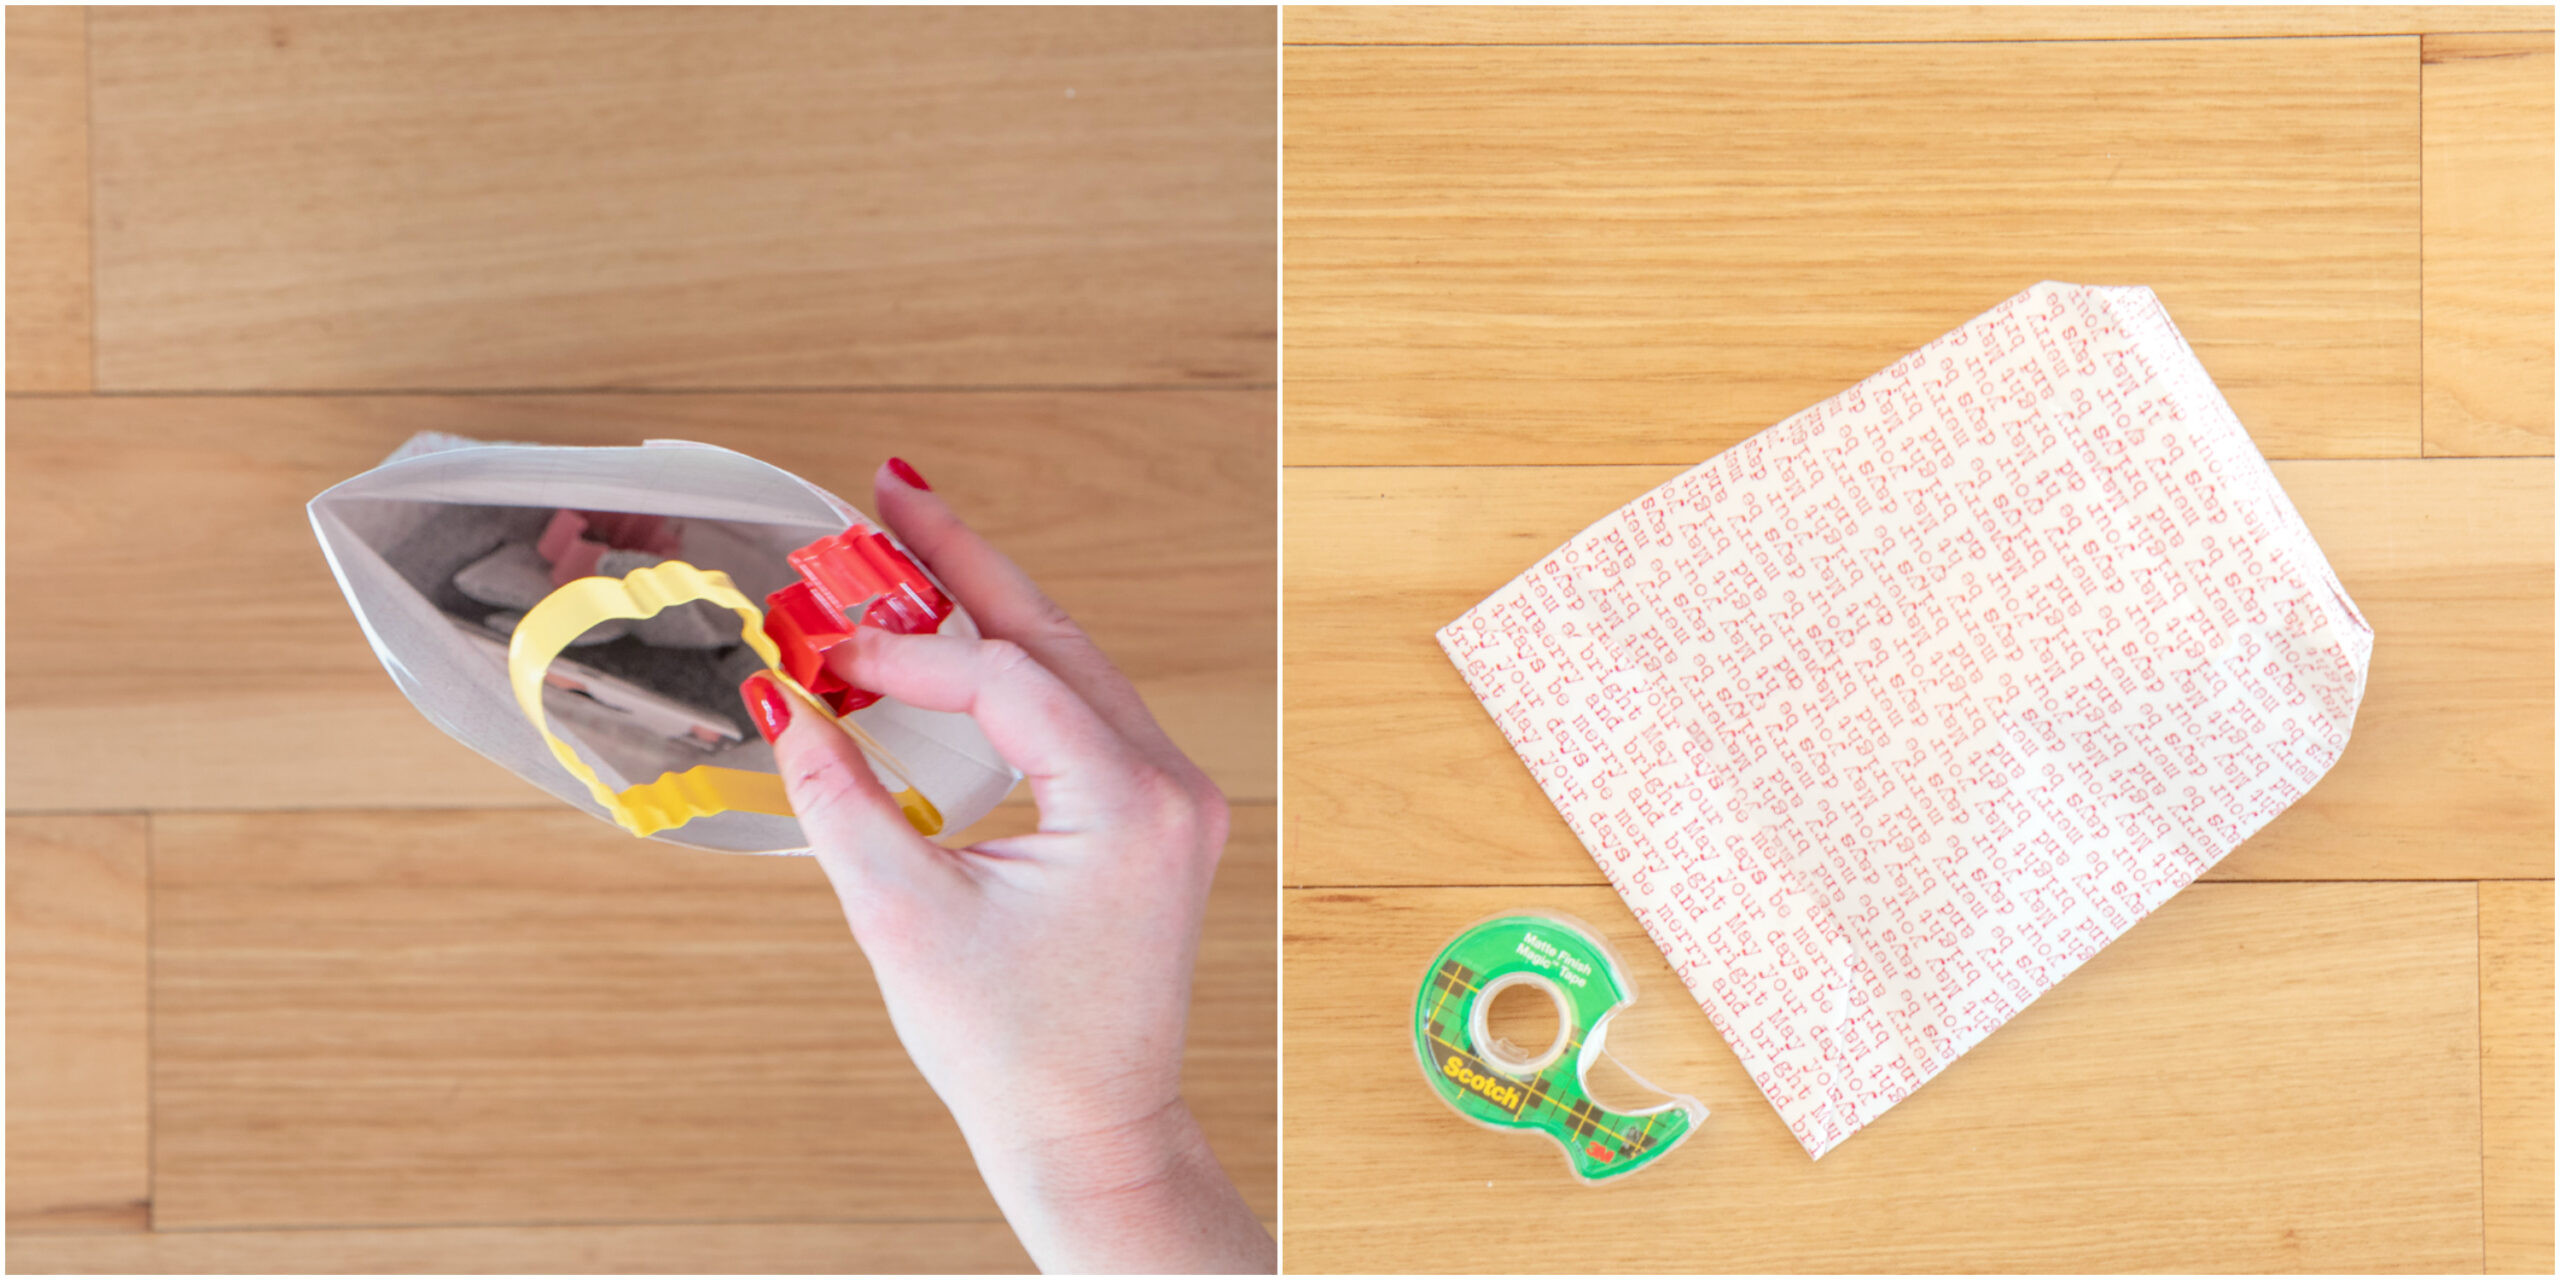
Before you get started, gather these simple supplies. You likely already have most of these items at home!
- Wrapping paper: Choose your favorite design! Thicker, sturdier paper works best for durability.
- Tape: Double-sided tape is great for a seamless look, but regular tape works just fine.
- Scissors: For cutting the wrapping paper to the correct size.
- Stapler (optional): For extra reinforcement at the top of the bag.
- Ribbon or twine (optional): To decorate your finished gift bag.
- Tulle ribbon or sturdy ribbon (optional): If you want to add handles to your bag.
Step-by-Step Instructions: Making Your Gift Bag
Let’s walk through the process of creating your DIY gift bag. It’s easier than you think!
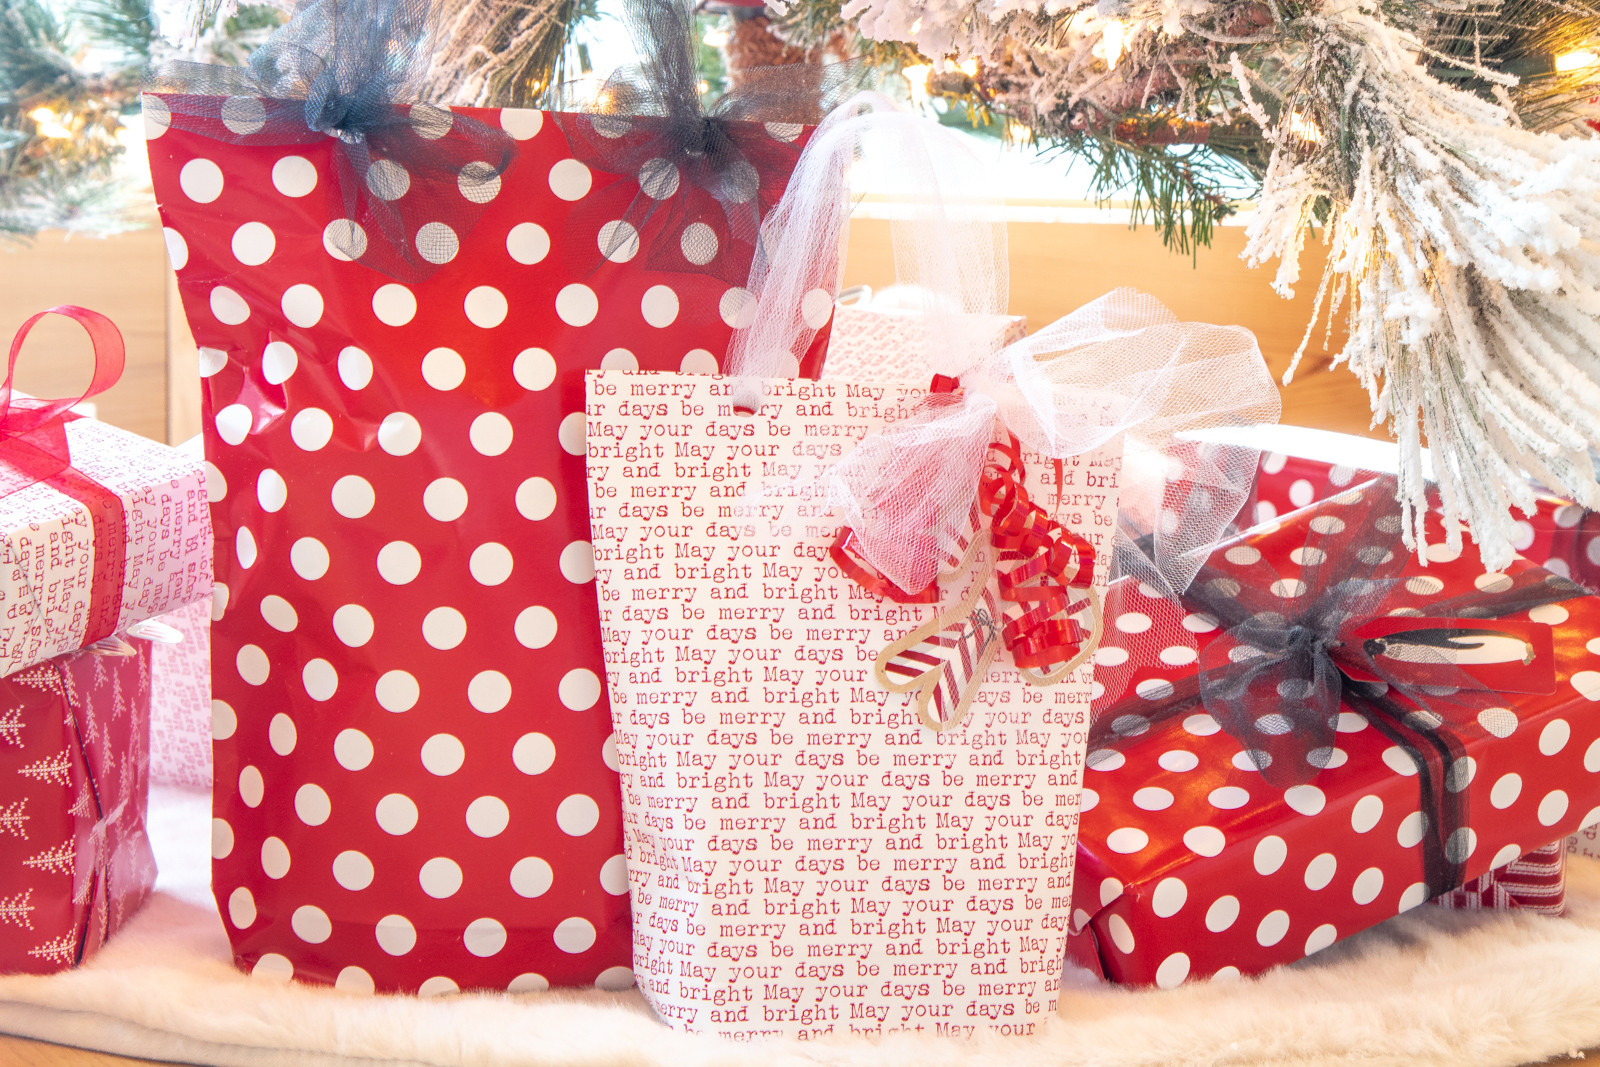
Step 1: Measure and Cut the Wrapping Paper
Lay your wrapping paper on a flat surface with the design facing down. Place your gift on the paper and estimate how much paper you’ll need to wrap it as if you were wrapping without a box. Make sure to leave extra paper at the top to fold over the top edge of the gift bag. Cut the wrapping paper to your desired size.
 Measuring wrapping paper to create a homemade gift bag
Step 2: Fold and Tape the Sides
Fold one side of the wrapping paper in towards the center by about an inch and crease the fold. Repeat this on the opposite side, ensuring the edges overlap slightly. Tape down the overlapping edge to create the back seam of your gift bag.
Step 3: Create the Bottom Fold
Fold the bottom edge of the paper upwards to determine the desired width of the base of your bag. Crease this fold firmly. The wider the fold, the wider the base of your gift bag will be.
 Folding the bottom of wrapping paper to form the base of a gift bag
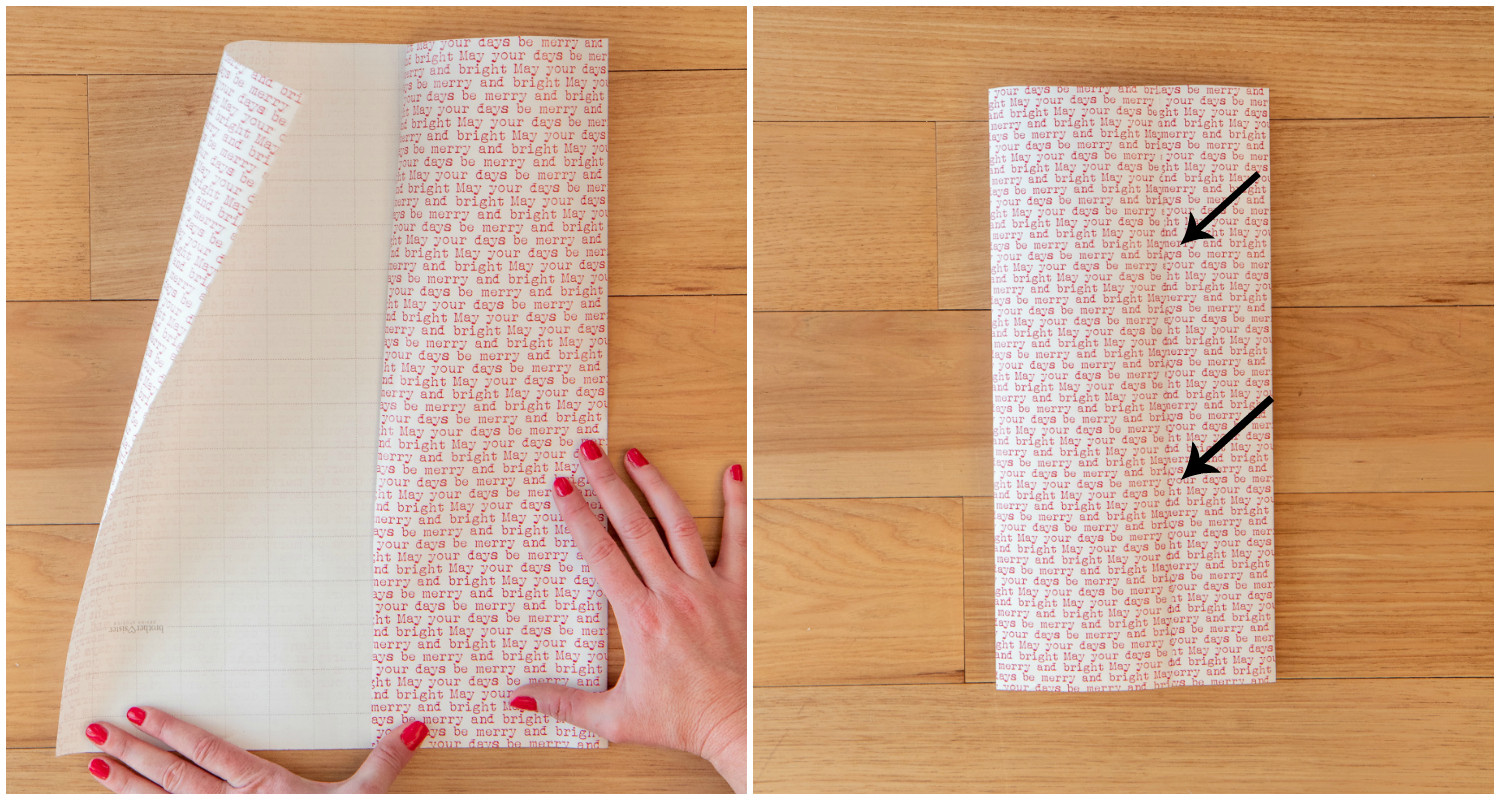
Step 4: Form the Bag Base
Unfold the bottom fold you just made. Open up the bottom section and flatten it into a diamond shape or two triangles. Fold the side edges of this diamond shape inwards, creasing along the edges to form triangle shapes on both sides.
Step 5: Open and Finish the Bag
Fold the top and bottom points of the diamond/triangles towards the center, as if you are wrapping the end of a box. Tape these flaps securely to create the base of the gift bag. Gently open up the top of the bag to give it shape.
 Forming the base and opening the DIY wrapping paper gift bag
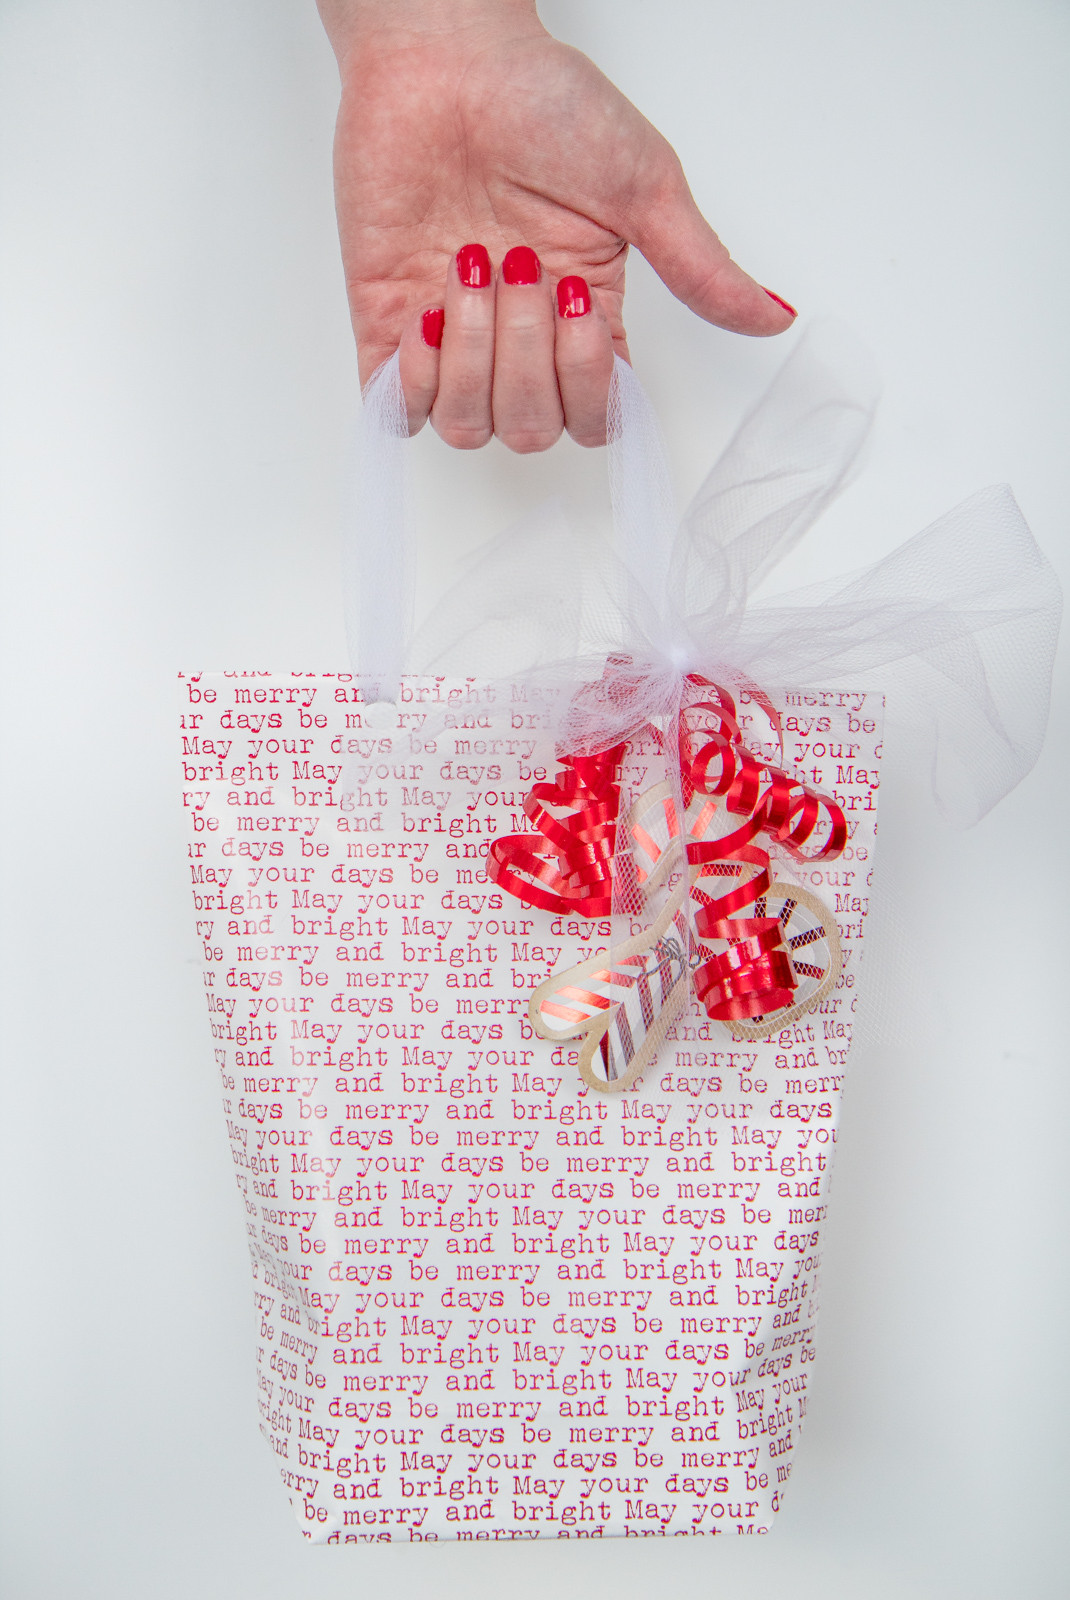
Step 6: Add Handles (Optional)
Place your gift inside the newly formed gift bag. Fold the top edge of the bag inwards for a clean finish. Seal the top closed with tape or staples if desired. If you want to add handles, use a hole punch to make holes on opposite sides of the bag near the top. Thread ribbon or tulle through the holes, knotting it on the inside of the bag to secure the handles. Tie bows on the outside for a decorative touch.
 Adding ribbon handles to a custom wrapping paper gift bag
 Tying tulle ribbon handles on a homemade gift bag
Helpful Tips for Perfect Gift Bags
To ensure your DIY gift bags are a success every time, keep these helpful tips in mind:
- Paper Choice Matters: Opt for thicker, higher-quality wrapping paper for a more durable and professional-looking bag. Thin, inexpensive paper might tear easily, especially for heavier gifts.
- Reinforce the Base: For added structure, especially for heavier items, cut a piece of cardboard to fit the bottom of the bag and place it inside before adding your gift.
- Pattern Awareness: If your wrapping paper has a directional pattern, pay attention to the orientation when you start. You’ll want the pattern to be facing upwards on the finished bag.
- Handle Considerations: Only add handles if the gift is lightweight. For heavier presents, the paper bag might tear under the weight of the gift when lifted by the handles.
- Batch Prepare: If you have several gifts of similar sizes to wrap, consider making a batch of gift bags in advance. You can store them flat until you’re ready to use them, saving you time during busy gift-wrapping sessions.
With a little practice, you’ll be crafting beautiful, custom gift bags from wrapping paper like a pro! This simple DIY trick is not only practical and budget-friendly, but it also adds a personal and creative touch to your gift-giving. Enjoy making your own unique gift bags!