
 the red thread wrapped tags
 the red thread thanks tag
 the red thread gift tag glitter 2
Do you have stacks of magazines taking up space? Instead of just recycling them, why not transform them into something beautiful and practical? Creating your own gift tags and wrapping paper from magazine pages is a fantastic DIY project that is not only fast, easy, and inexpensive but also yields truly Lovely Gifts. It’s a simple yet fun way to add a personal and creative touch to your presents. This upcycling craft is a perfect way to declutter, get creative, and enjoy some relaxing “me” time, all while making your gifts extra special. Dive into your magazine collection and discover how to make unique and charming gift accessories.
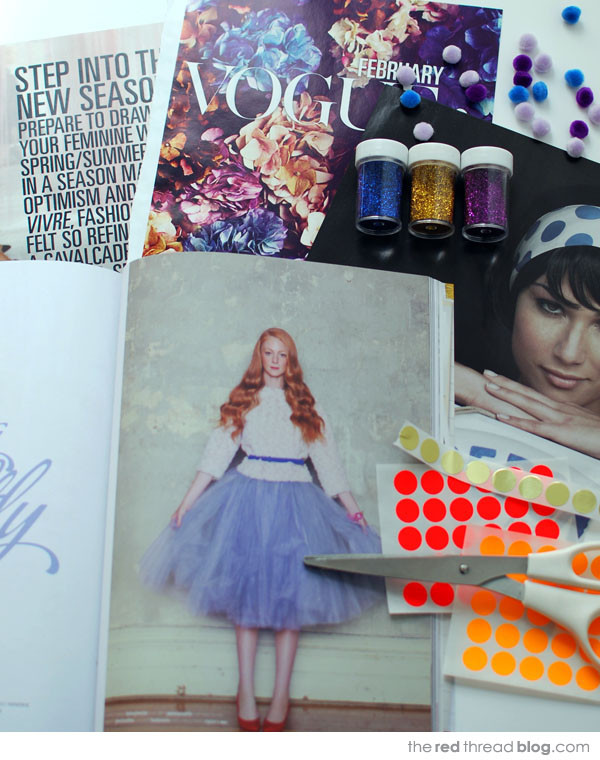
Leafing through magazines can be a source of inspiration. As you sort through them, tear out pages with inspiring images, be it for home décor ideas, color palettes, or simply visually appealing designs. Create a dedicated craft file with these tear sheets. While some magazines are treasures to keep intact, others can be repurposed after gleaning inspiration.
Click through to learn how to turn those magazine pages into lovely gift embellishments…
To embark on this creative journey of making gift tags, you’ll need a few readily available materials:
- Beautiful magazine or catalogue pages – the glossier the better for vibrant tags
- Lightweight cardstock – for backing and durability
- Pencil – for marking and outlining
- Ruler – for straight lines and precise measurements
- Scissors or craft knife and cutting mat – for accurate cutting
- Glue – for adhering magazine pages to cardstock
- Paint brush – for applying glue evenly
- Embellishments (optional) – glitter, washi tape, stickers, mini pom poms to personalize your lovely gift tags further
 the red thread gift tags materials
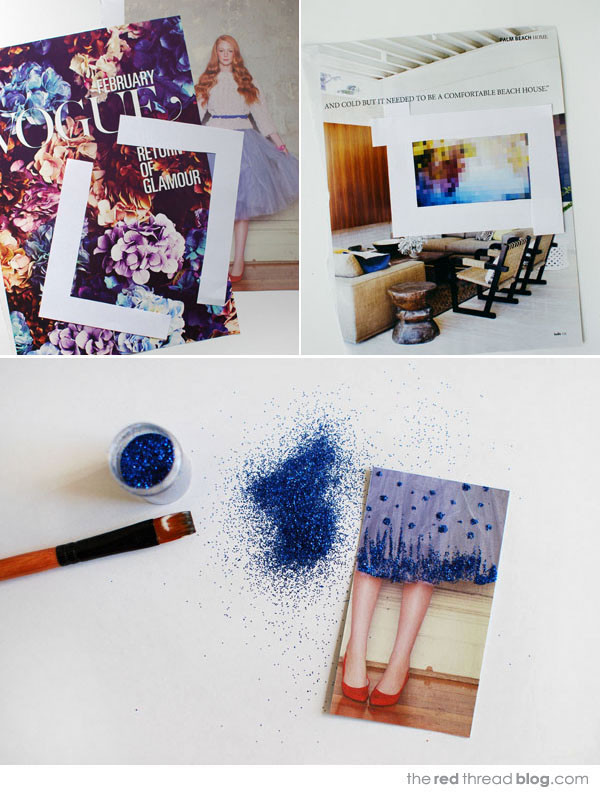
Begin by carefully selecting sections from your chosen magazine pages. To help visualize the tag area before cutting, create simple cropping guides. These are ‘L’ shaped pieces of paper or card. By moving these guides around the magazine image, you can isolate the most visually appealing sections perfect for a lovely gift tag. Once you’ve found the ideal composition, use a ruler and pencil to mark the area and then cut out your tag shapes.
After cutting out several magazine tags, apply glue to the back of each and adhere them to the lightweight cardstock. This card backing provides stability and makes your tags more substantial. Once the glue is dry, cut out the tags again, following the magazine page shape. If desired, use a hole punch to create a hole at the top of each tag for easy attachment to gifts.
 the red thread gift tags steps2
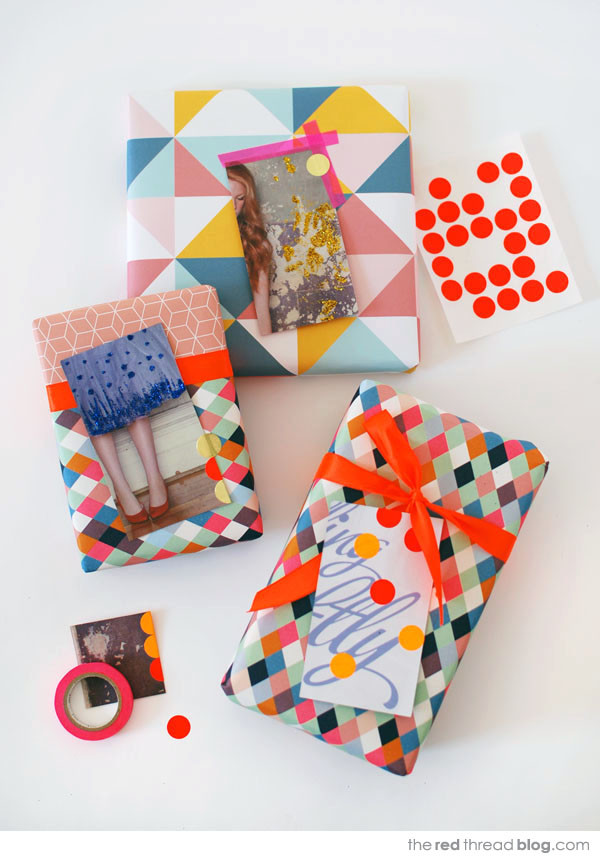
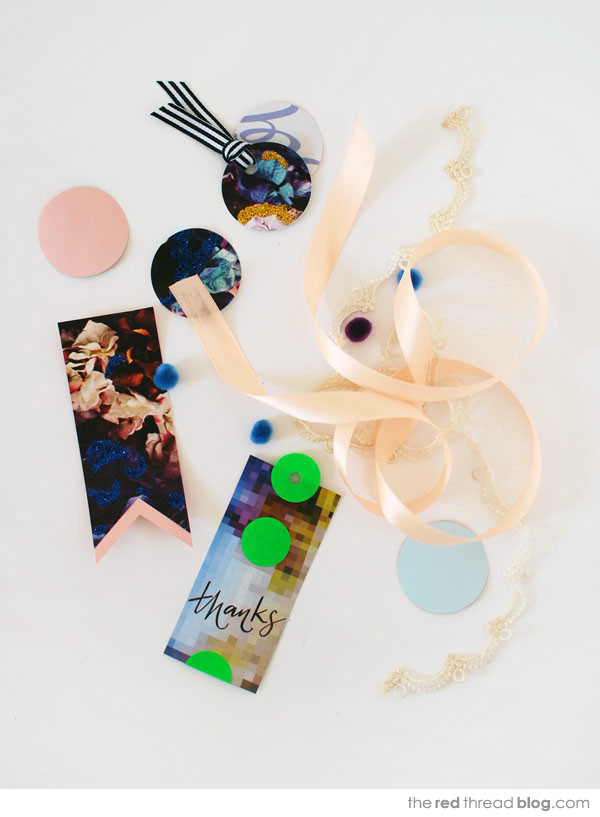
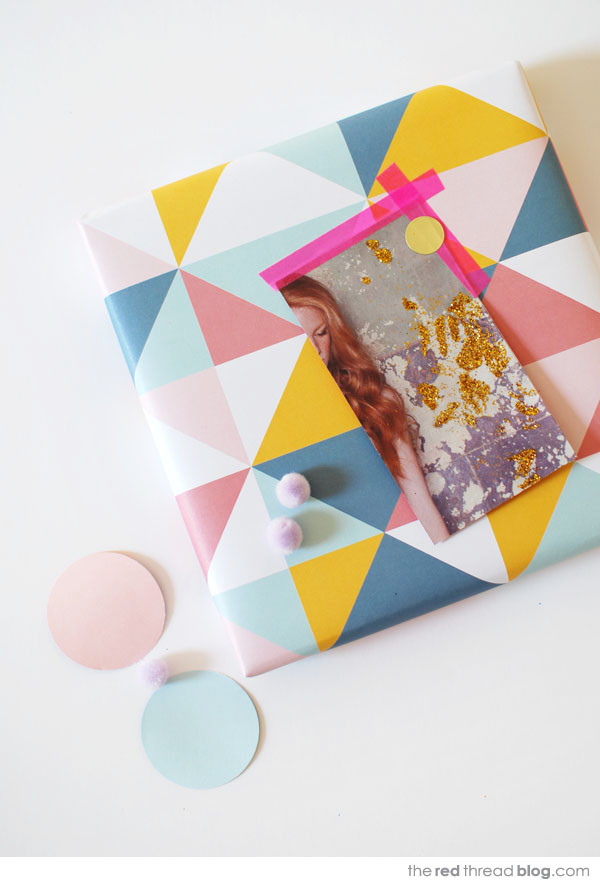
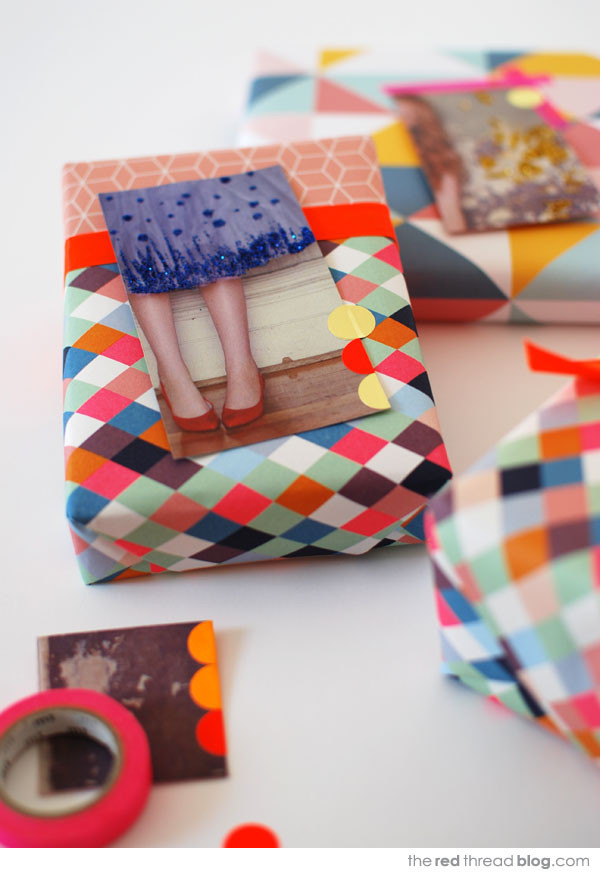
Now comes the fun part – embellishing your DIY tags to truly enhance your lovely gift presentation. Gather your glue, glitter, and other decorative items. Use a paintbrush to apply glue to specific areas of the tag. You can follow the patterns and shapes already in the magazine image, or create your own designs like polka dots or stripes. Sprinkle glitter generously over the glued areas and then gently tap the tag to remove any excess glitter. For additional flair, add small circular office stickers, colorful washi tape strips, or any other embellishments that complement your lovely gift tag design.
 the red thread gift wrap
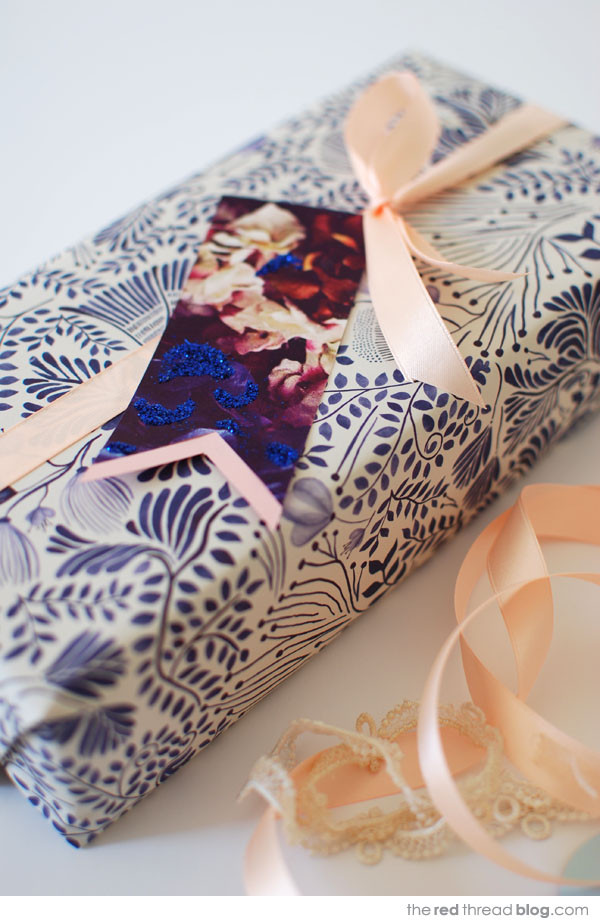
Beyond tags, you can also utilize larger magazine images for unique gift wrapping. As shown with the hydrangea image, striking magazine pages can serve as beautiful and eco-friendly gift wrap. If a single page isn’t large enough, combine it creatively with a coordinating piece of traditional gift wrap or another magazine page to cover your lovely gift. Don’t forget to write your message on the back of the tag. Finally, choose some lovely ribbon, lace, or twine to add the perfect finishing touch, wrapping your present with a distinctive handmade charm.
 the red thread gift tag
This creative tutorial was originally featured in my ‘Make Me‘ column on Decor8 on August 9th.